
The DiviFlash Advanced Gallery module is a versatile module for creating highly customizable and visually engaging image galleries on your Divi website.
Let’s see the settings in brief and how to make better use of it —
Content Tab
This tab contains the essential settings for adding and configuring gallery items.
Add New Item
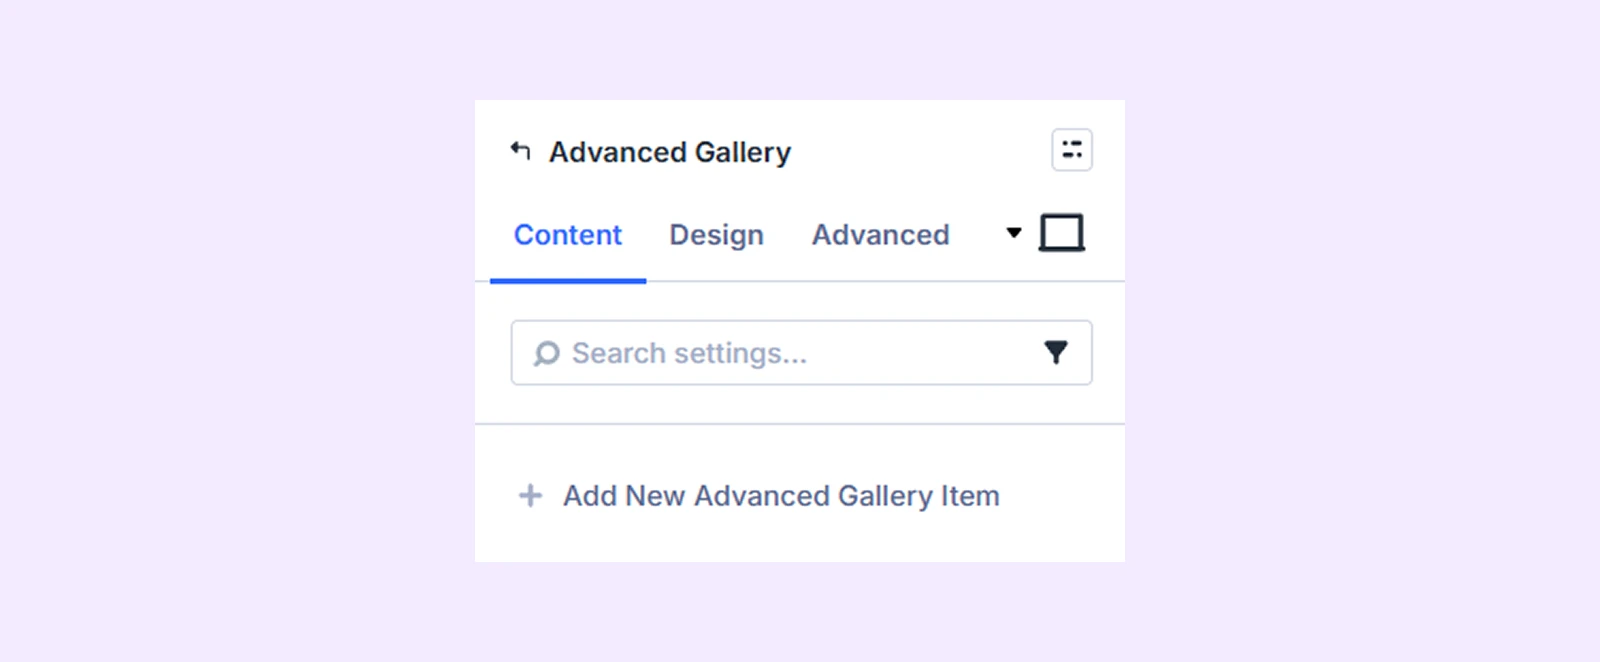
Click the + Add New Item button to create a new gallery item. This opens the Advanced Gallery Item Settings, where you can add images, titles, and customize item-specific settings. To learn more about the functionalities of “Advanced Gallery Item Settings”, click here.
Gallery Settings
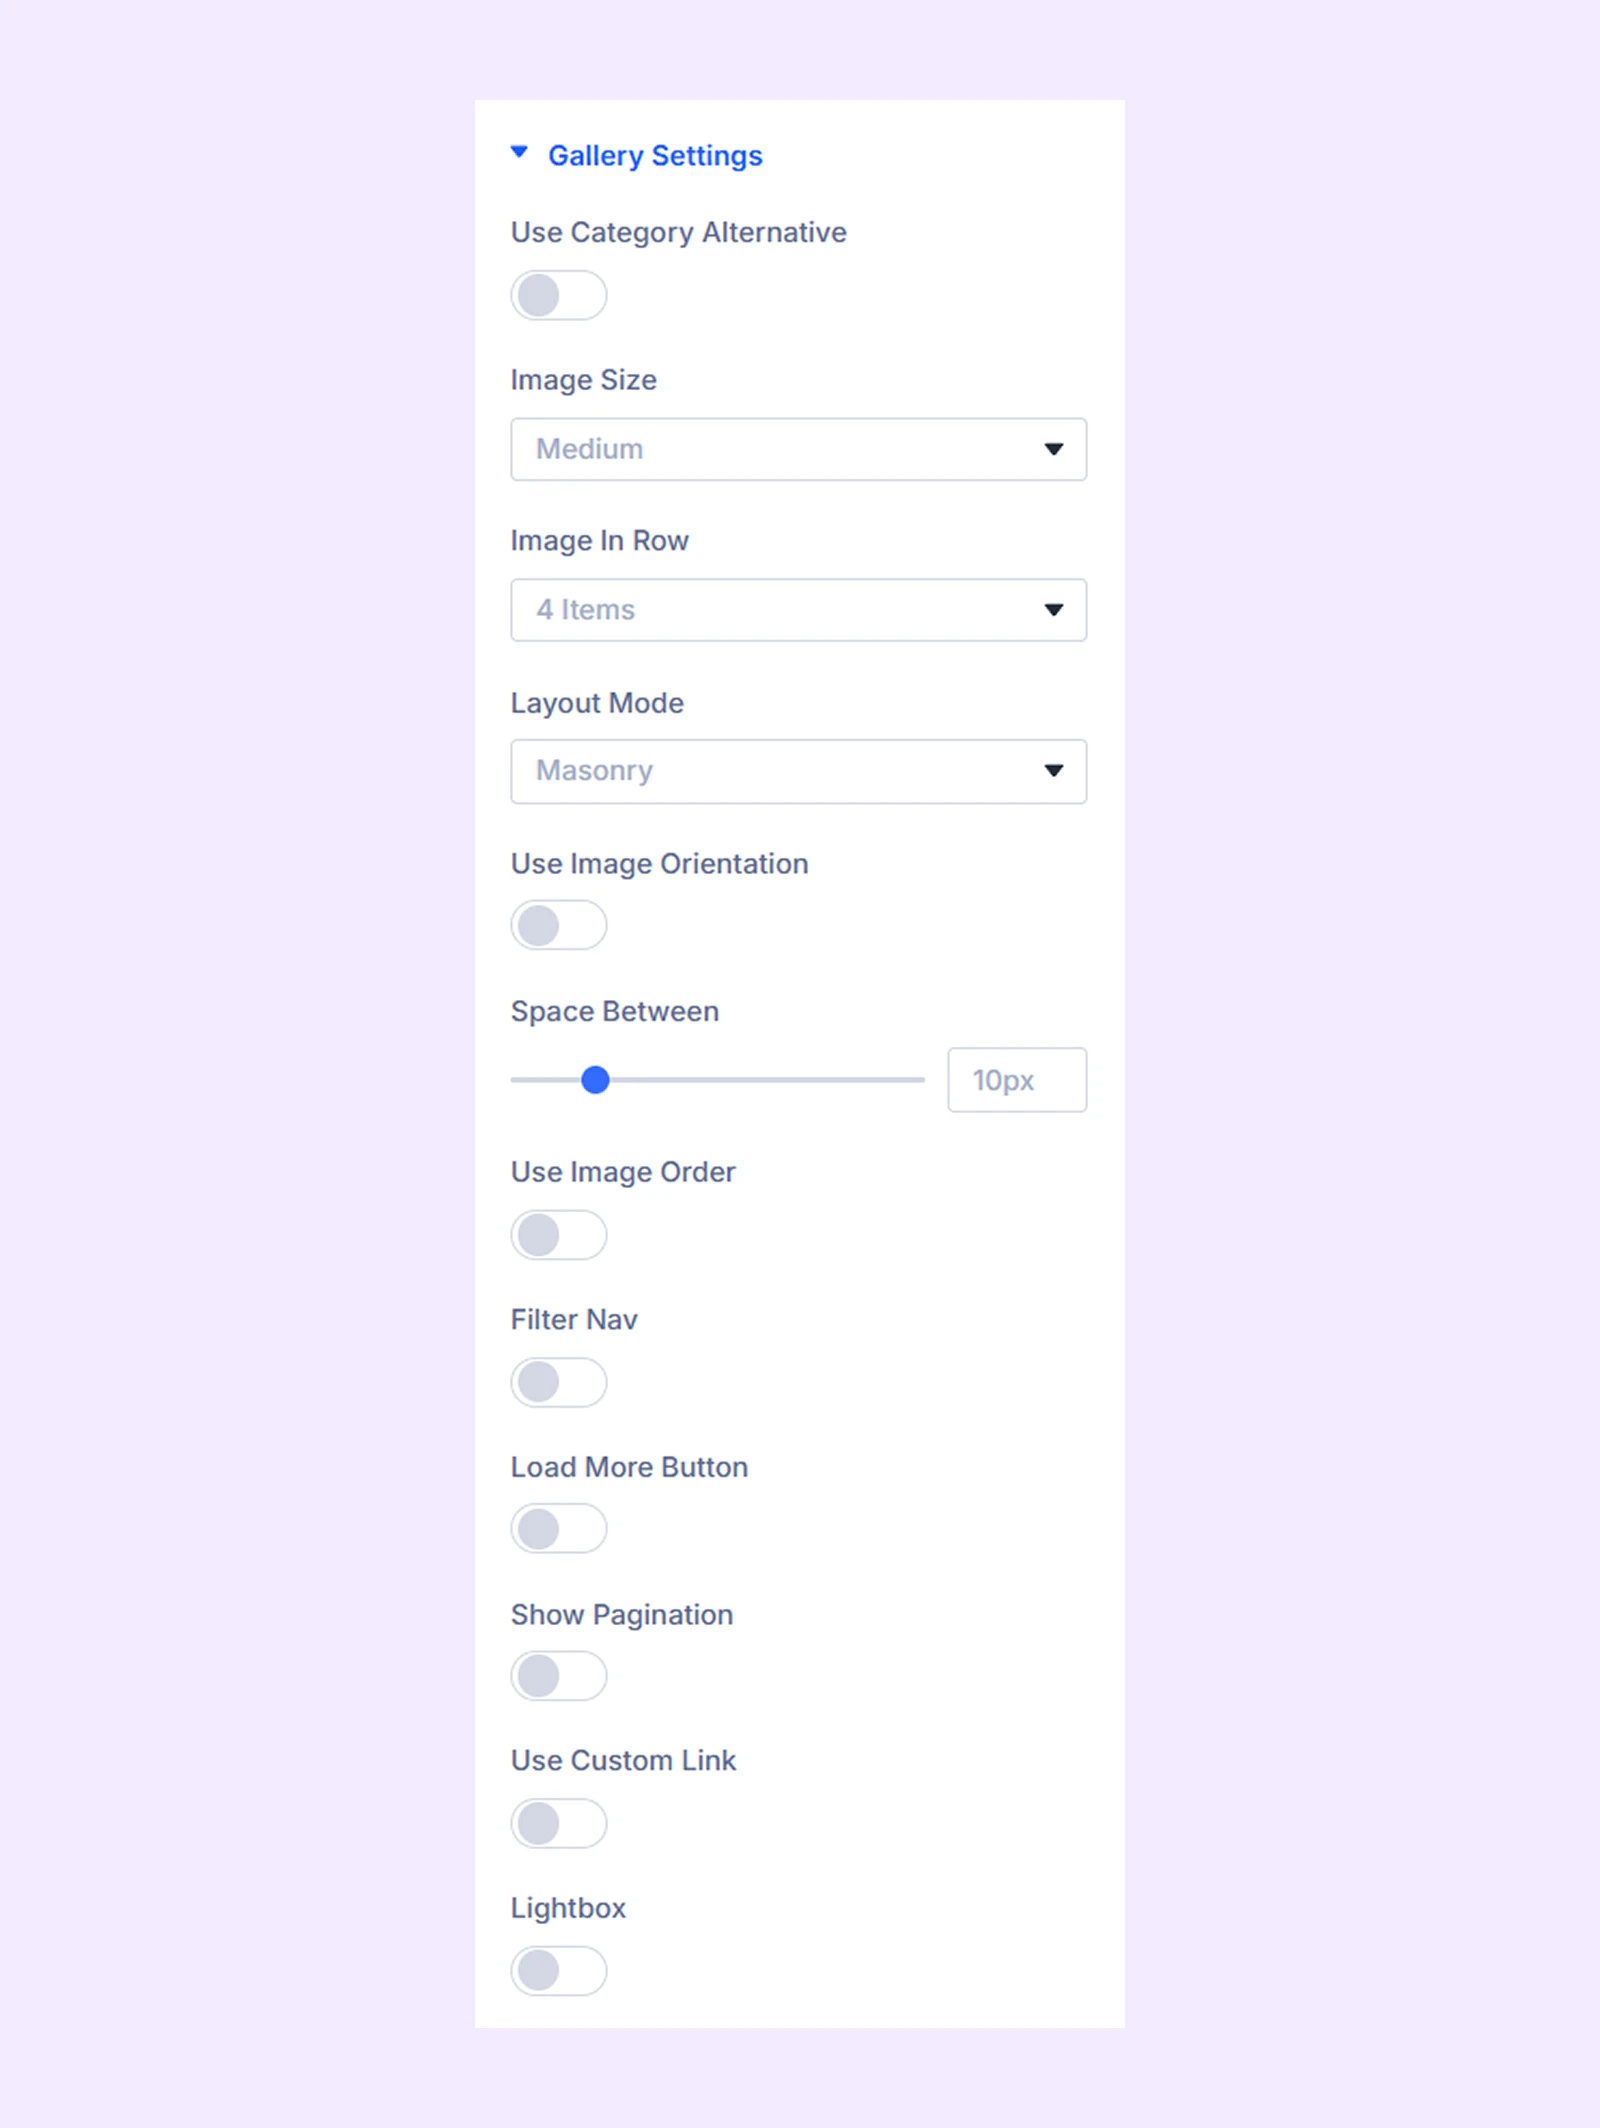
- Use Category Alternative: Enable to dynamically display images based on their assigned category.
- Category: Select the categories of images to include (requires creating categories beforehand).
- Image Size: Choose the appropriate size for the gallery images. There are four available sizes: Thumbnail, Medium, Large, Original
- Image in Row: Choose how many images to display per row.
- Layout Mode: Choose the layout mode of the gallery. You have the traditional grid layout or the modern masonry layout.
- Use Image Orientation: Enabling this option will allow you to select between landscape and portrait orientations for images.
- Image Orientation: Choose between landscape or portrait orientation for the images.
- Space Between: Adjust the spacing between the gallery images.
- Use Image Order: Enable this option to arrange the images in certain orders.
- Image Order: Select the appropriate image order: Random, Ascending, or Descending.
- Filter Nav: Enable category-based filter navigation.
- Disable First Nav: Enabling this option will disable the first navigational filter
- First Nav Text: Assign a custom name for the first navigation filter.
- Load More Button: Enable a “Load More” button instead of Filter Nav (cannot be used simultaneously with Filter Nav).
- Initial Image Load: Define how many images will load in the image gallery at first.
- Load More Image Count: Define how many images will load after clicking on the load more button.
- Load More Button Text: Input the text for the load more button.
- Show Pagination: Enable pagination instead of Load More or Filter Nav.
- Pagination Image Count: Define how many images should be displayed per page.
- Use Number Pagination: Enable to use page numbers along with the previous and next buttons.
- Use Icon Only in Next and Previous Button: Enable to use only icons to denote the previous and next buttons.
- Older Entries Button Text: Input the text for the previous button.
- Next Entries Button Text: Input the text for the next button.
- Custom Link: Enable this option to provide the functionality to access and use the links associated with images in the WordPress media library.
- Link Target: Choose if the image links will open in a new window or in the same tab.
- Lightbox: Enable Lightbox view on click (disabled if Custom Link is enabled).
- Lightbox Download Button: Enable this option to display a download button for the images in Lightbox. Only available if “Lightbox” is on.
- Lightbox Content: Display image captions along with the image in Lightbox. Only available if “Lightbox” is on.
Hover Settings
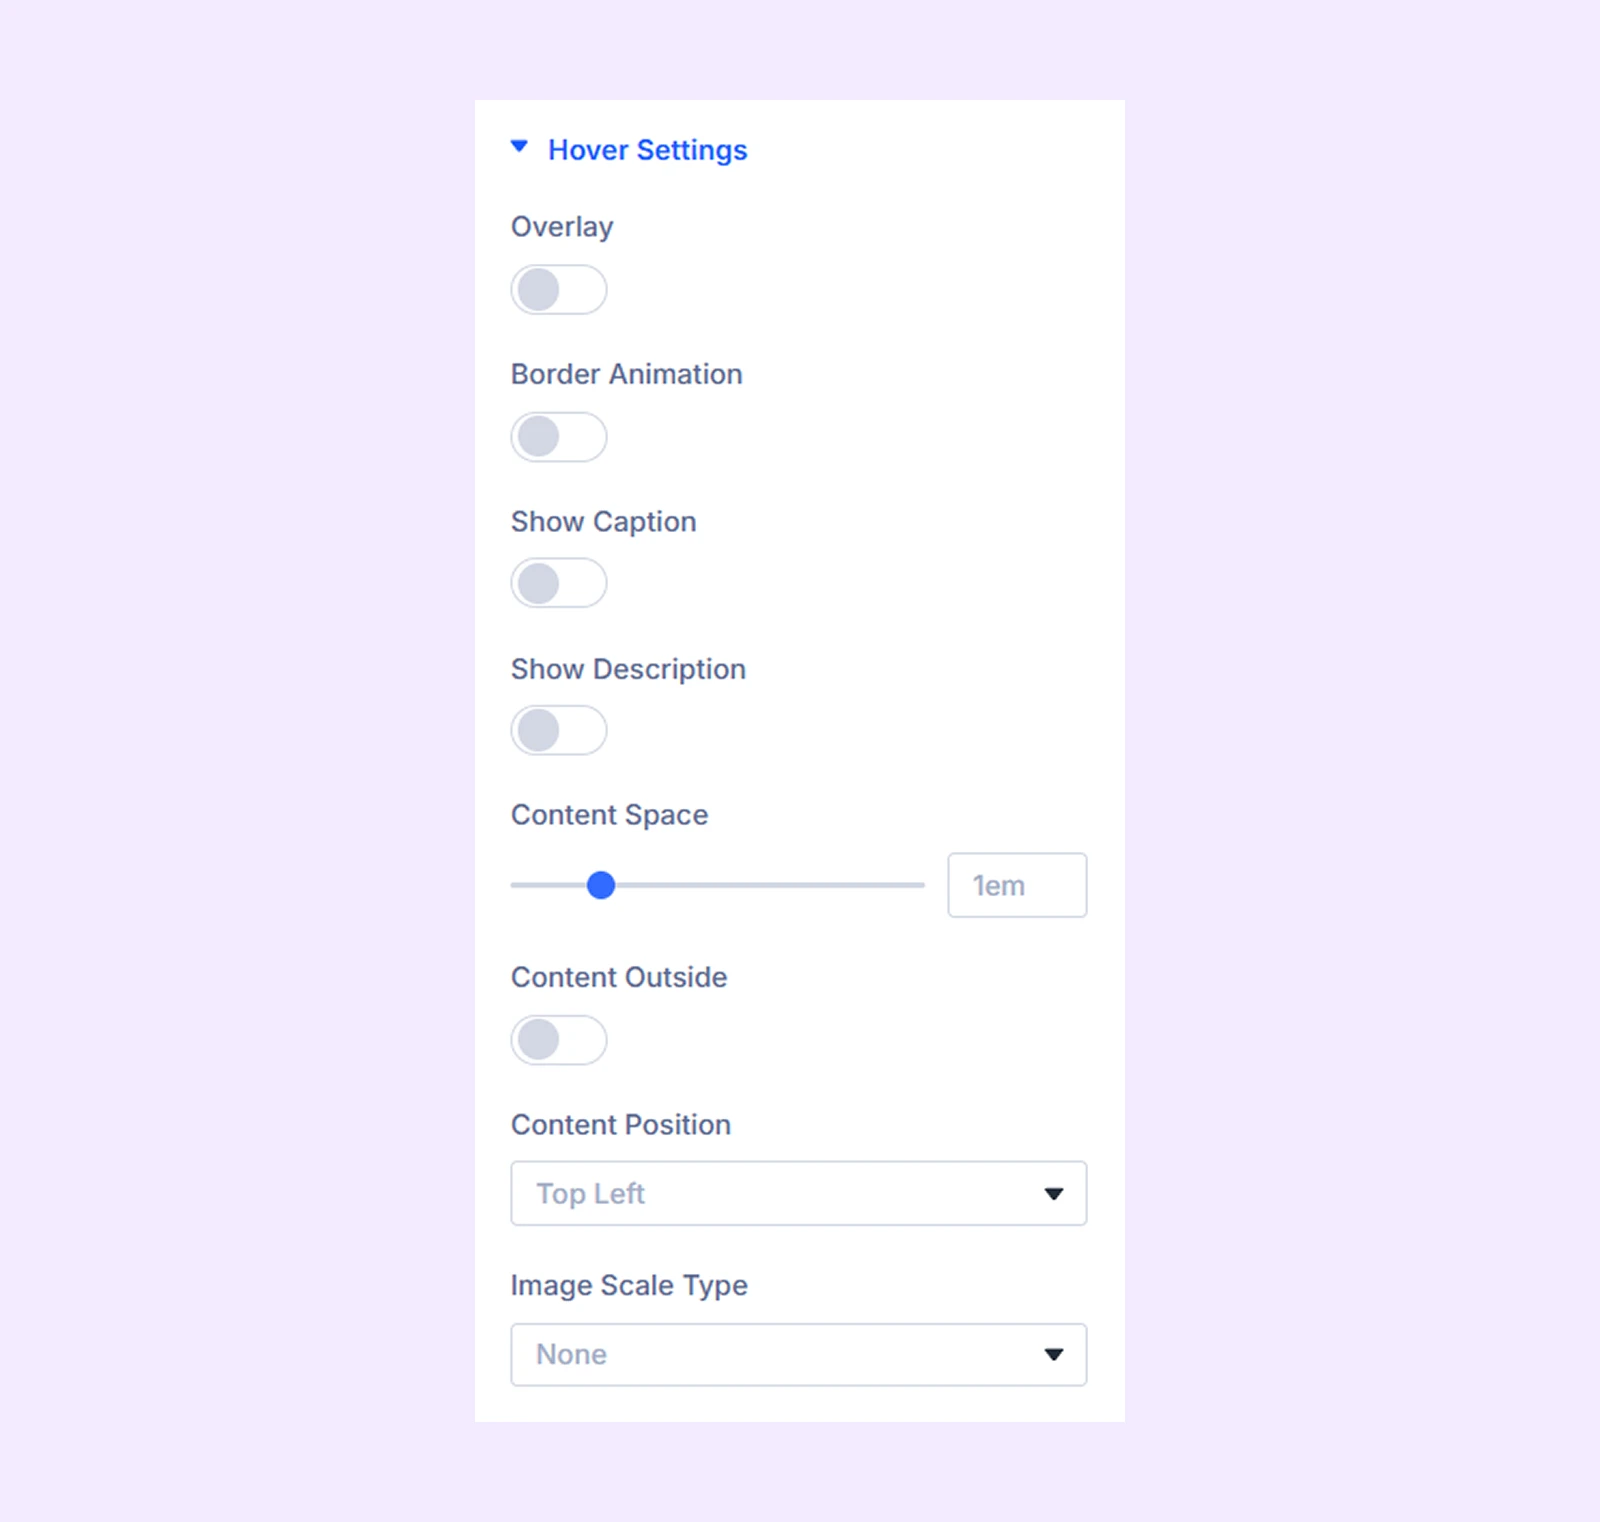
- Overlay: Enable to add a color gradient over the gallery images.
- Overlay Primary Color: Choose the primary color for the overlay gradient.
- Overlay Secondary Color: Choose the secondary color for the overlay gradient.
- Overlay Gradient Direction: Adjust the gradient direction.
- Overlay Spacing: Adjust how much space the overlay will leave from the border of the image.
- Use Icon: Enable this option to use an icon on the overlay.
- Icon Color: Choose a color for the icon.
- Icon Size: Adjust the size of the icon.
- Icon Placement: Choose the horizontal position of the icon in the overlay.
- Icon Alignment: Choose the vertical position of the icon in the overlay.
- Icon Reveal: Choose a reveal animation for the icon.
- Border Animation: Enable to add a border and a border reveal animation to the overlay.
- Border Color: Pick a color for the border.
- Border Width: Adjust the border width.
- Border Space: Adjust how much space the border will leave from the image border.
- Border Animation Style: Choose a border animation style from 19 different options.
- Show Caption: Enable to show the image caption in the overlay on hover.
- Always Show Caption: Enable to always show image caption over the image.
- Caption Reveal: Choose an animation effect for the caption reveal. You have 12 different animation options to choose from.
- Show Description: Enable to display the image description on the overlay.
- Always Show Description: Enable to always display the image description over the image.
- Description Reveal: Choose an animation effect for the description reveal. You have 12 different animation options to choose from.
- Content Space: Adjust the placement of the image caption and description over the image.
- Content Outside: Enable this option to allow image captions and descriptions to appear outside the image border instead of overlaying it.
- Content Position: Select the placement of image content, either inside or outside the image border.
- Image Scale Type: Choose how the image will scale on hover. You have 9 different options to choose from.
- Scale: Only available for rotate-left or rotate-right scale types.
Link: Use this default Divi setting to add a link to the entire module.
Background: Add a background color, gradient, image, video, pattern, or mask to the module.
Element Label: Rename the module to organize it more easily in the Divi Builder. (Only you can see this label.)
Design Tab
Use this tab to style and customize the appearance of the gallery module.
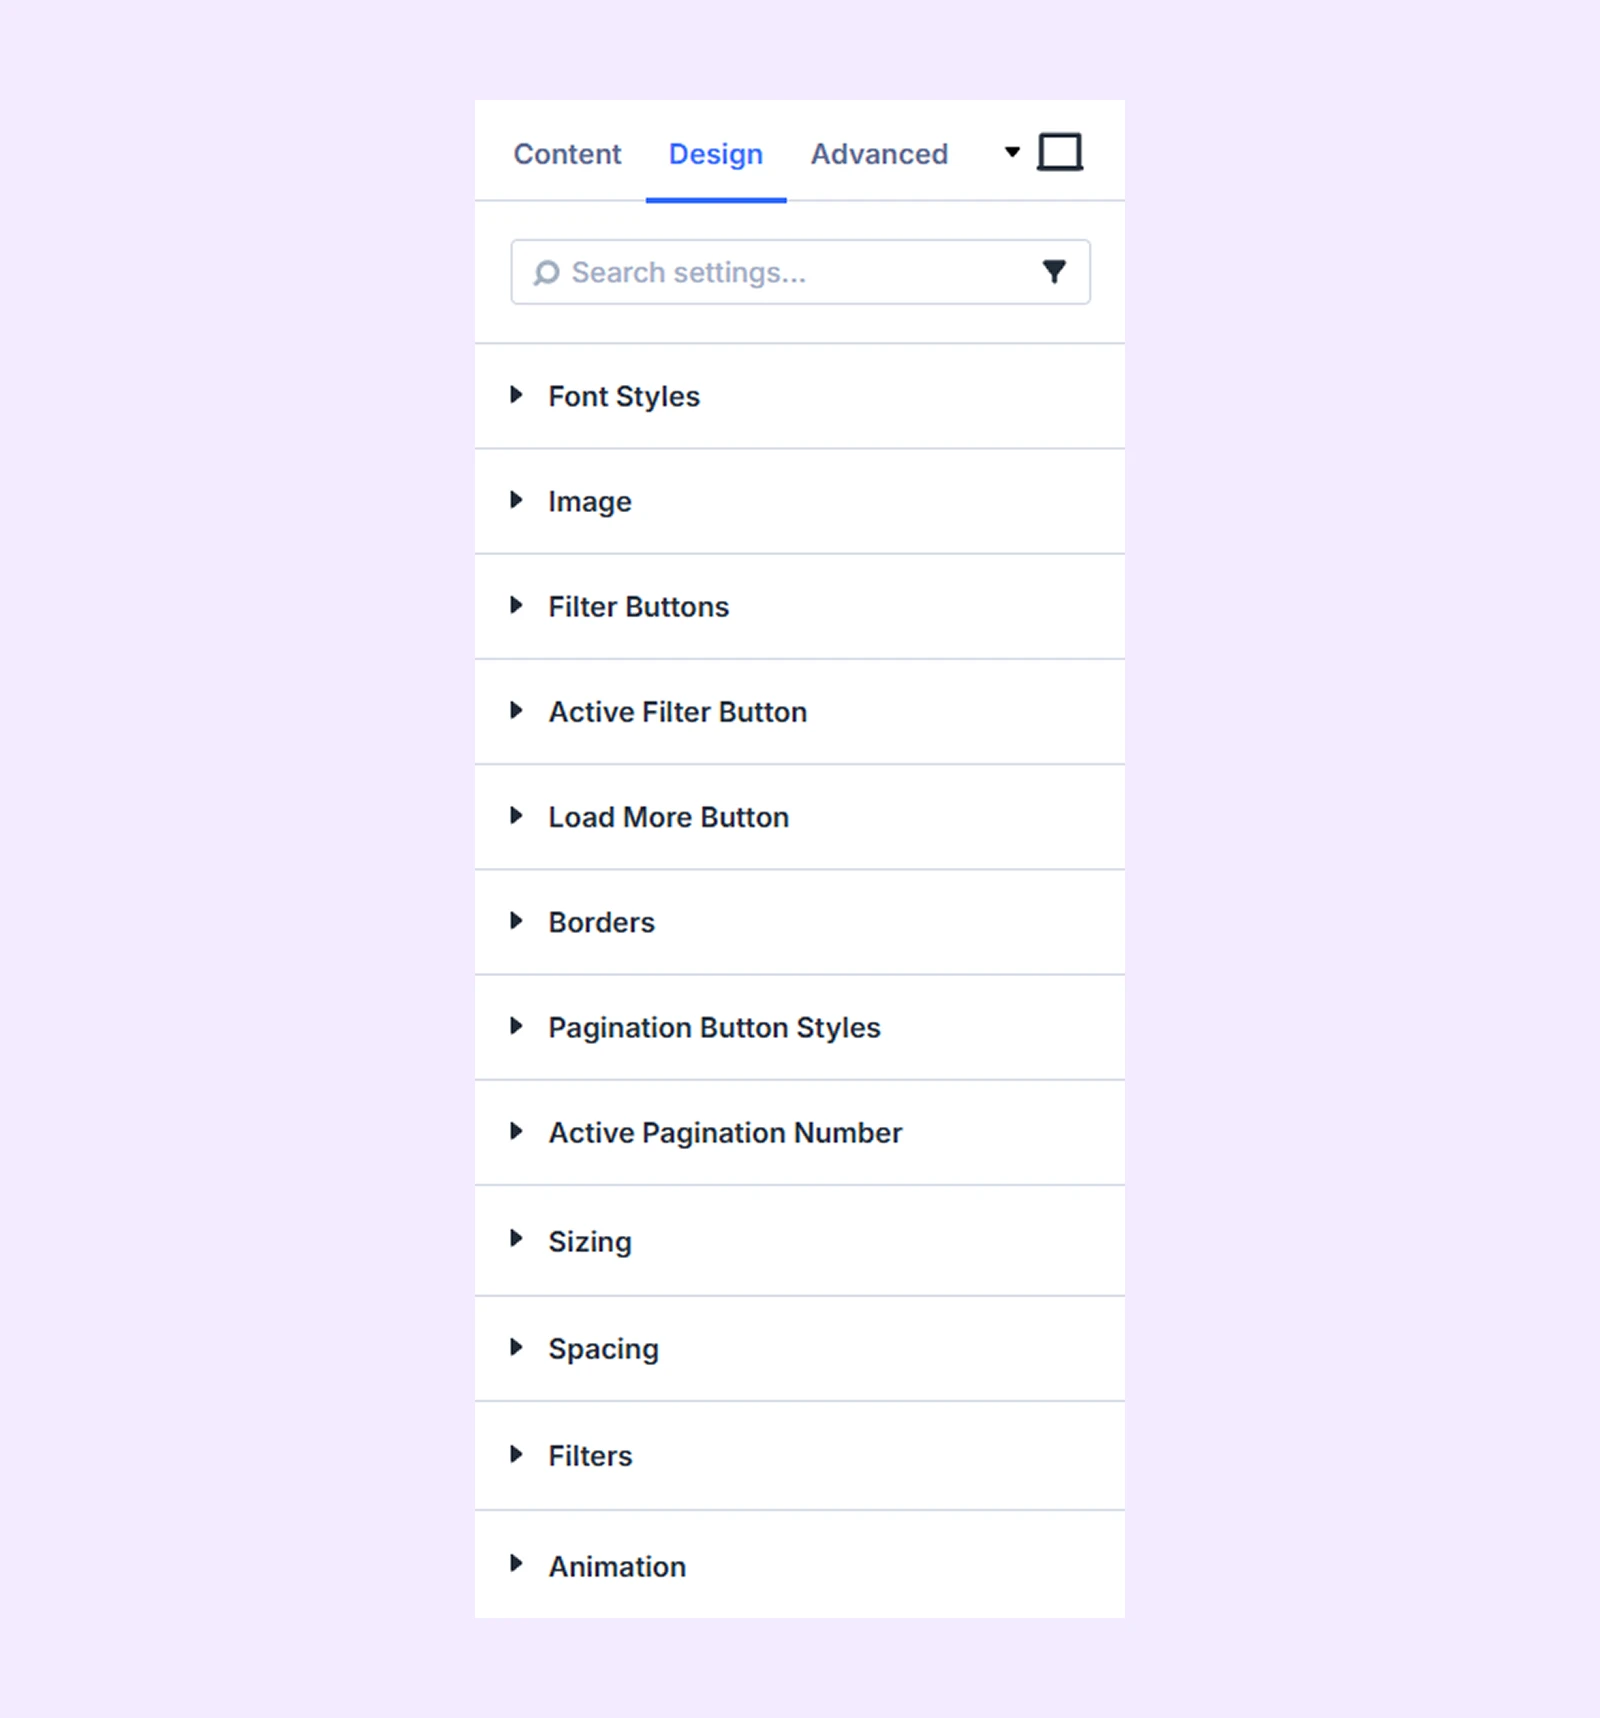
Font Styles: Typography options for the image caption and description.
Image: Color filters and shadow effects for the images in the gallery.
Filter Buttons: Alignment, typography, and border options for the filter navs. Turn on the filter nav from content tab > Gallery settings to use the functionalities here.
Active Filter Button: Alignment, typography, and border options for the active filter nav.
Load More Button
Turn on load more button to use the functionalities here.
- Alignment: Change the horizontal placement of the Load More button.
- Loading Icon Color: Pick a color for the loading icon.
The rest of the options are icon, background color and border options for the load more button.
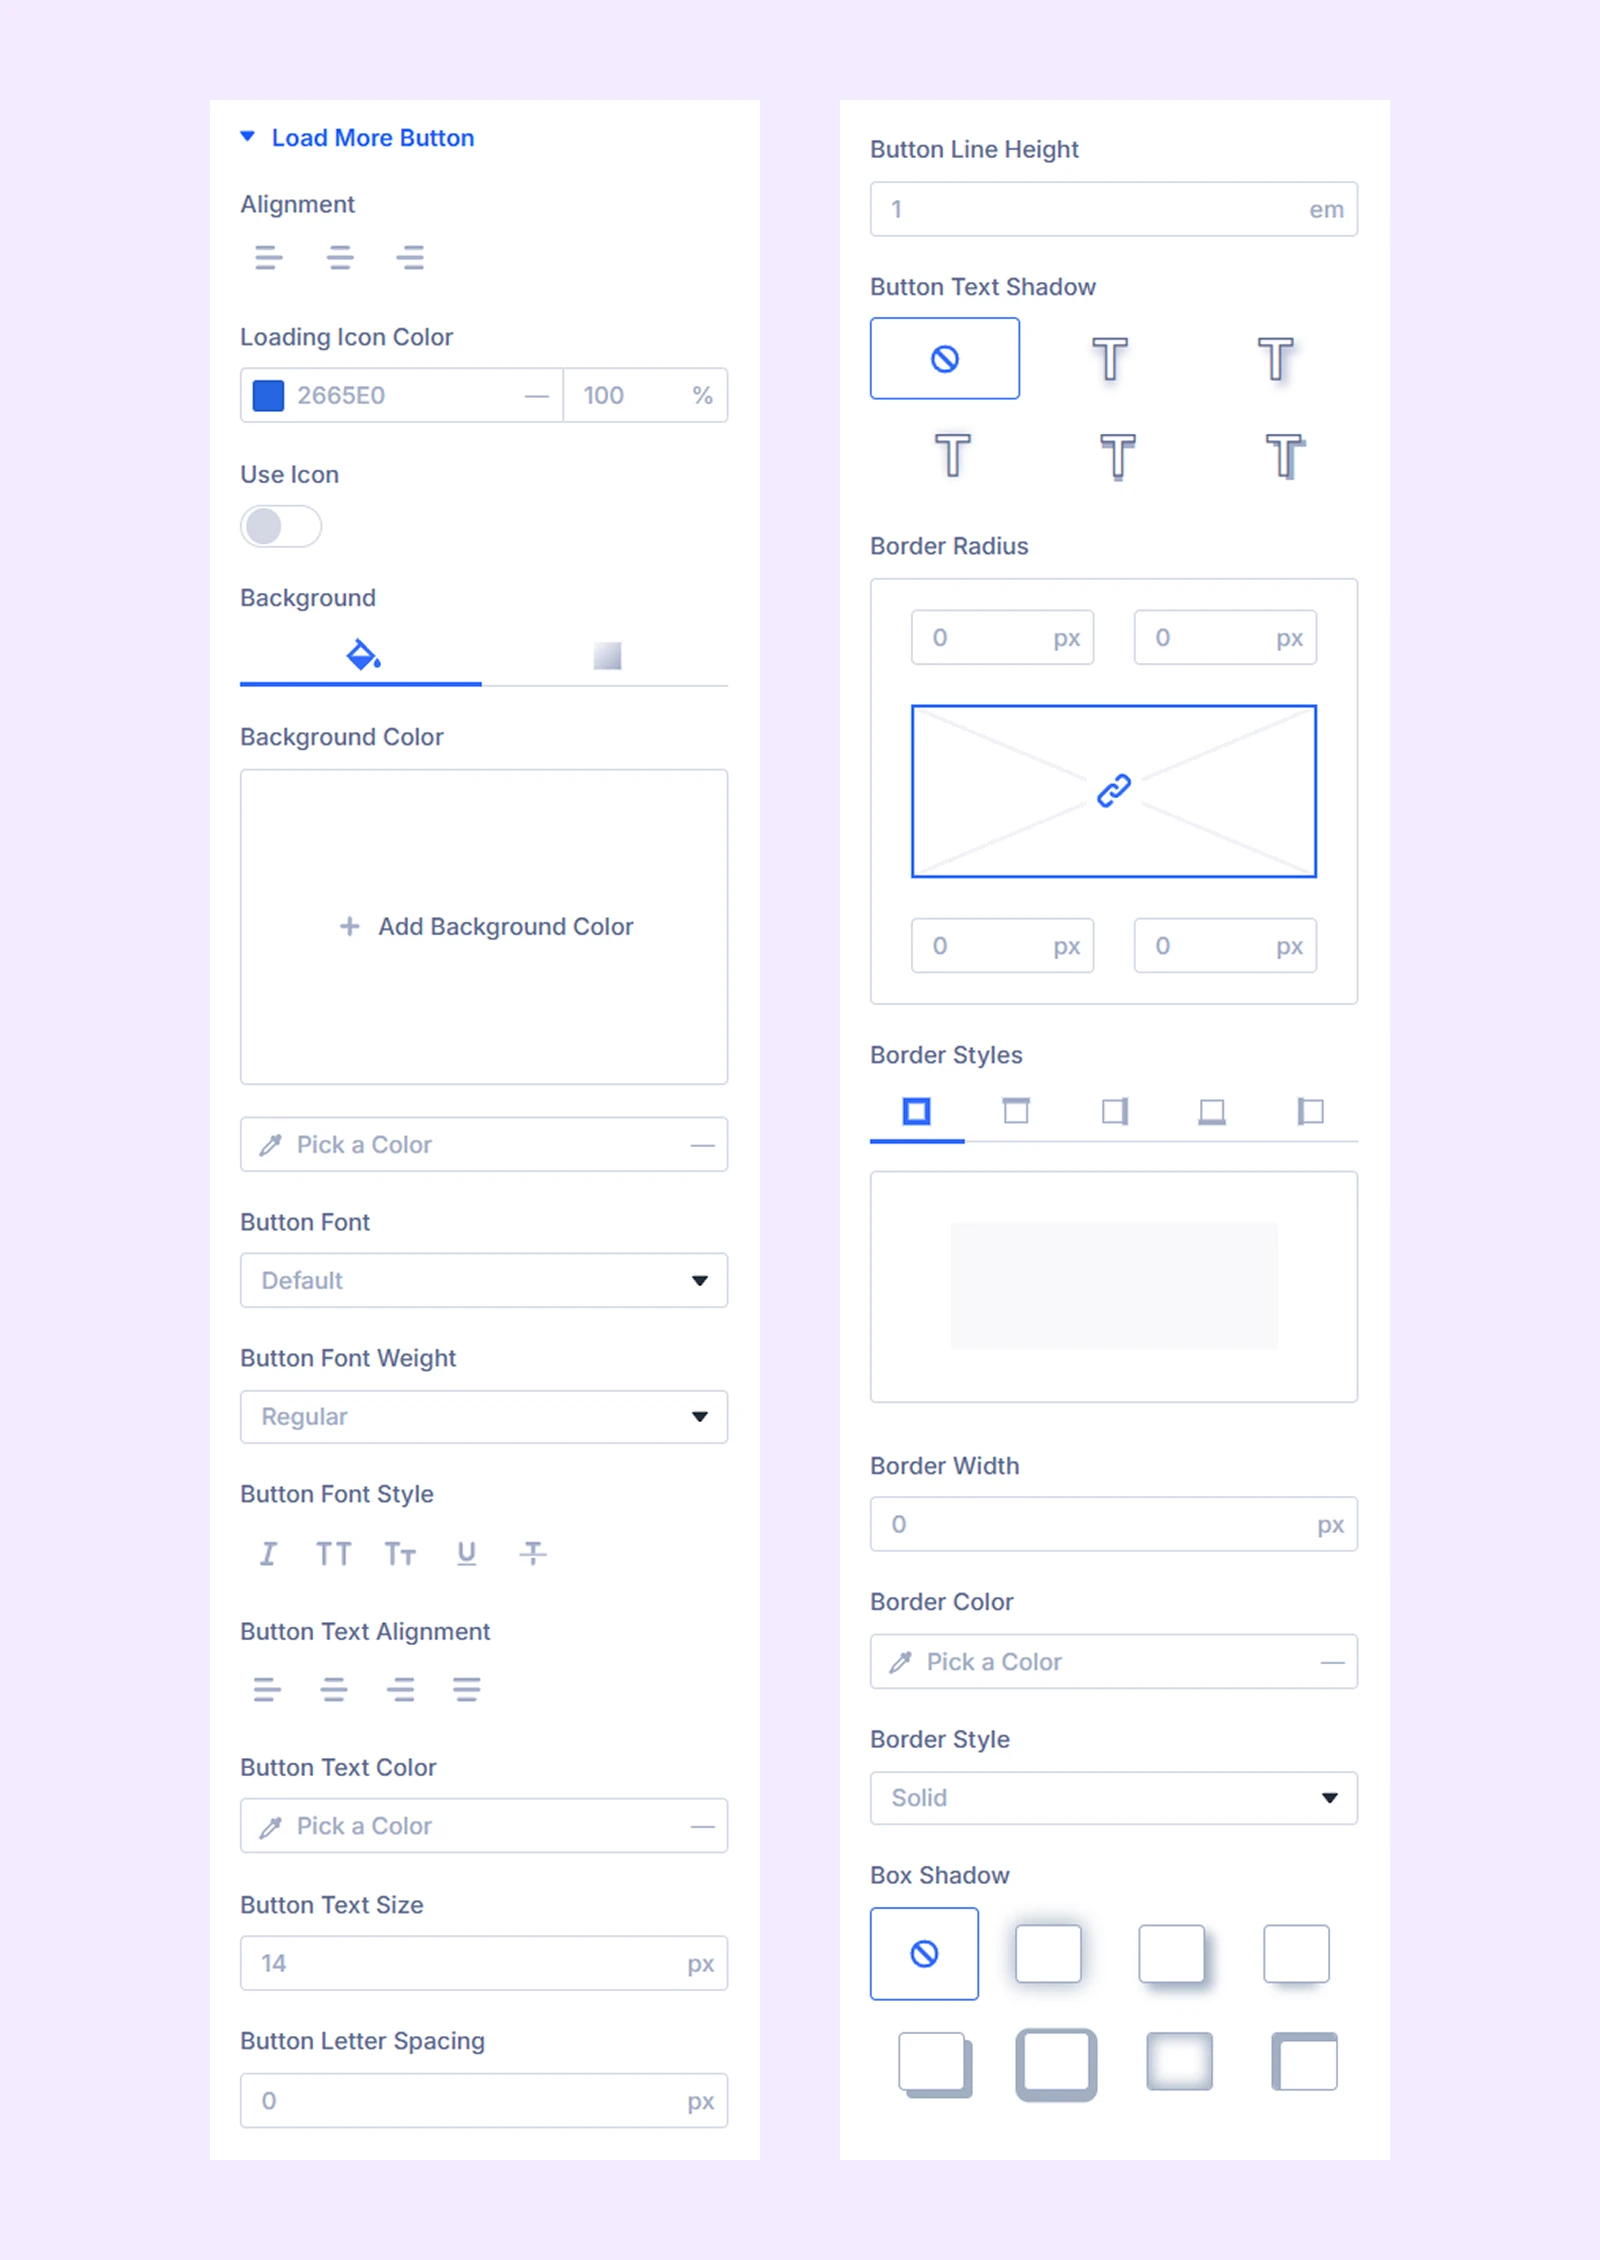
Borders: Apply borders to the gallery container and images.
Pagination Button Styles
Turn on pagination to use the functionalities described below-
- Pagination Alignment: Change the horizontal position of the arrow buttons.
Note: When selecting any alignment option other than justified, the buttons will come together, while choosing justified will maintain their separation, with one button on each end of the gallery.
- Next & Prev Icon: Choose from 4 different sets of next and previous icons for the pagination.
The next options are for changing the background, typography, and border of the pagination buttons.
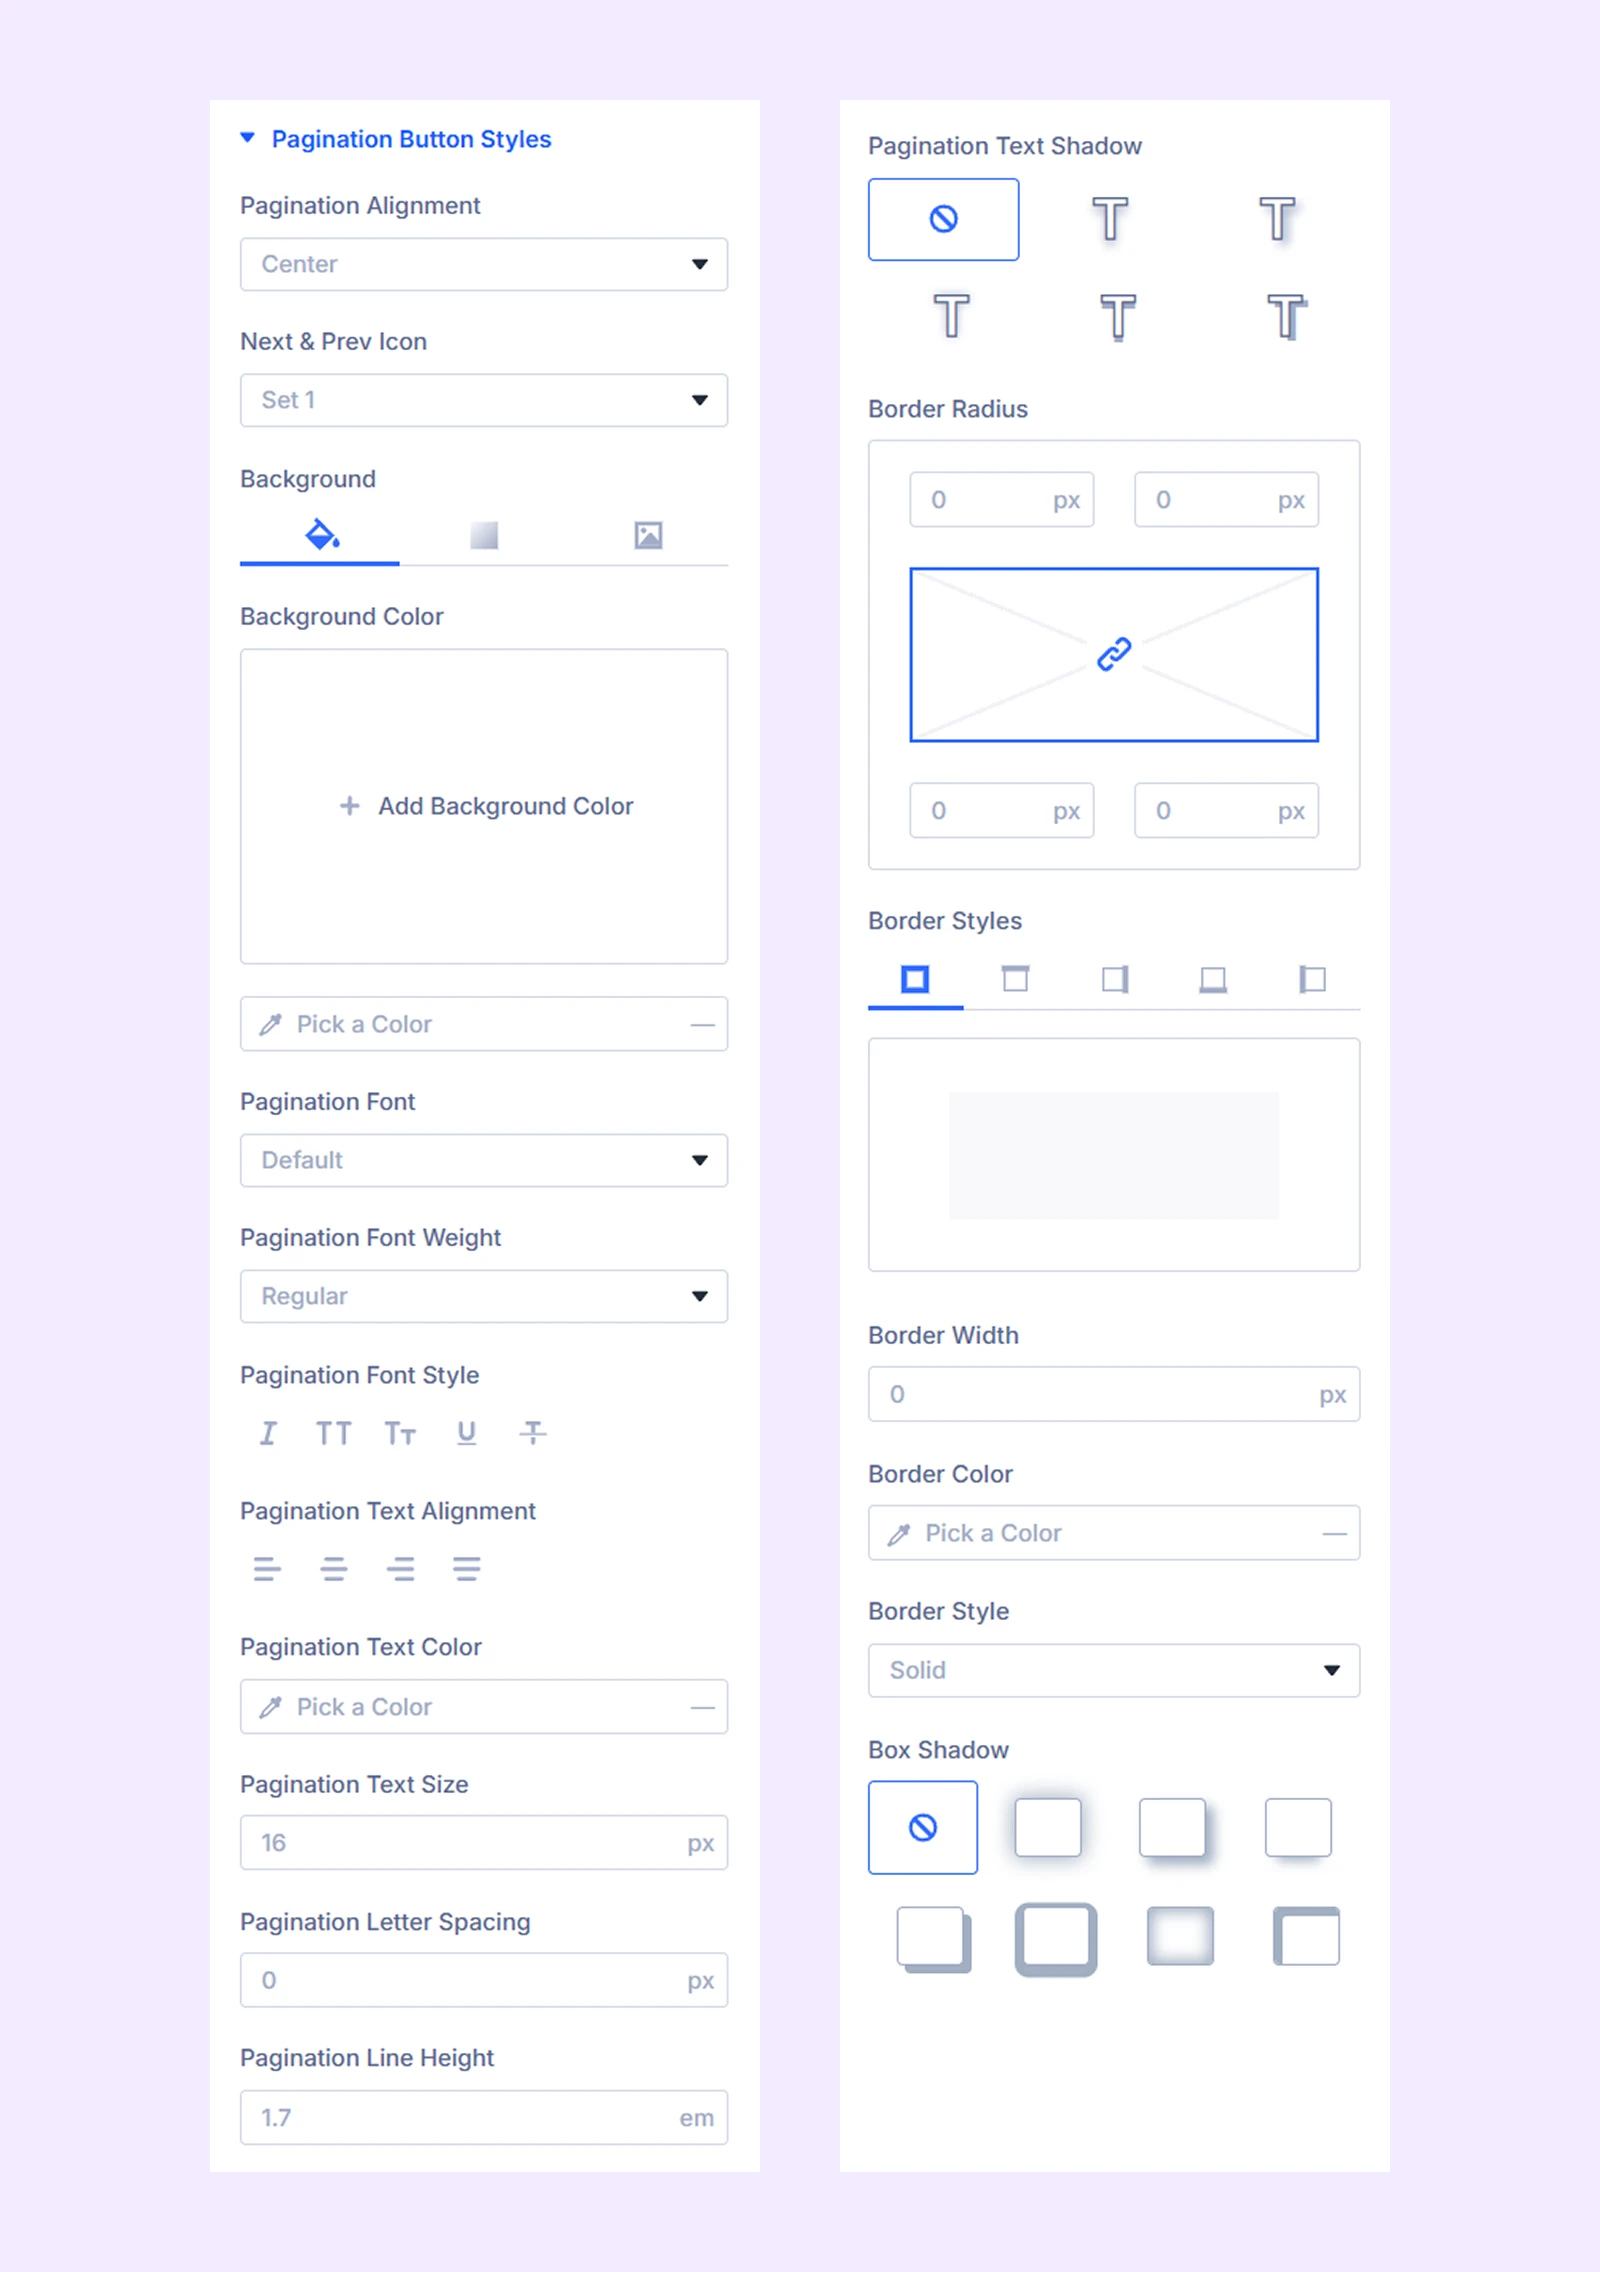
Active Pagination Number: Background, typography, and border customization options to differentiate the active pagination number. Turn on number pagination to apply these styles.
Sizing: Adjust the width, height, and alignment of the module.
Spacing: Adjust the margins and padding of the module container.
Filters: Apply color filter effects to the module.
Animation: Add reveal animation effects and control the animation style, delay, duration, and more.
Advanced Tab
This tab provides additional settings for advanced users who want greater control over the module with custom code, conditions, and more.
Advanced Gallery Item Settings
From here, you can add images to the gallery items and customize each item separately.
Content Tab
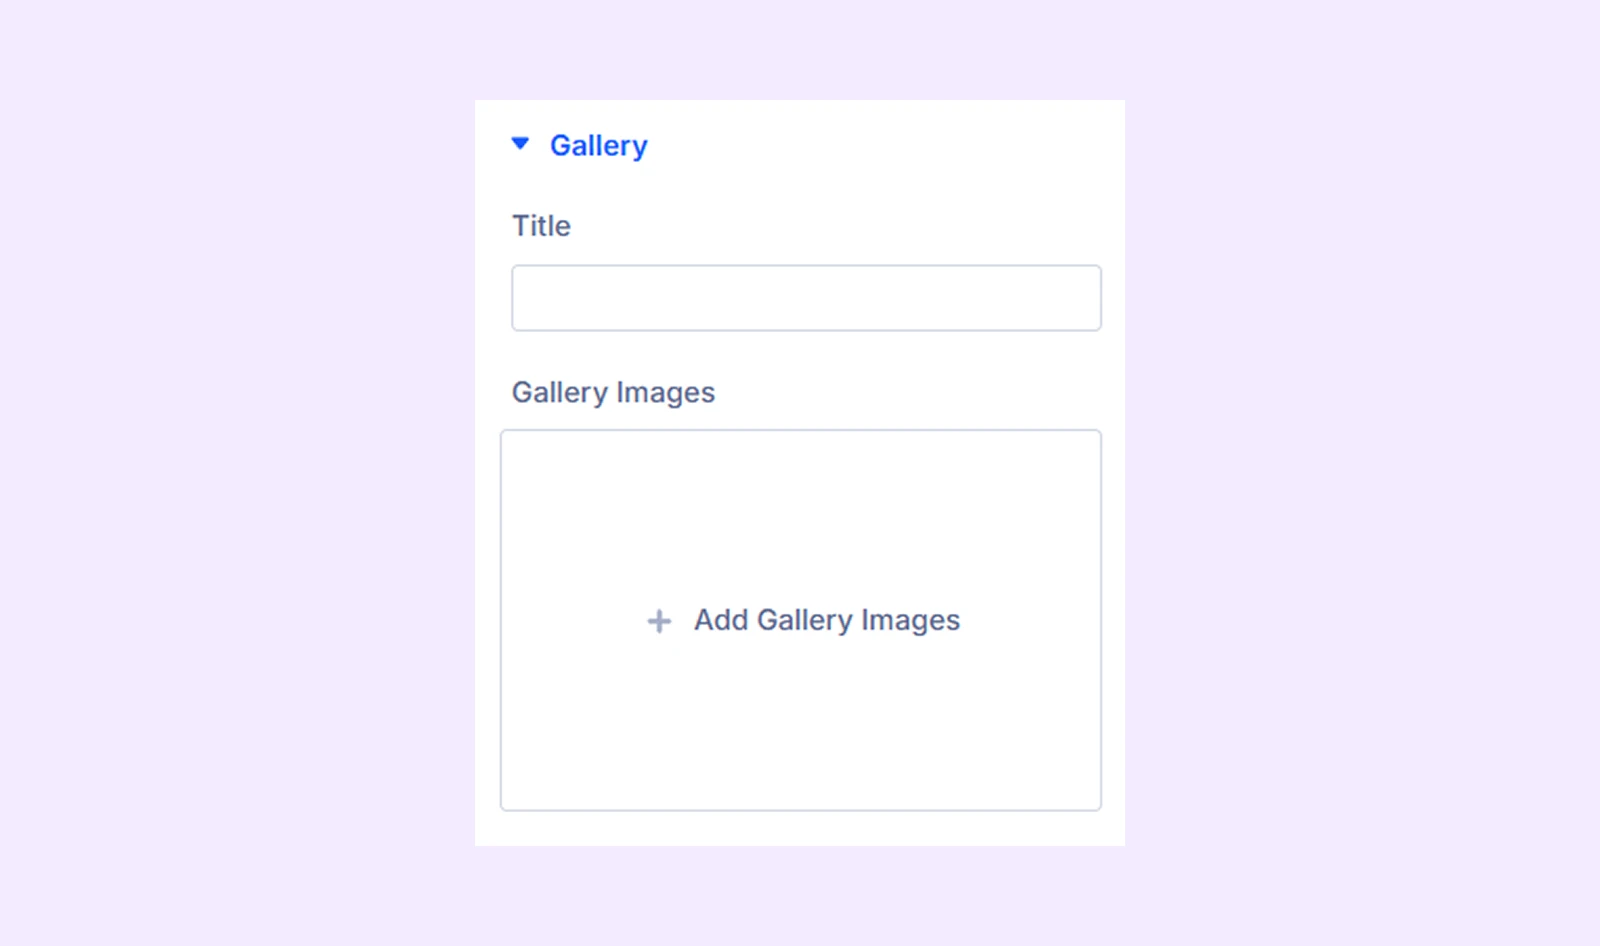
Gallery
- Title: Add a title to this gallery item.
- Gallery Images: Add the necessary images to this gallery item.
Element Label: Rename the item for easier identification (visible only to you).
Advanced Tab
This tab provides additional settings for advanced users who want greater control over each specific advanced gallery item.
Need Help?
If you have any questions or need assistance, contact our support team: [email protected]