

A well-organized FAQ section is essential for any website, as it helps answer common questions and improves the website’s search engine visibility with rich snippets.
In this guide, we will show you how to create a FAQ section in Divi using the DiviFlash FAQ module.
Let’s make something professional and visually appealing.
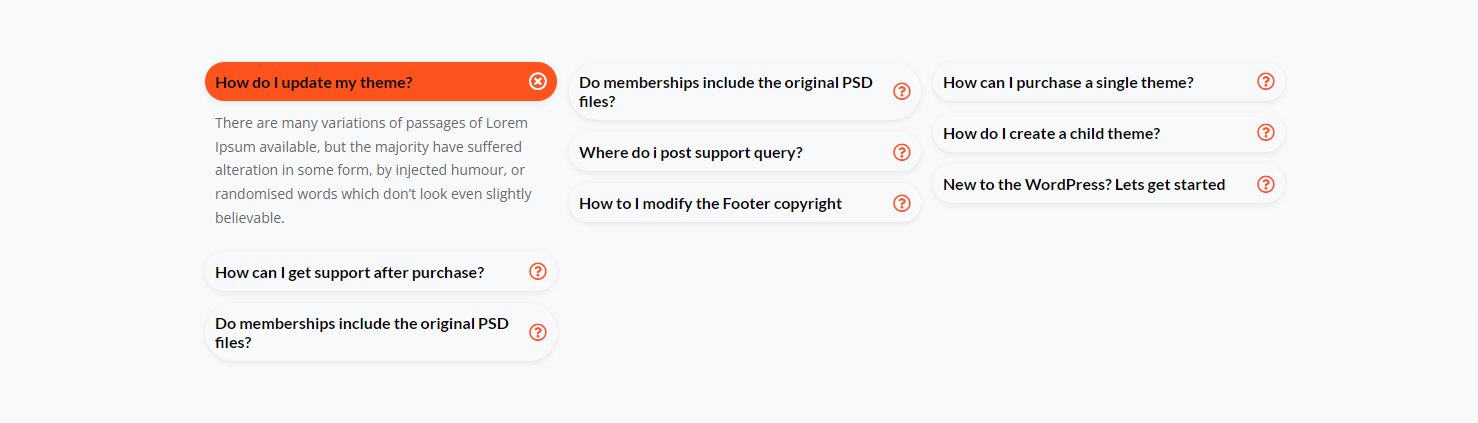
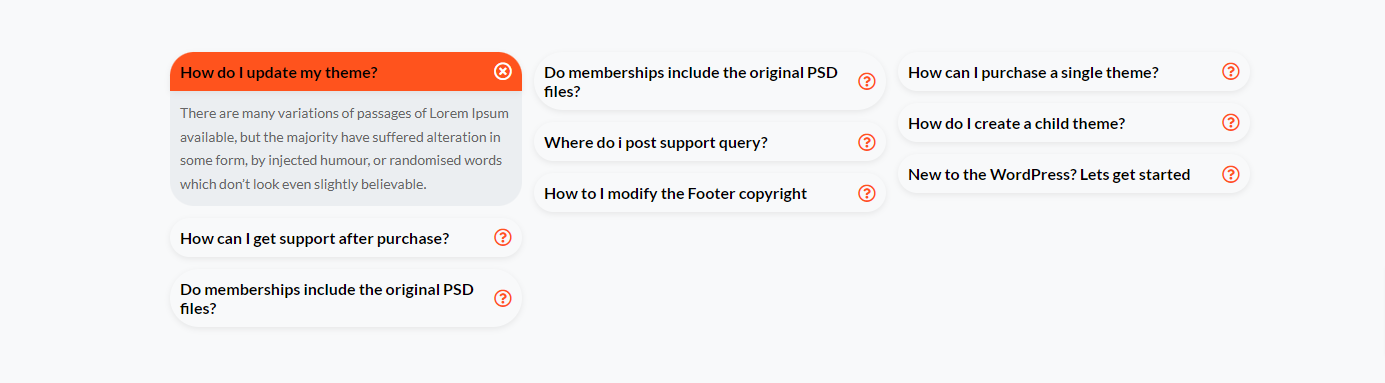
To demonstrate the FAQ Section creation process, we will recreate one of our demo designs showcasing a bunch of questions and answers in a grid layout. The result will look exactly like this: |
Step 1: Install and Activate the DiviFlash Plugins
First, purchase the DiviFlash plugin from their websites. (It includes 50+ other modules besides the FAQ module). Then navigate to your WordPress Dashboard and follow the instructions below,
- Go to “Plugins” > “Add New Plugin.”
- Click “Upload Plugin” and choose “Choose File”
- Select the DiviFlash ZIP file and click “Install Now.”
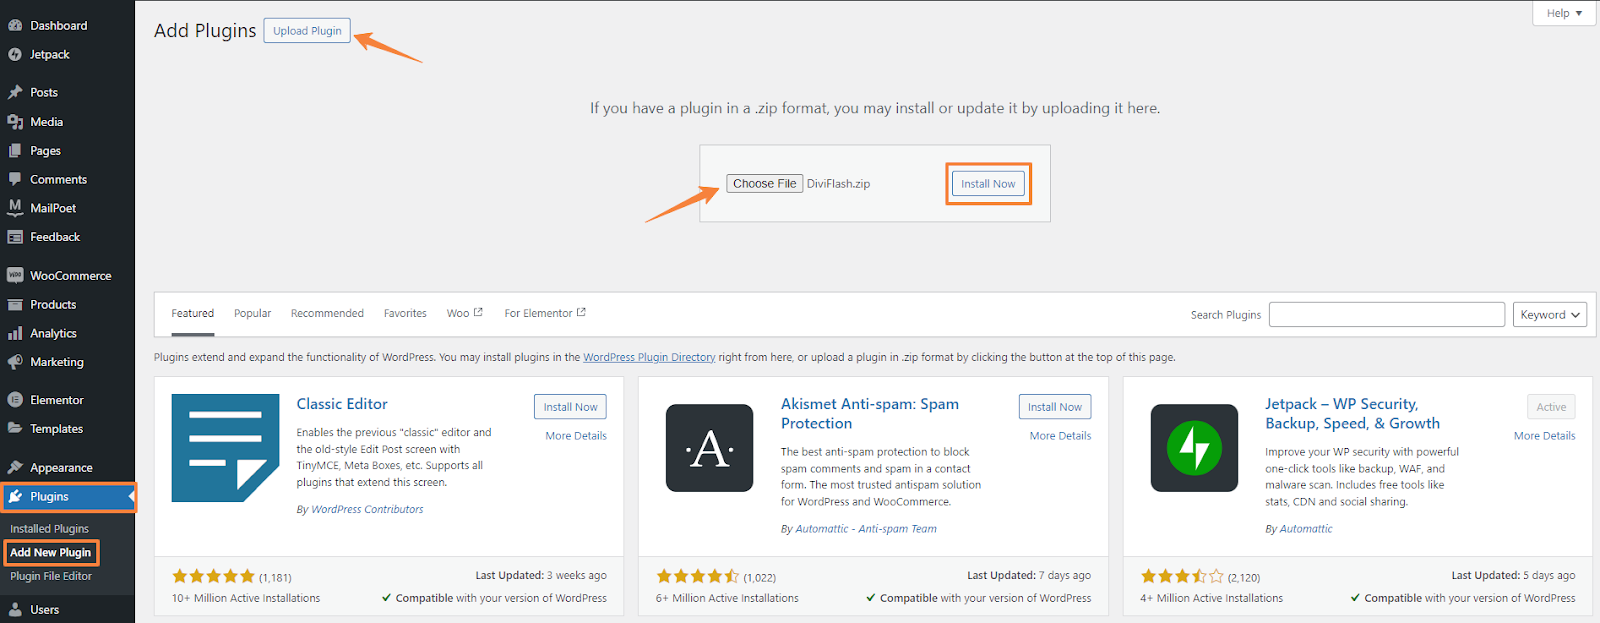
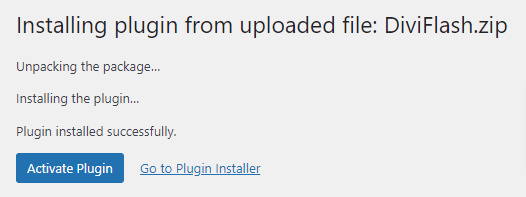
- After successful installation, click “Activate” to activate the DiviFlash plugins.
The FAQ module may not be enabled by default, so you might need to enable it manually. To do this,
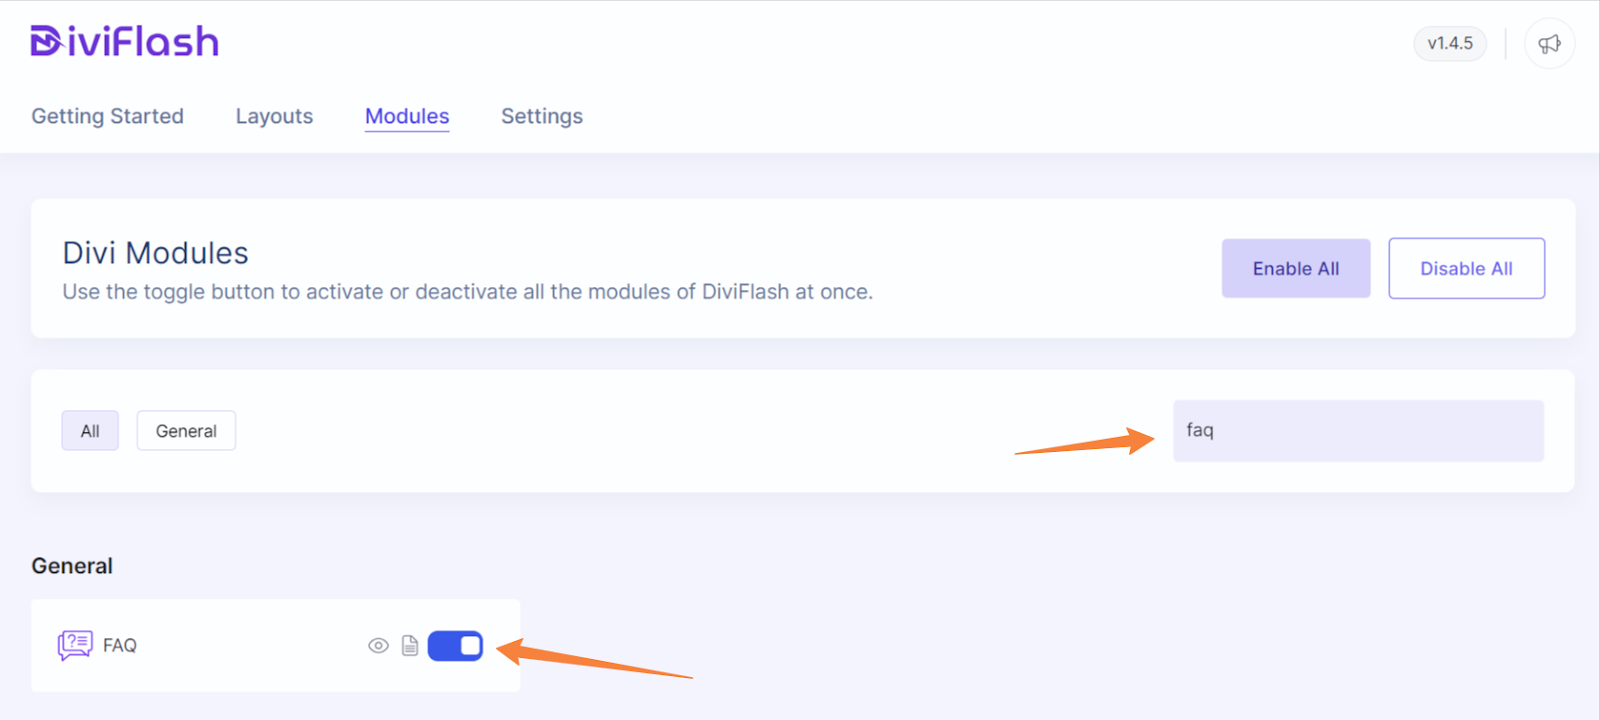
- Navigate to WordPress Dashboard > DiviFlash > Modules tab,
- Search for the “FAQ module” module, and enable it. Or, simply click on Enable All.
Step 2: Insert the FAQ module
Once we are done with the plugin installation process, It’s time to move on to adding our FAQs section. But, first, we need to add a page since we are building a FAQ section from scratch. You can also design a FAQ section for an existing page.
Simply follow the steps,
- Go to your WordPress dashboard.
- Navigate to “Pages” and click “Add New Page.”
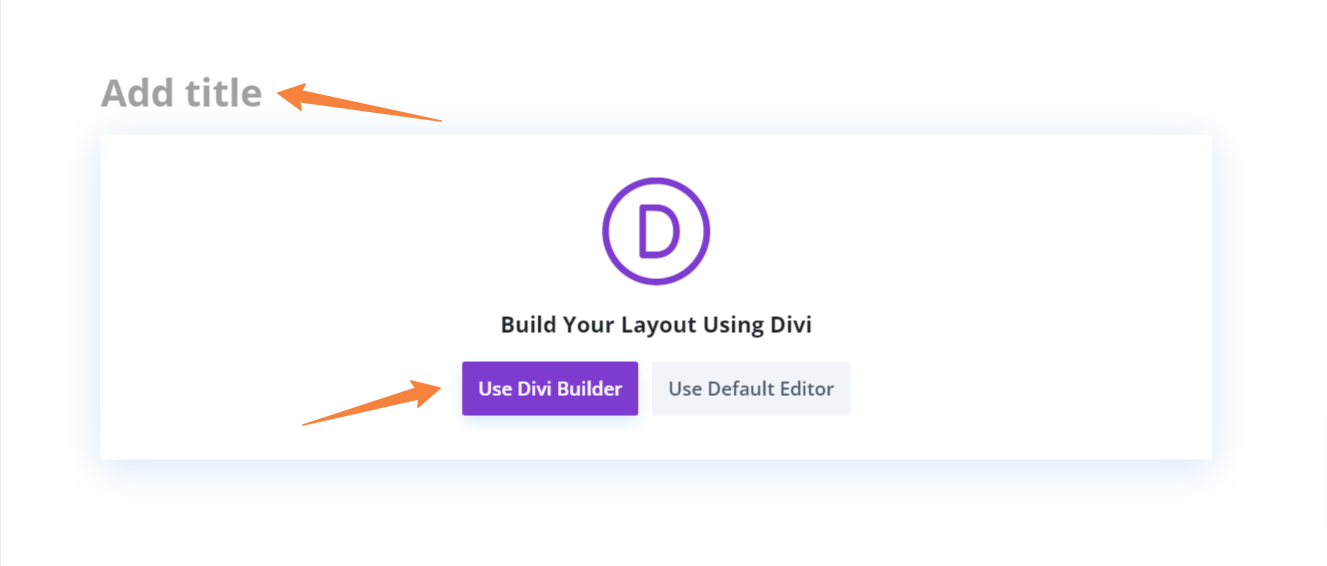
- Give your page a title and click “Use Divi Builder.”
- Select “Build From Scratch” from the three options and choose your desired column structure.
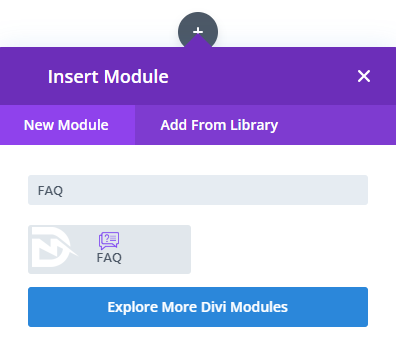
- A modal with the available module will appear now. Search for the “FAQ” module and click on to insert it.
Step 3: Add Your FAQ with the Answer
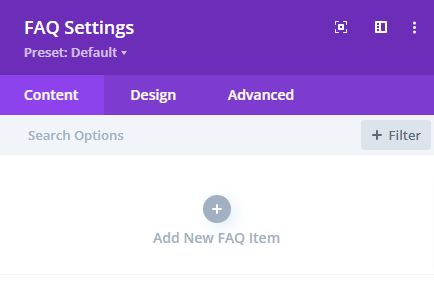
As soon as we insert the module a FAQ settings panel will appear. By default, you will get three FAQ items which you can modify for further use. Instead, you can create FAQs from scratch with the “Add New Item” option. We will add a new item to our FAQ section and delete the existing one.
Simply follow the steps,
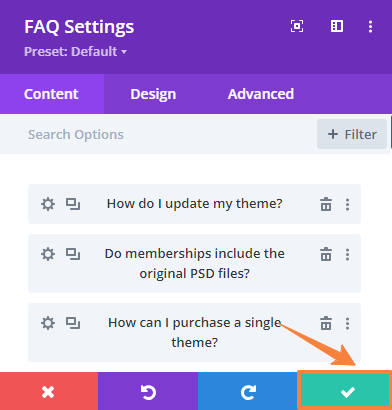
- Click on the “Add New FAQ” Item to insert the FAQ.
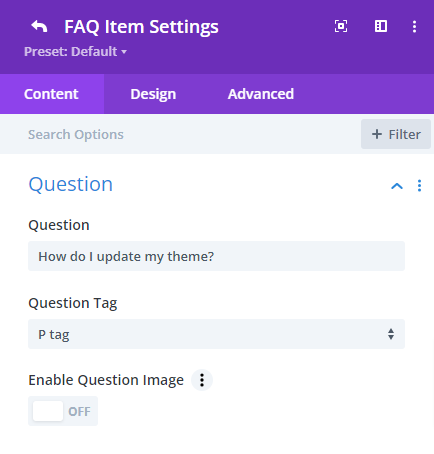
- Now, set your question and its tag. We will be using the “P” tag and will keep the “Enable Question Image” as it is since we won’t have any images in our demo.
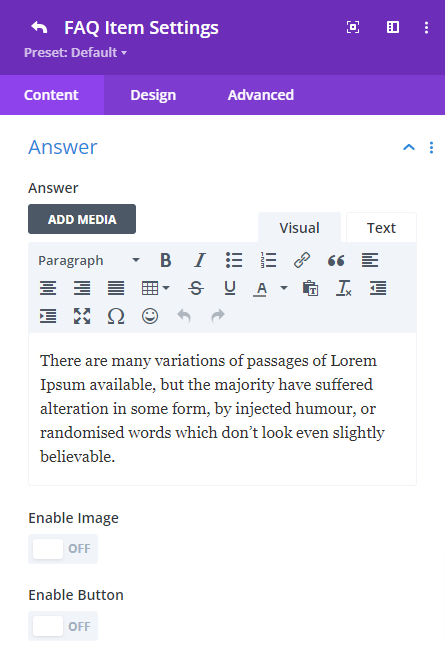
- Next, enter your answer in the text editor. We’ll leave the rest of the settings as they are. If you want to hide your FAQ on a specific device you can use the ‘Hide FAQ’ settings.
- After inserting the FAQ items, click the back button in the top left corner to return to the main settings panel to add a new item.

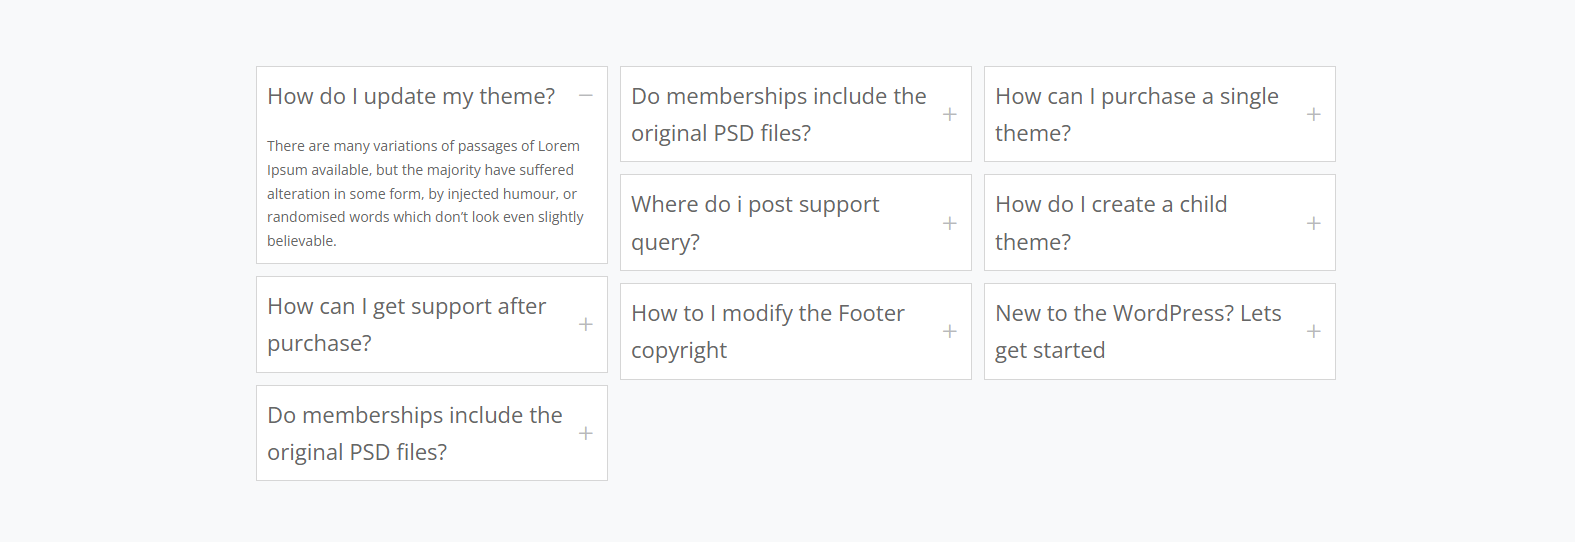
For our design requirement, we will add a total of 9 FAQs with answers. Save changes and preview the gallery. It will look like the image below.
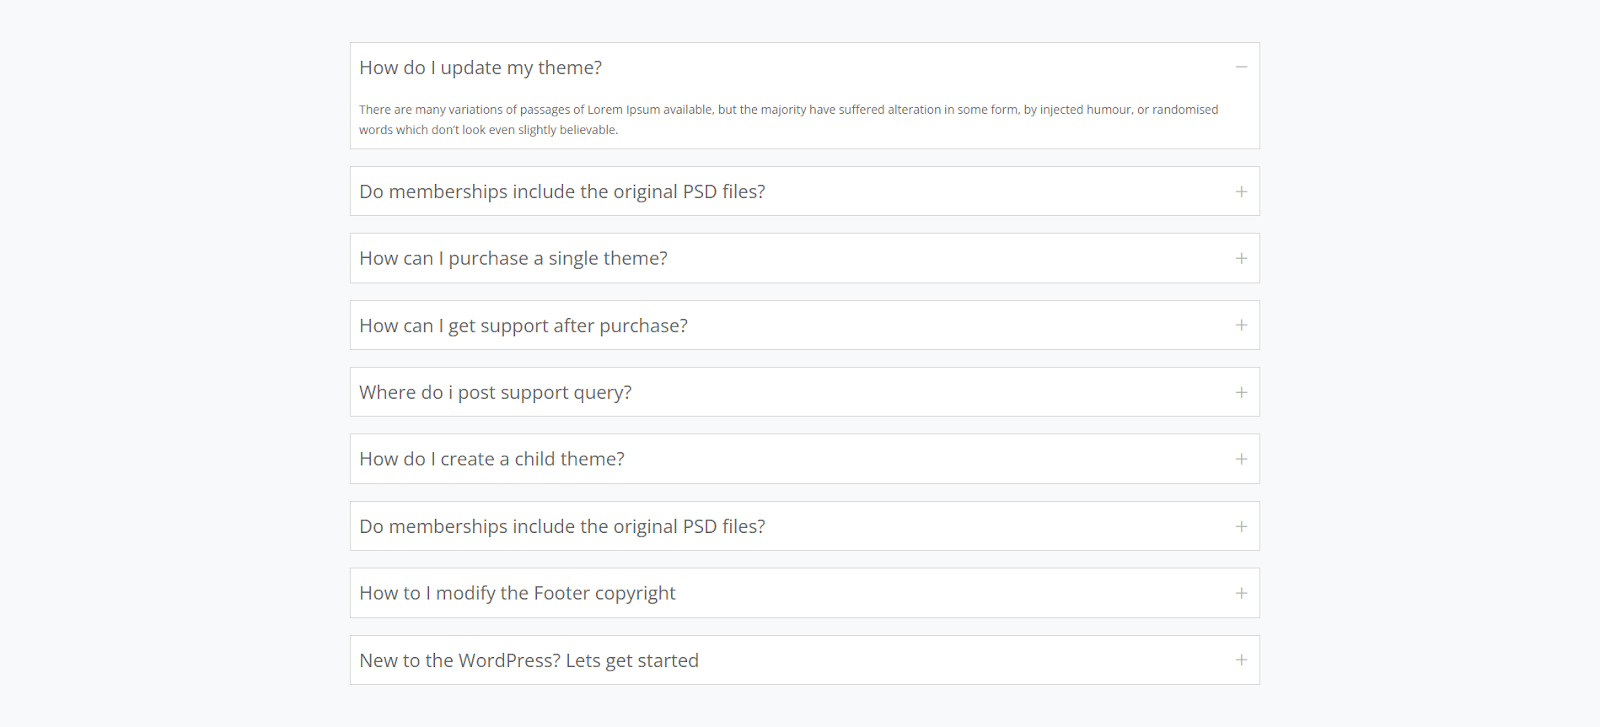
This is just the default look. We will enhance our Divi FAQ section with various design options to match our chosen style.
Step 4: Enable Schema Markup for Rich Snippets
The best thing about the DiviFlash FAQ module is that it is FAQ schema-optimized. This helps your FAQs show up as rich snippets in search results like this one,

To enable Schema, navigate to Content tab > Schema, and toggle the Enable Schema option. It will automatically generate schema data for SEO.
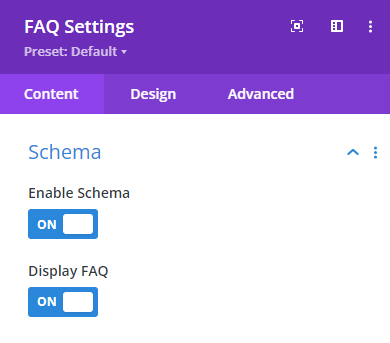
You can also hide the FAQ by deactivating it, but the schema data will still be generated for SEO purposes.
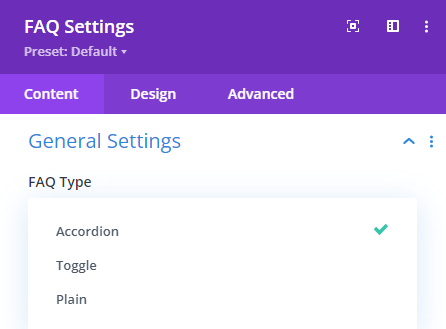
Step 5: Select Your FAQ Type and Layout
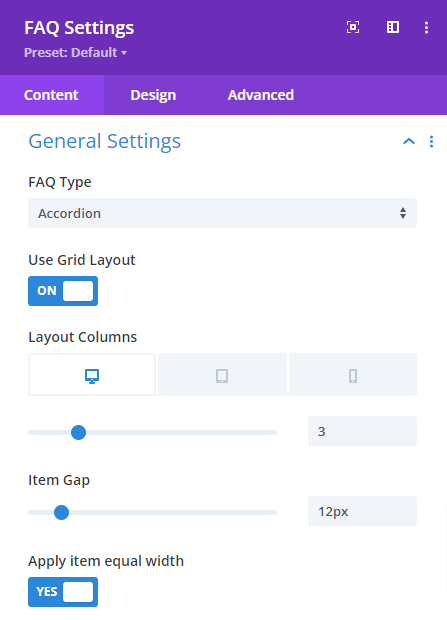
To change the FAQ layout, navigate General Settings in the content tab. The default FAQ type is “Accordion” and we will keep it as it is. You can also choose Toggle or Plain.
Next, toggle ‘Use Grid Layout,’ set the layout number 3, and the item gap to 12px according to our design requirements.
For an optimal viewing experience, we will enable the “Apply item equal width”.
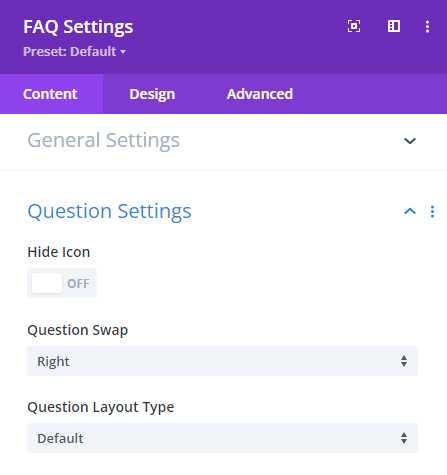
You can also adjust the Question Layout Type, swap its position, and hide the icon. We’ll keep the default settings for our design.
Finally, our FAQ section will look like this,
Step 6: Customize and Style the FAQs
Move to the Design Tab to customize and style the FAQs. You will also get a design tab with every faq section, but these customizations are only limited to that item.
In the global Design tab, the options apply to all FAQs. Since our design uses only global customizations, we’ll apply them step by step below.
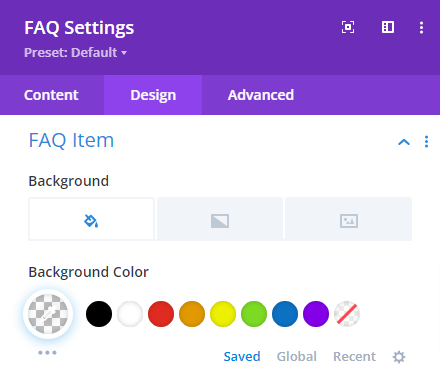
FAQ Item Settings: Used to apply changes to individual FAQ items.
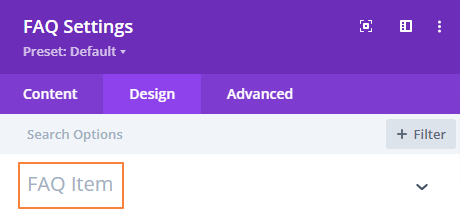
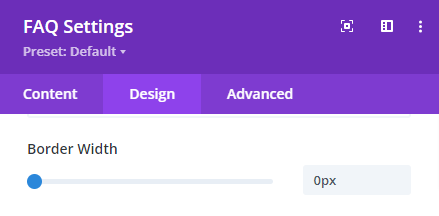
By default, the FAQ item has a border around it. For our example, we will remove the Border Width and make it zero from the FAQ Item section. Also, remove the background and set it to transparent.
 |  |
Style the question
In order to style the question the module offers five different settings. We will apply some changes to each of them.
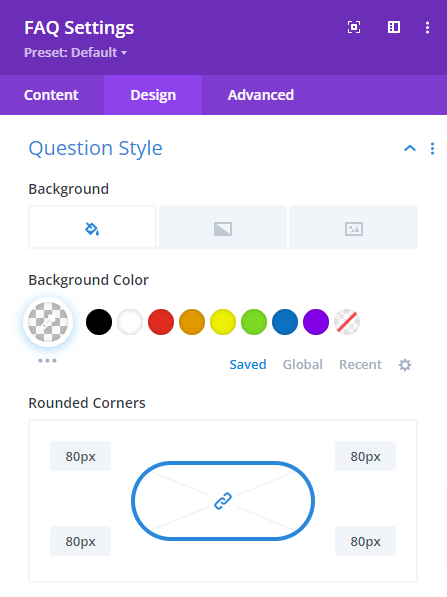
Question Style Settings: Used to make changes to questions when they are closed (before opening any FAQ question).
From the Question Style section, set the background color to transparent, then move to the Rounded Corner option and set the value to 80px.
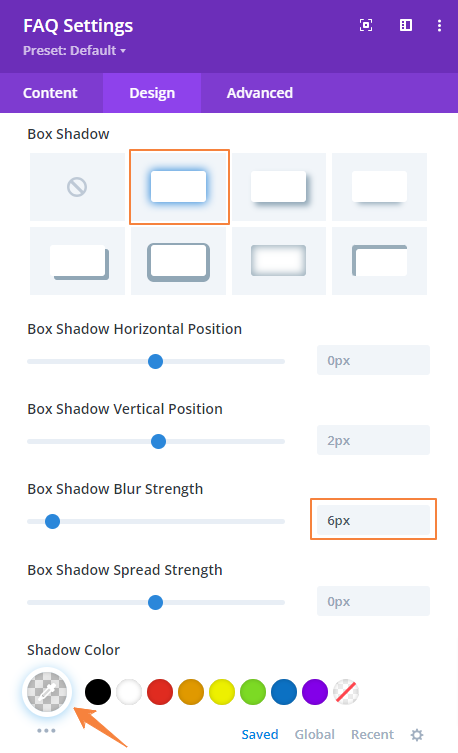
We will apply Box Shadow (Slight grey) to separate the question bar from the background. While we will keep the default setting for most of the settings, only set the Box Shadow Blur Strength to 6px.
Question Opened Style Settings: Used to make changes to questions when they are open (after opening any FAQ question to see the answer).

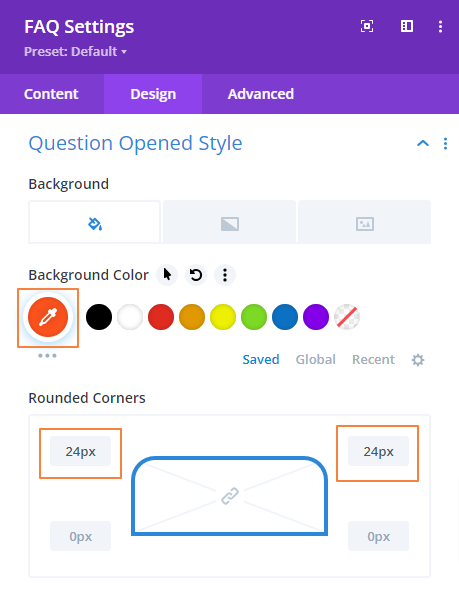
In the Question Opened Style, we will change the background color to dark orange (Color code: #ff531d) just like the demo.
Then make a little change to the rounded corner. Just like the image below set the upper corner value to 24px.
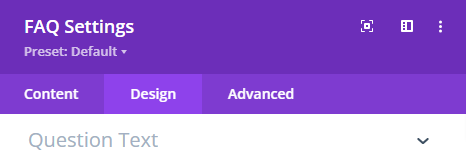
Question Text Settings: Used to adjust all text-related aspects to customize the look and feel of the question.
You’ll find two options in the Question Text settings:
- Text
- Opened text
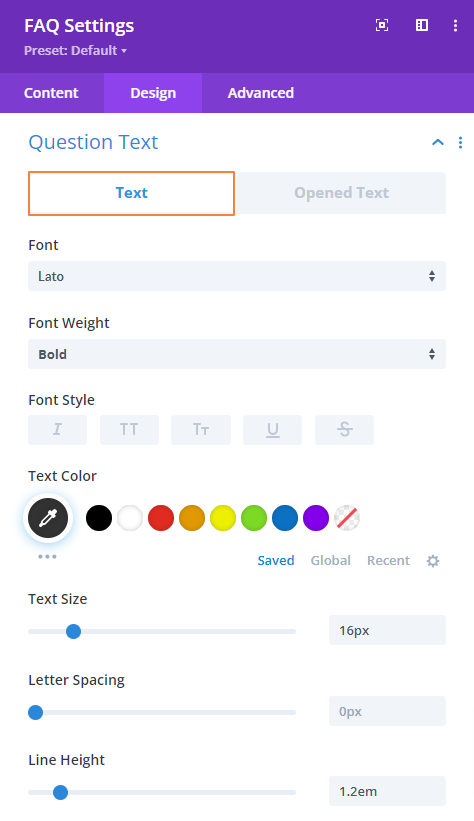
Text
For the default question text, we will set the font to “Lato,” the official Divi font, make it Bold, and change the text color to dark black to match our design.
Since the default font size is a little bigger, we will set it to 16px, keep the letter spacing zero, and set the line height to 1.2em.
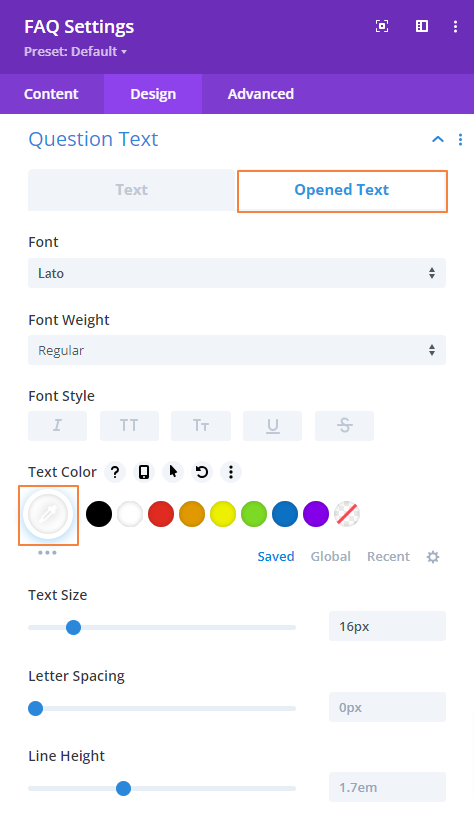
Opened Text
For the Opened Text, set the font to “Lato,” the official Divi font, keep the font-weight regular, and change the text color to White.
Also, set the font size to 16px and keep the rest of the settings unchanged.
Question Icon Settings: Used to add an icon on the FAQ’s closed and opened state.
For the question icon, you have two options:
- Icon
- Opened Icon
You can choose different icons for each scenario.
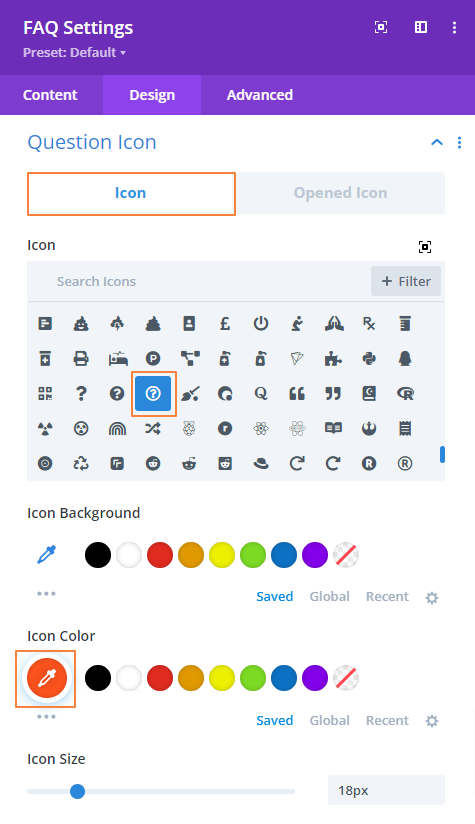
Icon
We’ll set a question mark as the icon for the default state, then change its color to orange (Code: #ff531d). Finally set the icon size to 18px.
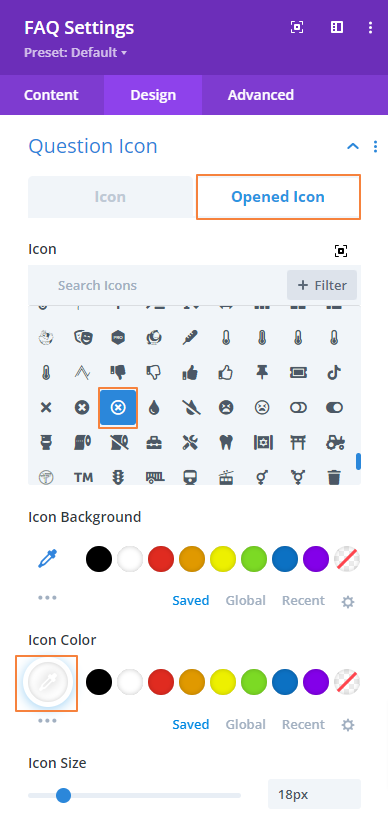
Opened Icon
Similarly, we’ll set a cross mark as the icon for the opened state, then change its color to white. Finally set the icon size to 18px.
So far, this is what our FAQ section looks like,
Style the Answer
To style the Answer, the module offers five different settings. We will apply some changes to only two of them.
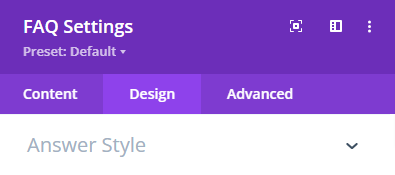
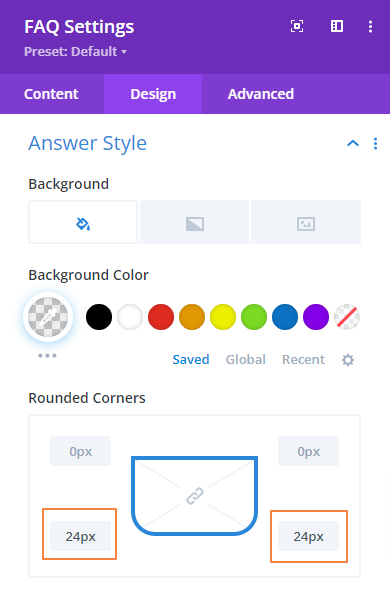
Answer Style: Used to make changes to the FAQ answers.
First, set the background color to light gray (rgba 206,212,218,0.3) to make it different from the section background.
Then make a little change to the rounded corner. Just like the image below set the lower corner value to 24px.
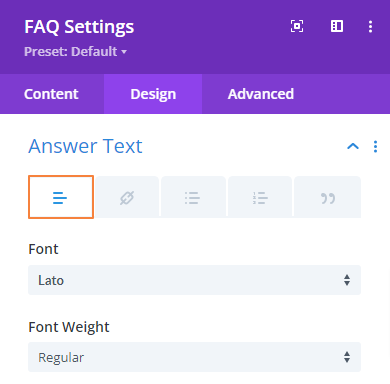
Answer text: Used to adjust the appearance of all the answer text.

For our example, we will set the alignment to left, the font to “Lato,” and change the text color to dark black to match our design. All other settings will stay at their default.
Note: There you have four other options (link text, numbering, bulleting, and quotes) but that won’t be necessary in our case.
This is what our FAQ section looks like now,
Apply Custom Spacing
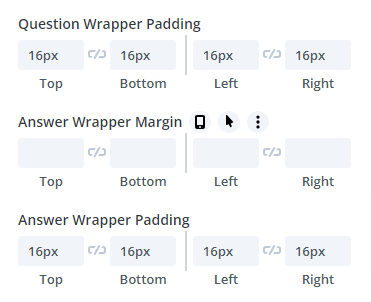
To add custom spacing simply navigate to the Custom Spacing setting from the Design tab. Here, made the following changes only.
- Question Wrapper Padding: 16px
- Answer Wrapper Padding: 16px
So far we are done with our FAQ related customization. Just save changes to preserve the settings.
Now we will adjust the row spacing from the Row Settings, enable Schema, and add our FAQ section header.
Apply Custom Spacing and Width
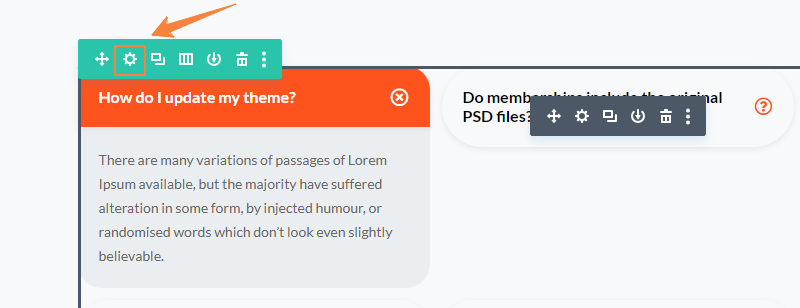
We’ll adjust the FAQ section by increasing its width for a better look. Navigate to Row Setting > Design Tab > Sizing, and set the max width to 1410px.

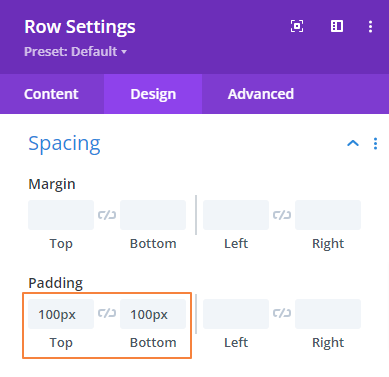
Then, navigate to Row Setting > Design Tab > Spacing, and set the top and bottom padding to 100px.
If your gallery requires a heading and description to express it you can use the default text or heading module. Start by adding a column, then insert the module, and finally customize the header as needed.
Preview Your FAQ Section
Now that our FAQ section is ready to publish.

Conclusion
This was all about how to add FAQs in Divi. By following the steps outlined in this guide, you can easily create a polished and functional FAQ layout in Divi that enhances your website’s usability.
If you encounter any issues or need further customization, don’t hesitate to explore DiviFlash’s versatile features or reach out for additional support.


0 Comments