The DiviFlash Advanced Menu module includes additional settings in the WordPress dashboard. These settings let you create mega menus, add icons or images, display tooltips and badges, and more.
Let’s take a quick look at the available settings.
Getting Started
To access the Advanced Menu dashboard settings, go to Appearance > Menus. Create a new menu or select an existing one, then enable the Enable/Disable DiviFlash Menu Settings option.
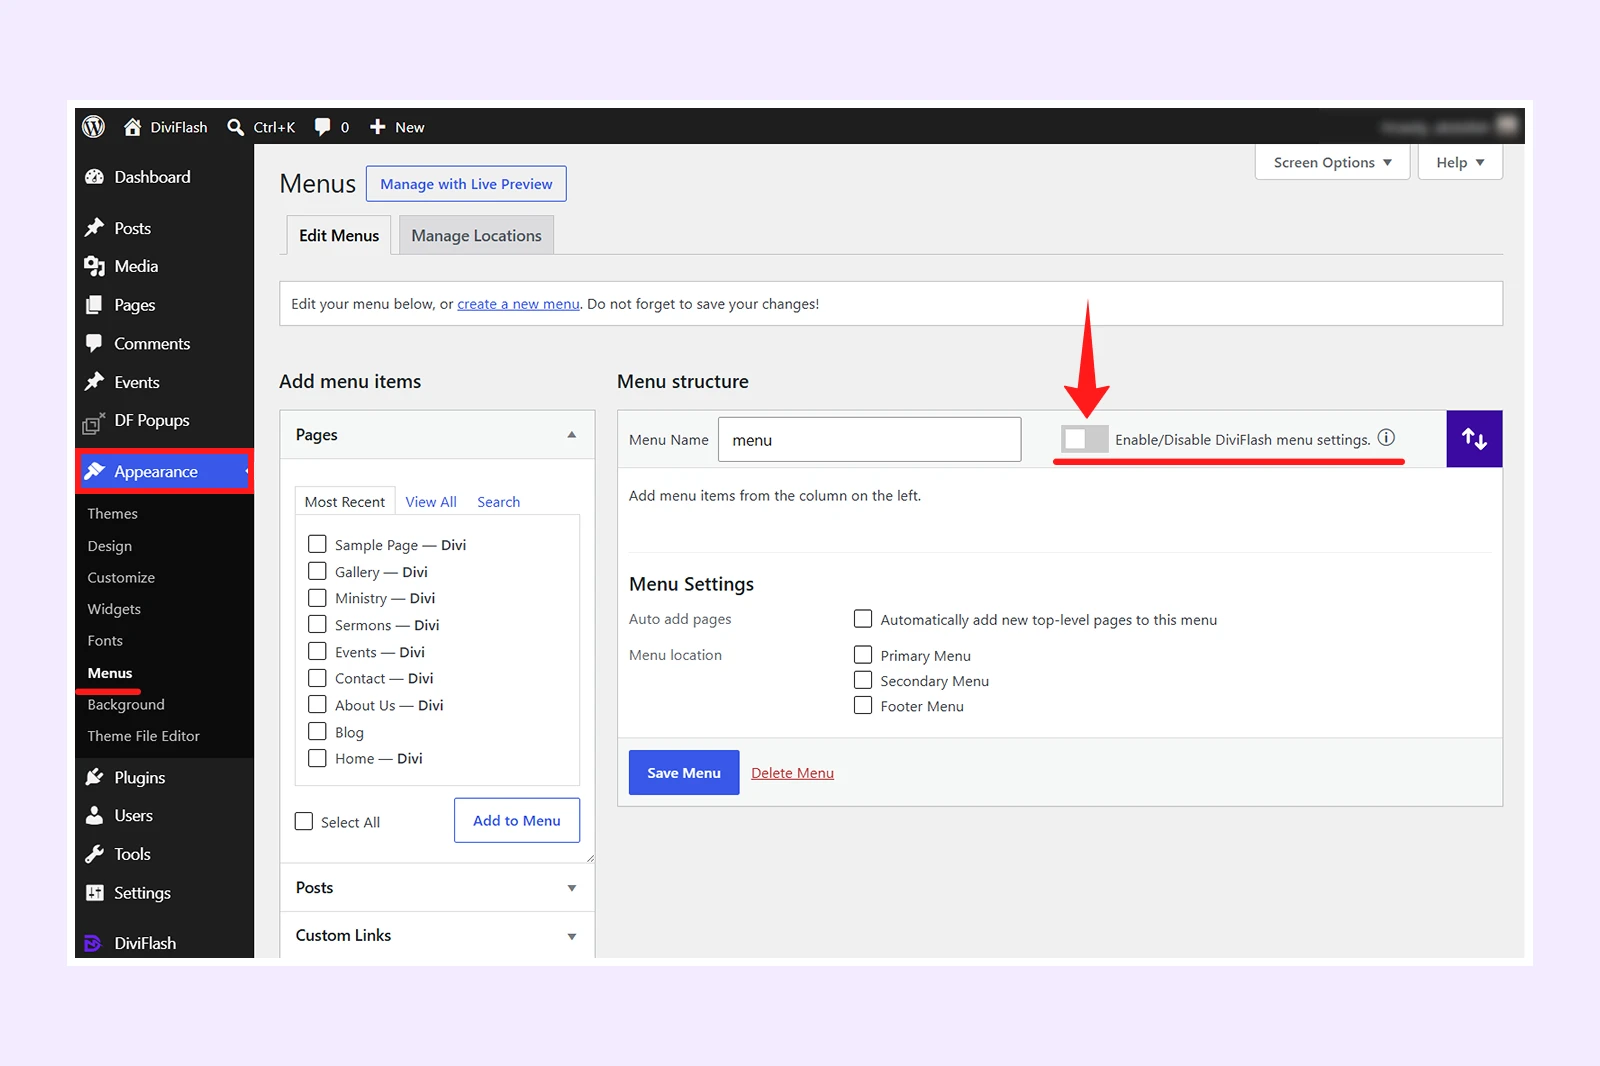
Once enabled, an Edit Menu button will appear next to each menu item. If you don’t see it right away, save the menu.
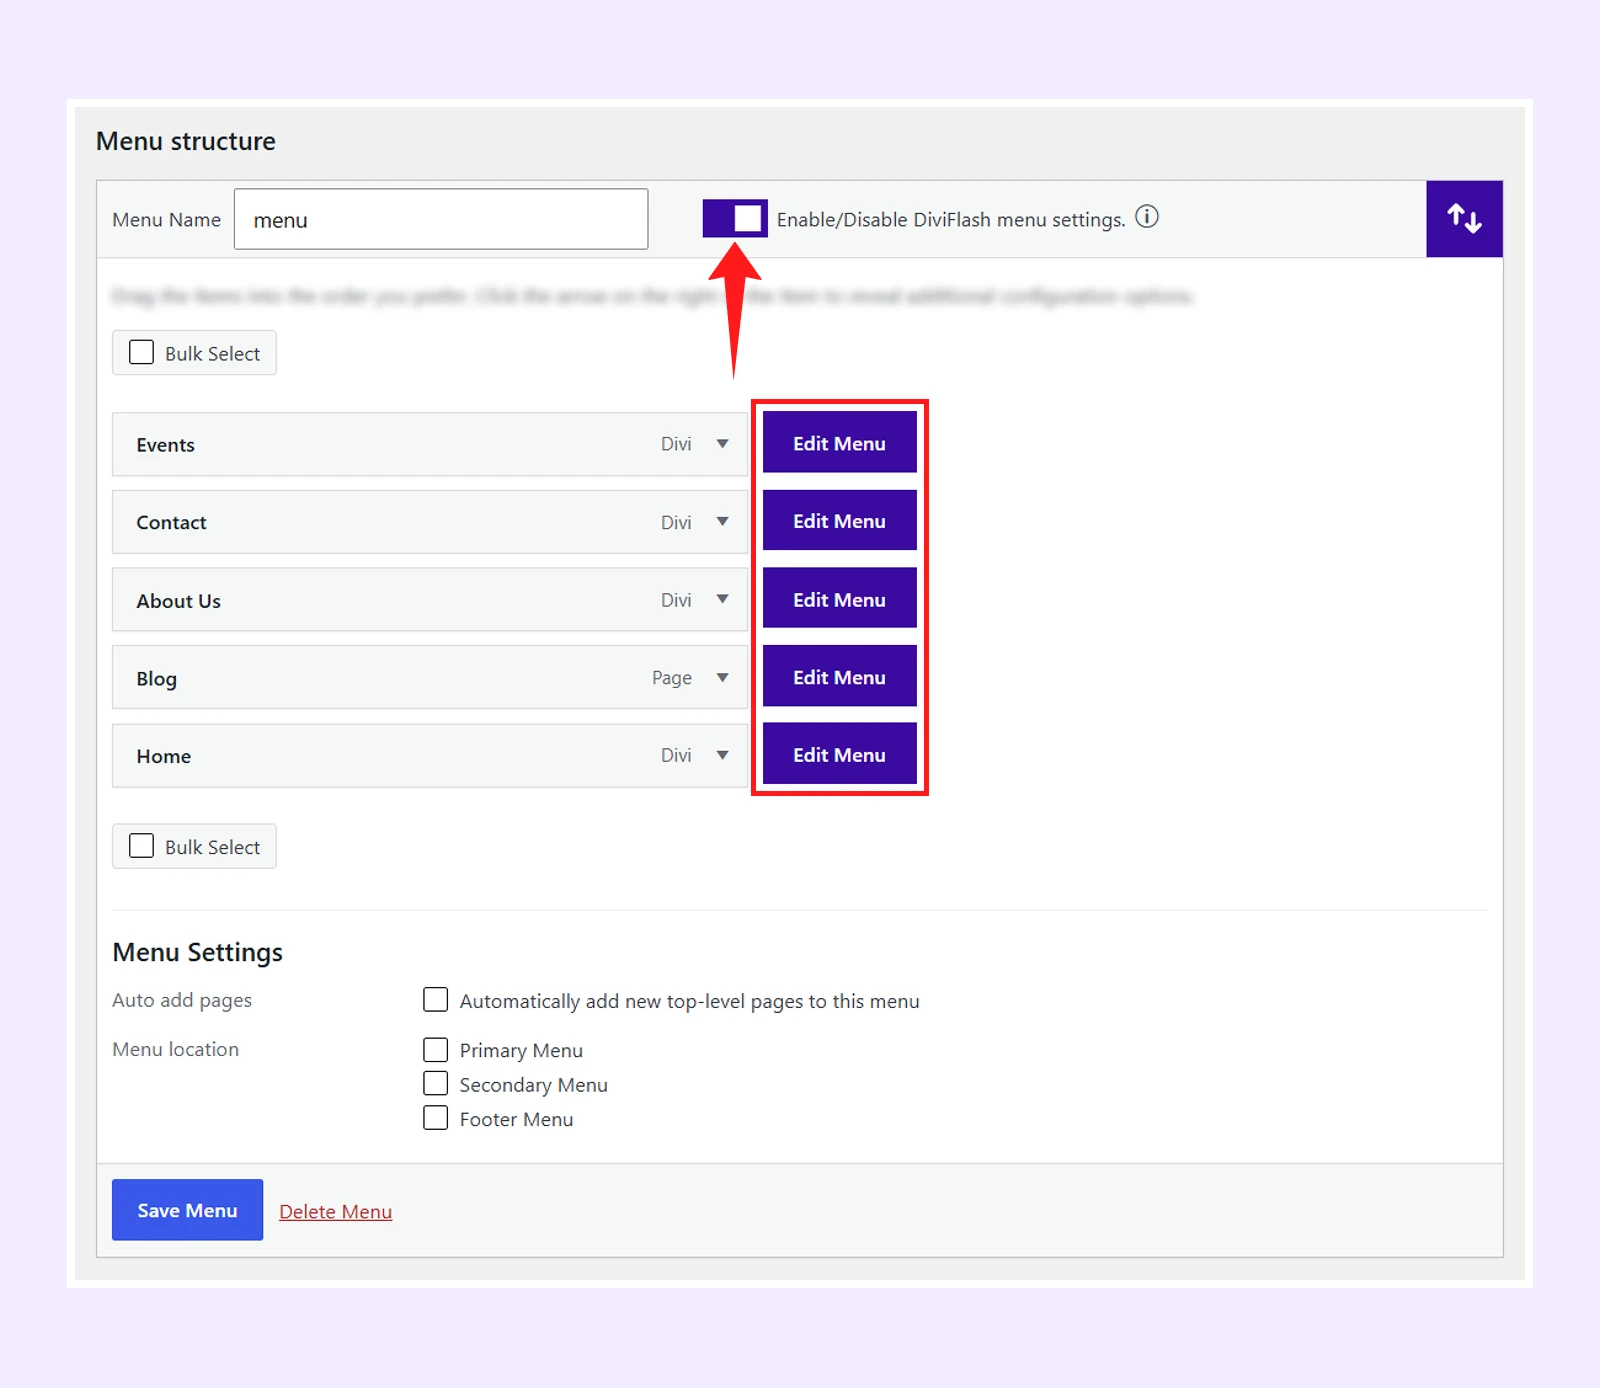
Click Edit Menu, which will bring the following settings:
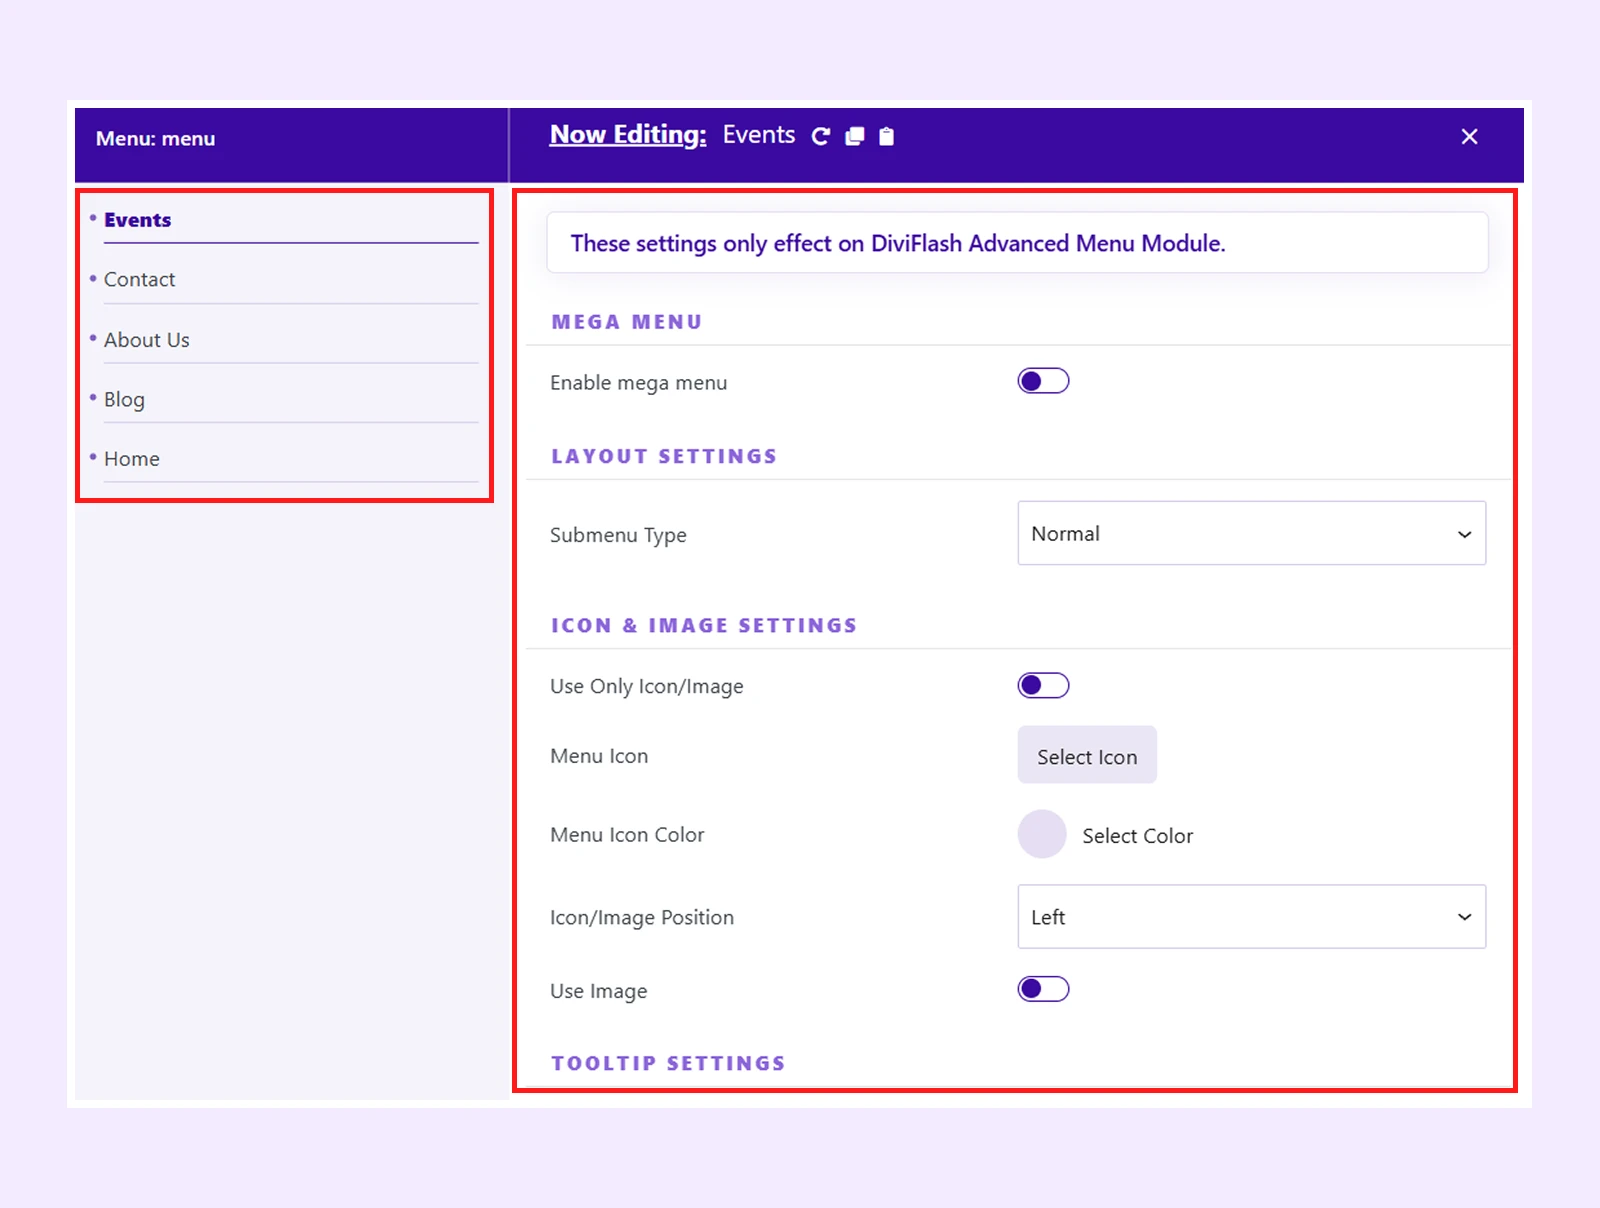
- A list of menu items on the left side.
- Menu settings for the selected item on the right side.
Select any menu item from the left panel to customize it. On the right side, you will find all available settings for that item.
Mega Menu
Use these settings to create and customize mega menus.
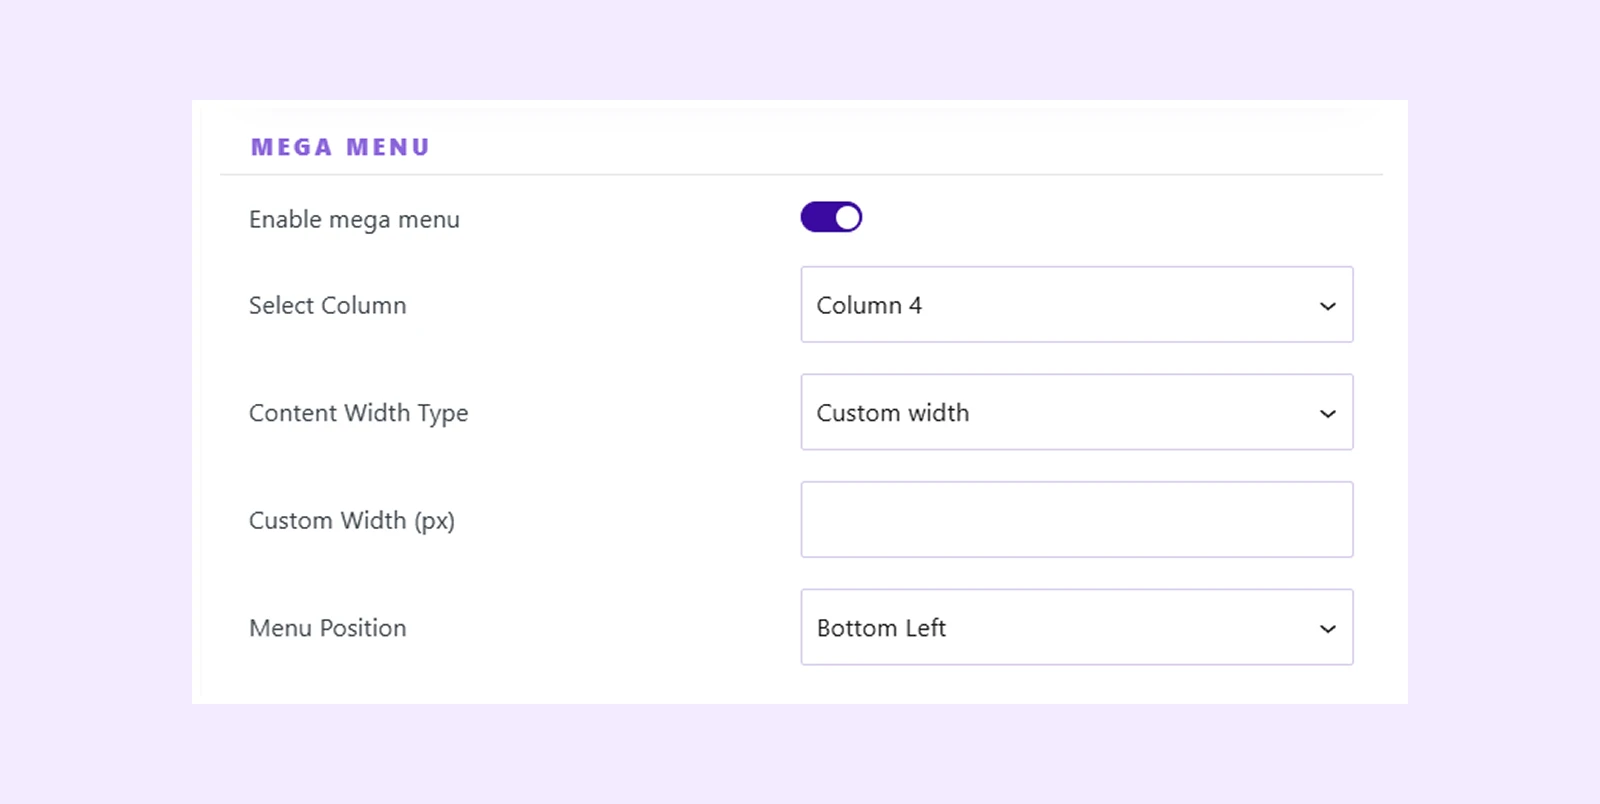
- Select Column: Choose the number of columns for the mega menu layout (2 to 6 columns).
- Content Width Type: Choose how the mega menu width is displayed.
- Normal Width
- Full Width
- Custom Width: selecting custom width will bring the following settings:
- Custom Width (px): Set a custom width for the mega menu.
- Menu Position: Choose the menu alignment from bottom left, center and right.
Layout Settings
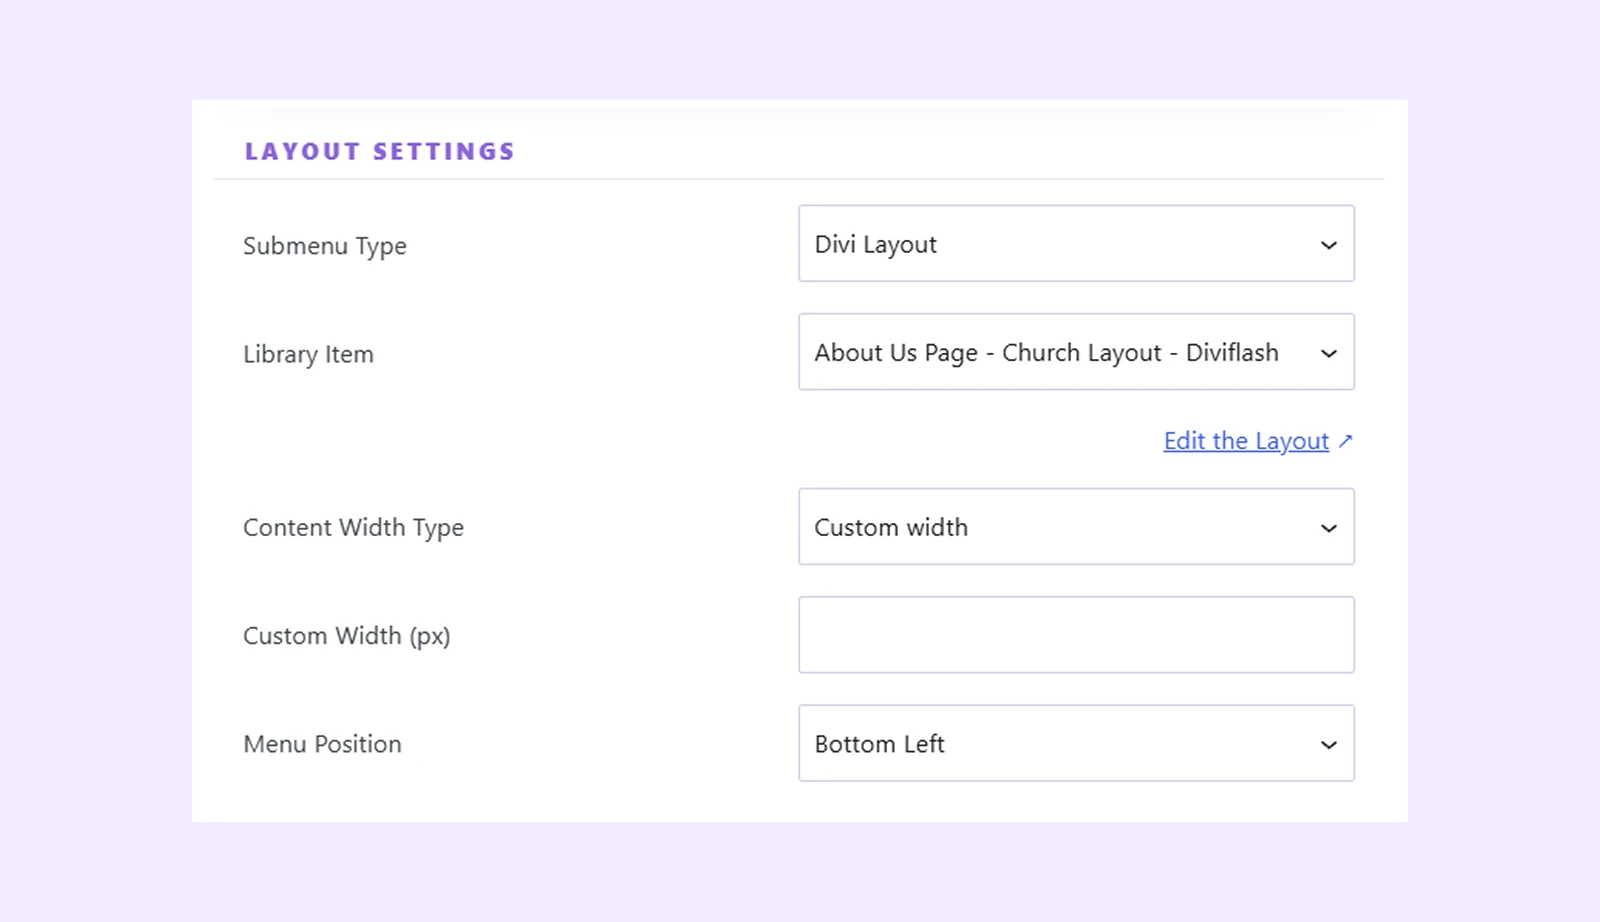
This setting lets you display a saved Divi Library layout as a submenu. (It’s available only when the Mega Menu option is disabled.)
- Submenu Type: Choose how the submenu content is displayed. Select either Normal or Divi Layout.
- Library Item: Select the saved Divi Library layout you want to use as the submenu content.
- Edit the Layout: Click to open the selected Divi Library layout in the Divi Builder for editing.
- Content Width Type: Choose from options like normal width, full width and custom width. Choose custom width will bring the following options:
- Custom Width (px): Set a custom width for the submenu.
- Menu Position: Choose the submenu alignment (Bottom Left, Center, or Right)
Icon & Image Settings
Use icons or images to make your menu items more visually appealing. You can use either an icon or an image.
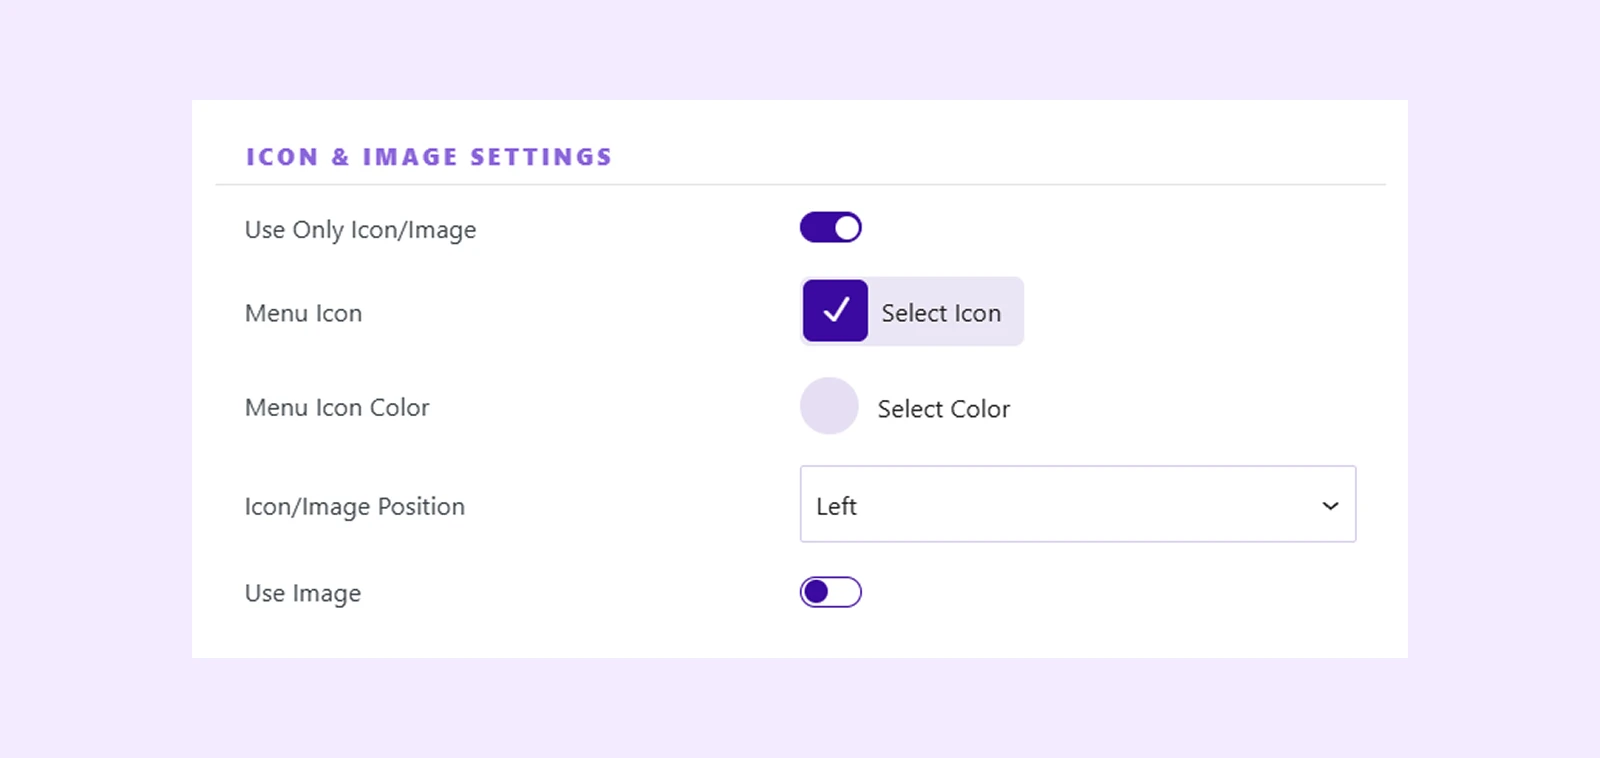
- Use Only Icon/Image: Display only the icon or image without the menu text.
- Menu Icon: Select an icon for the menu item.
- Menu Icon Color: Change the icon color.
- Icon/Image Position: Set the position of the icon or image relative to the menu text.
- Use Image: Enable an image instead of an icon.
- Image Icon: Upload or select an image for the menu item.
- Image Width (px): Set the image width.
Tooltip Settings
Add tooltips to display additional information when users hover over a menu item.
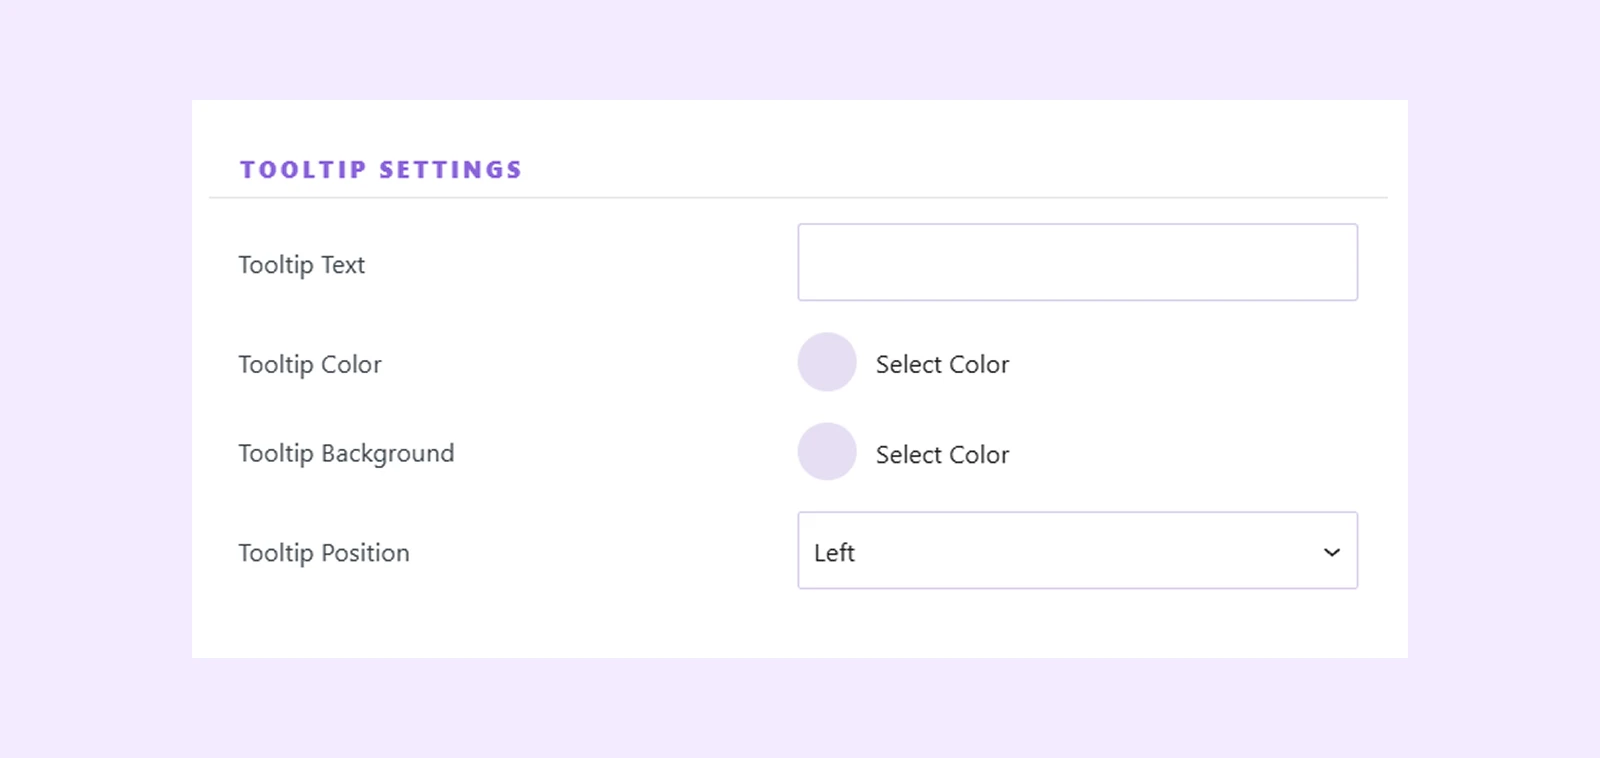
- Tooltip Text: Enter the tooltip text.
- Tooltip Color: Change the tooltip text color.
- Tooltip Background: Set the tooltip background color.
- Tooltip Position: Choose where the tooltip appears.
Badge Settings
Use badges to highlight important menu items.
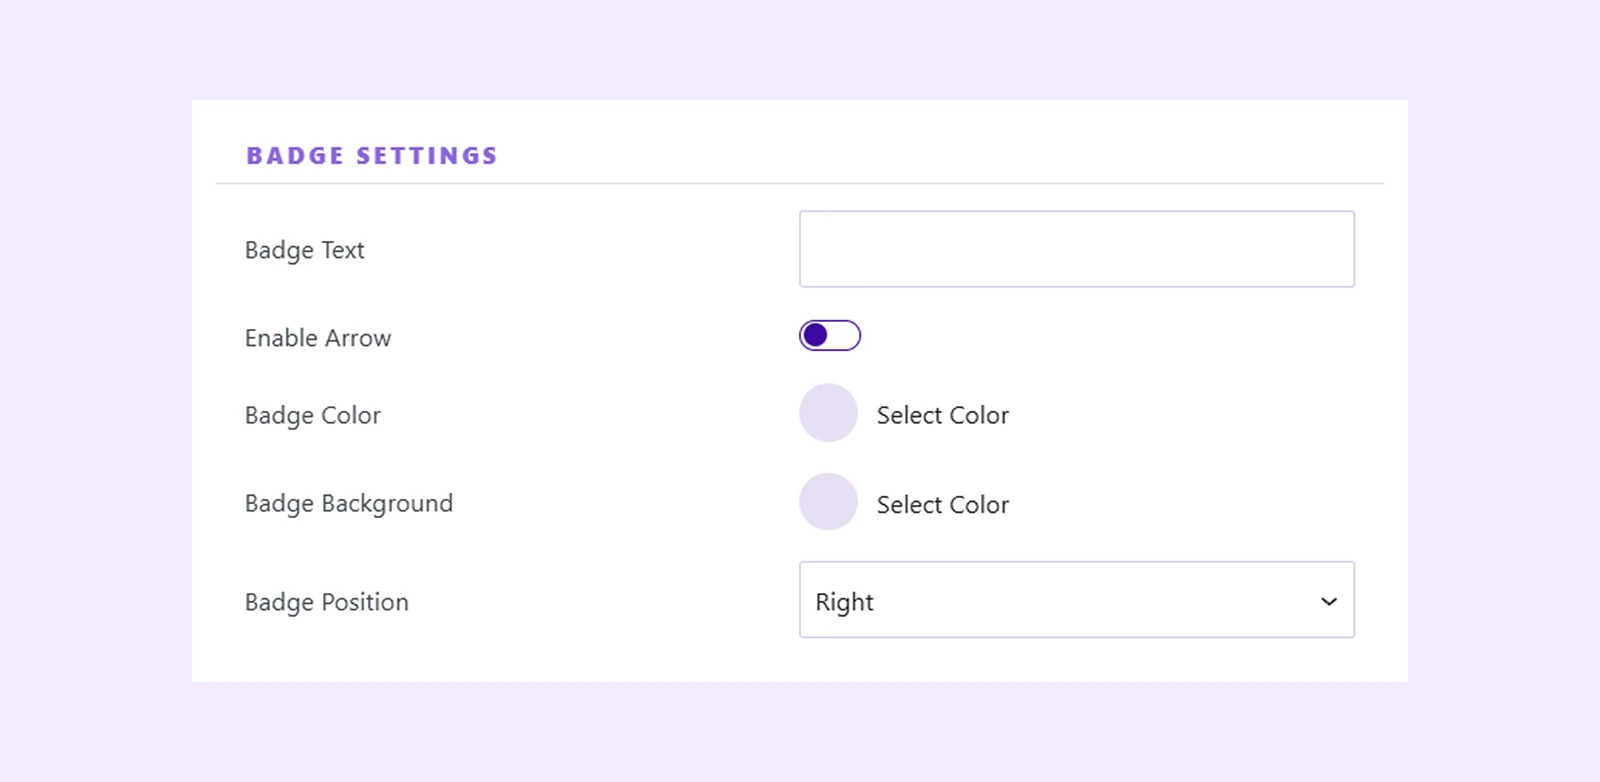
- Badge Text: Enter the badge text.
- Enable Arrow: Show or hide the badge arrow.
- Badge Color: Change the badge text color.
- Badge Background: Set the badge background color.
- Badge Position: Choose where the badge appears.
Menu Export & Import
We have a dedicated doc on How to import/export Advanced Menu Pre-Made Section Layouts that you can have a look at.
Need Help?
If you have any questions or need assistance, contact our support team: [email protected]