
You can use Business layout on your Divi website using one of the two importing methods:
- Method 1: Using the DiviFlash layout importer (recommended).
- Method 2: Manually importing the layout.
We will walk you through both methods. Let’s begin.
Method 1: Using DiviFlash Layout Importer
Step 1: Install and activate the Divi theme.
Step 2: Install and activate the DiviFlash plugin.
Step 3: In your WordPress dashboard, go to DiviFlash > Layouts and search for “Business.”
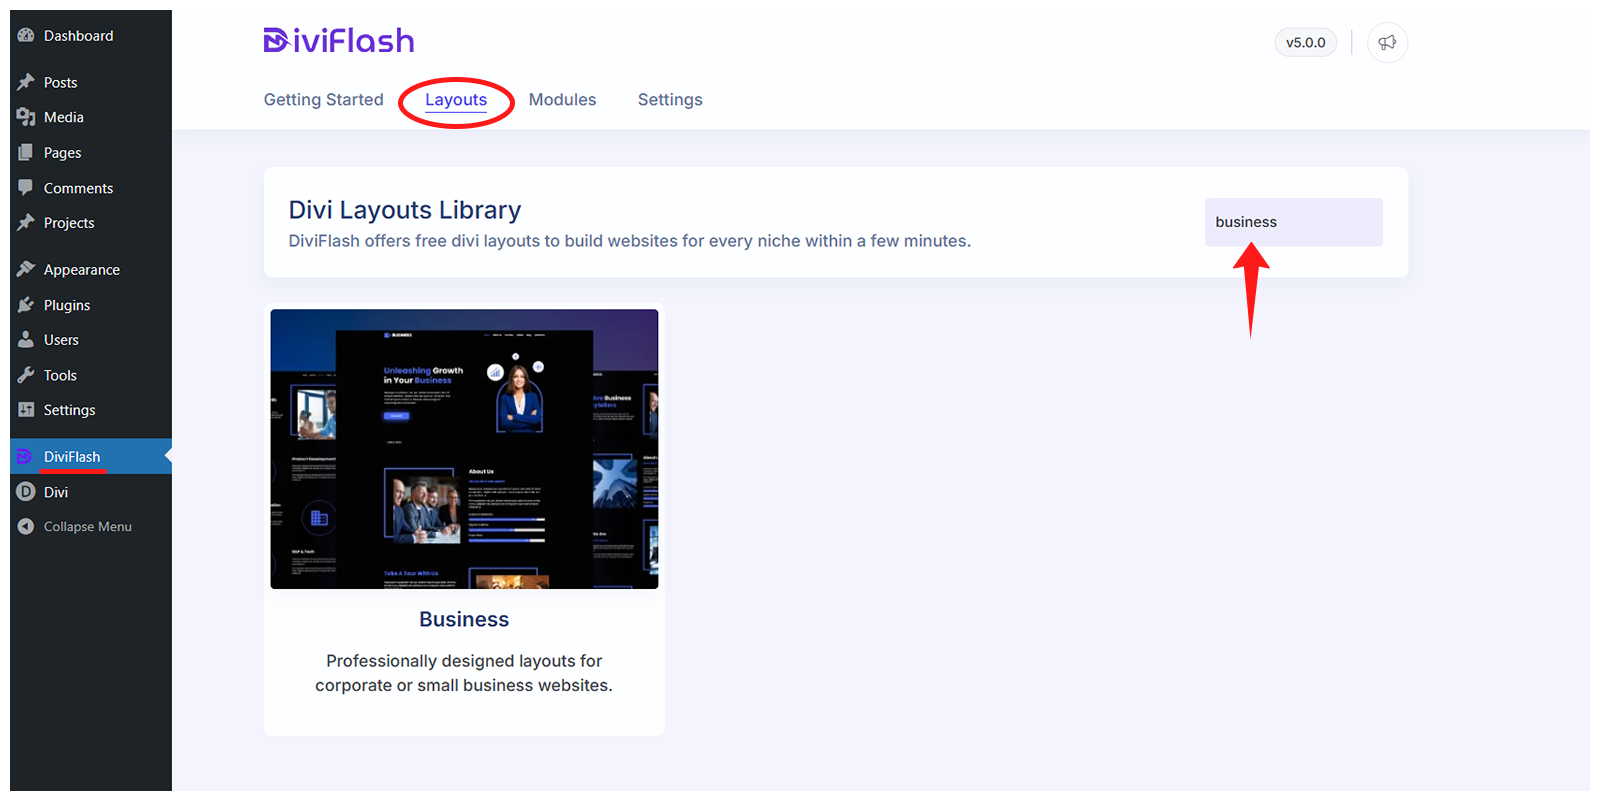
Step 4: Hover over the “Business” layout and click on the “Import Layout” button.
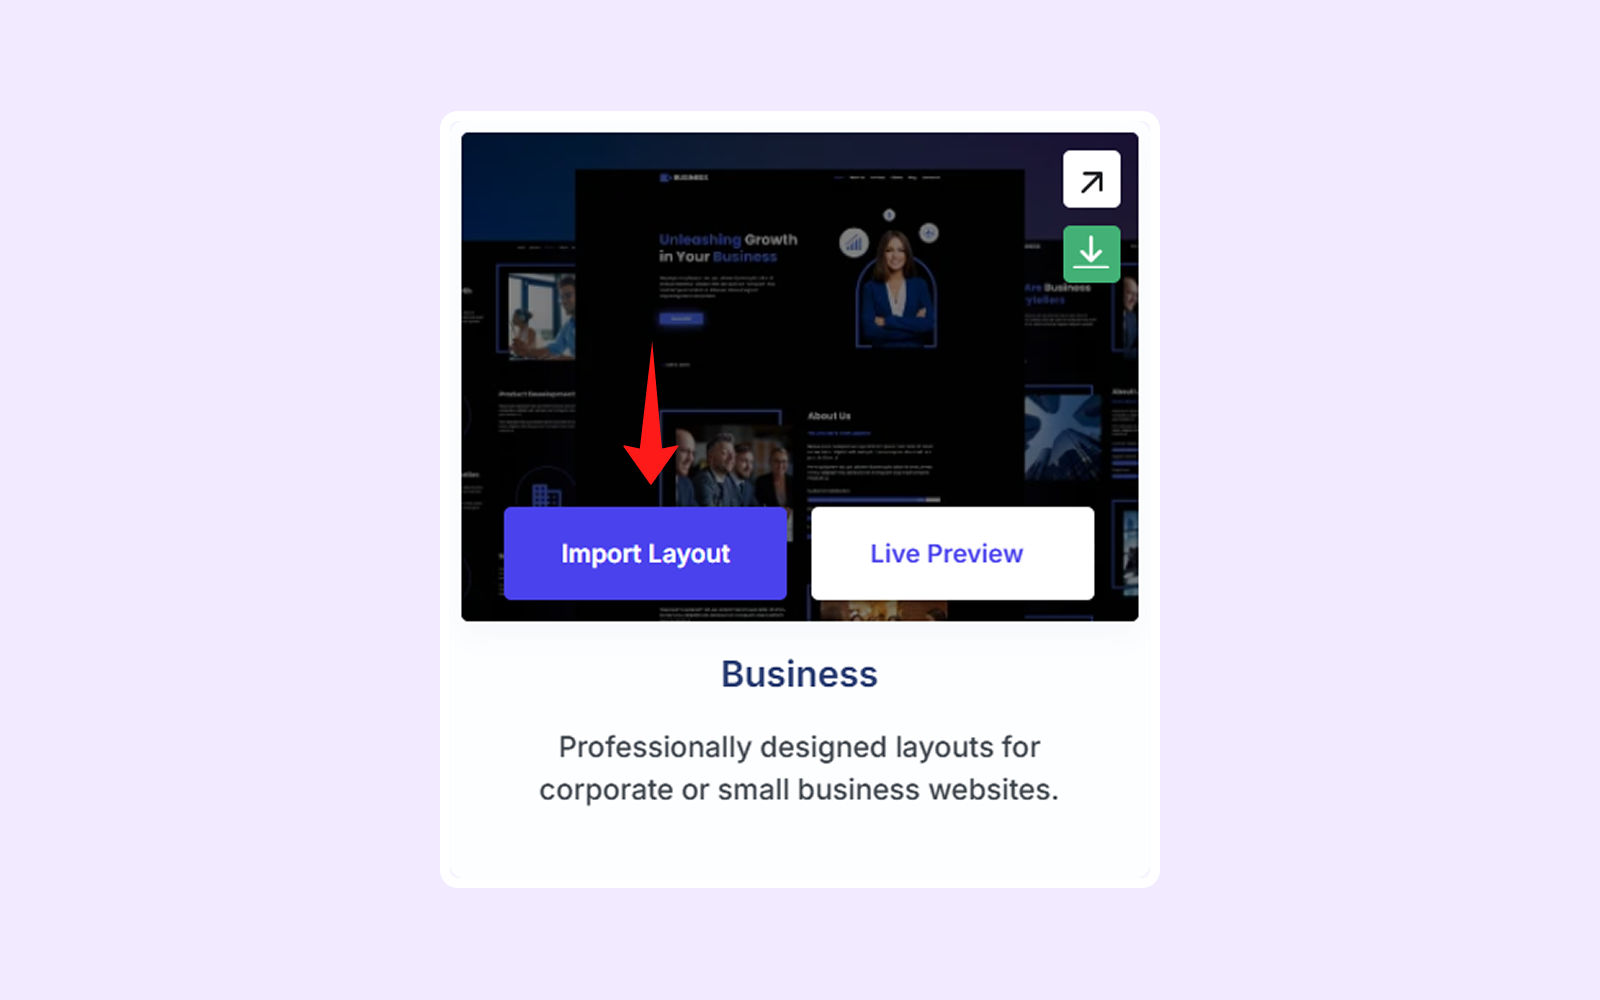
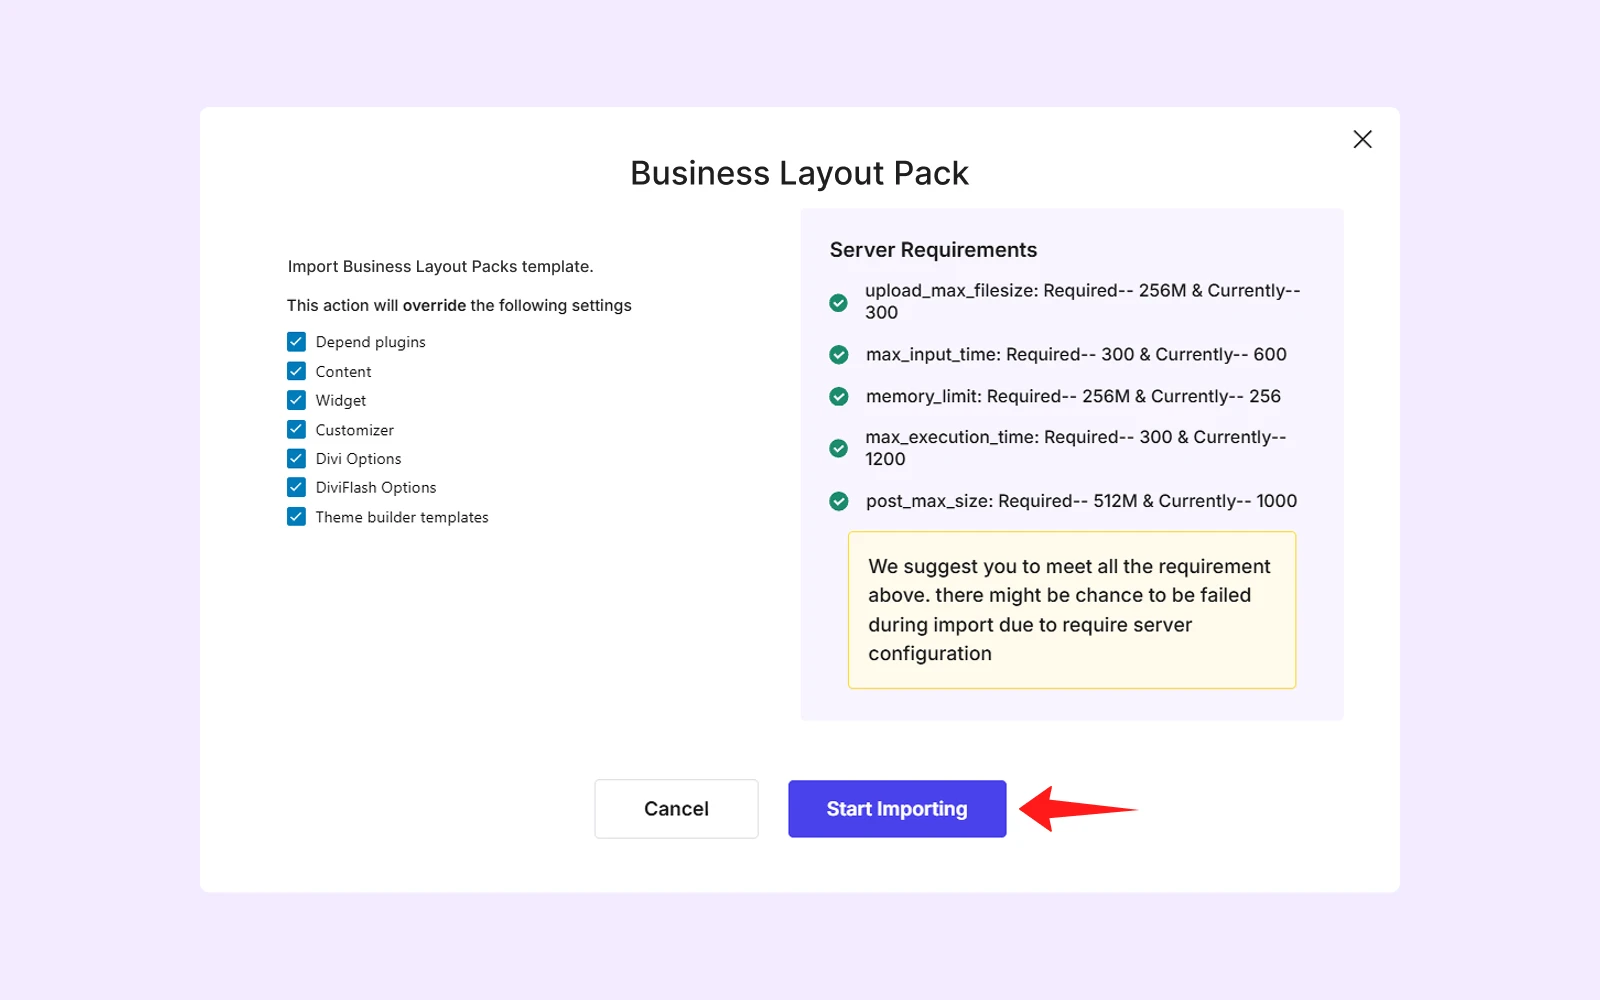
- A popup will display the layout settings and server requirements. Make sure all items have green checkmarks. If any are red, update your server settings, then click Start Importing.
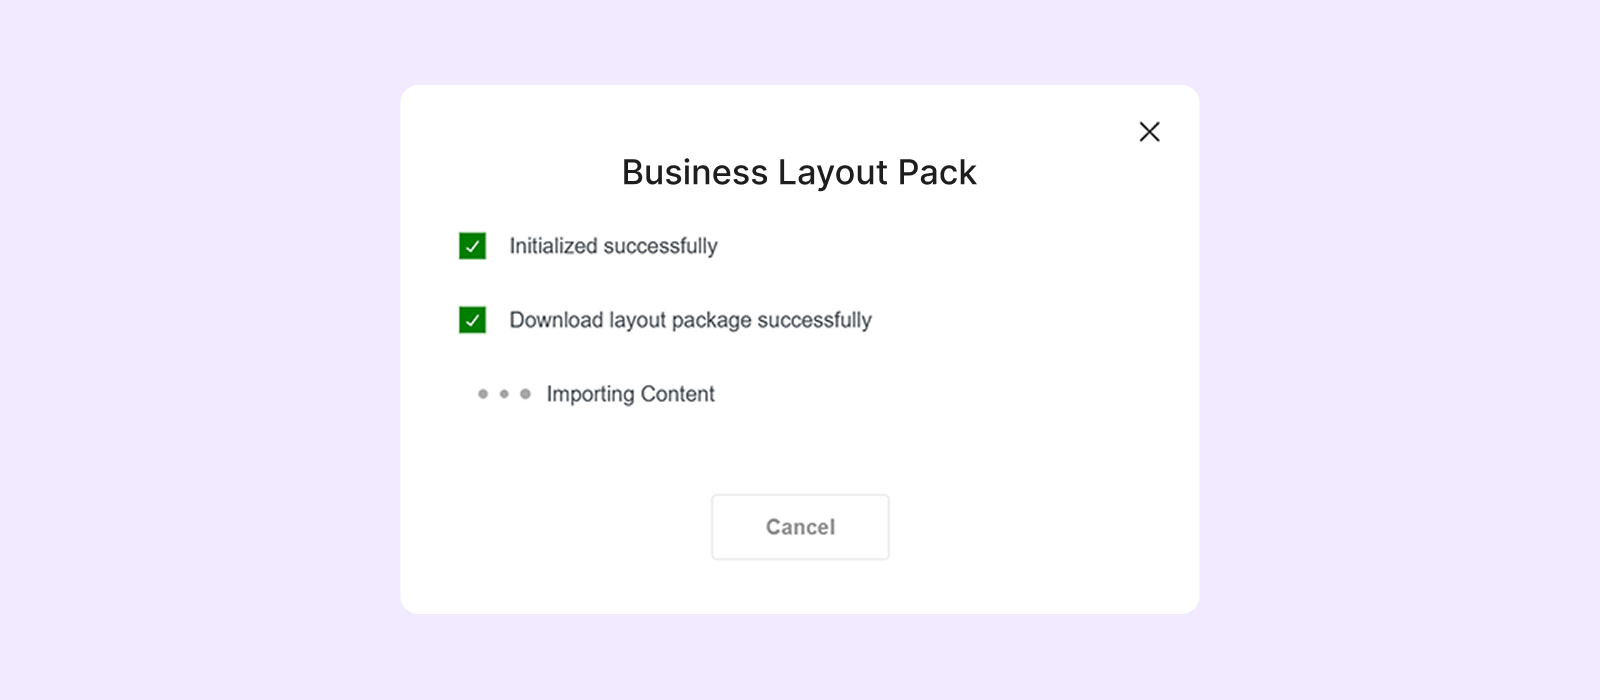
- The import process may take a few minutes to complete.
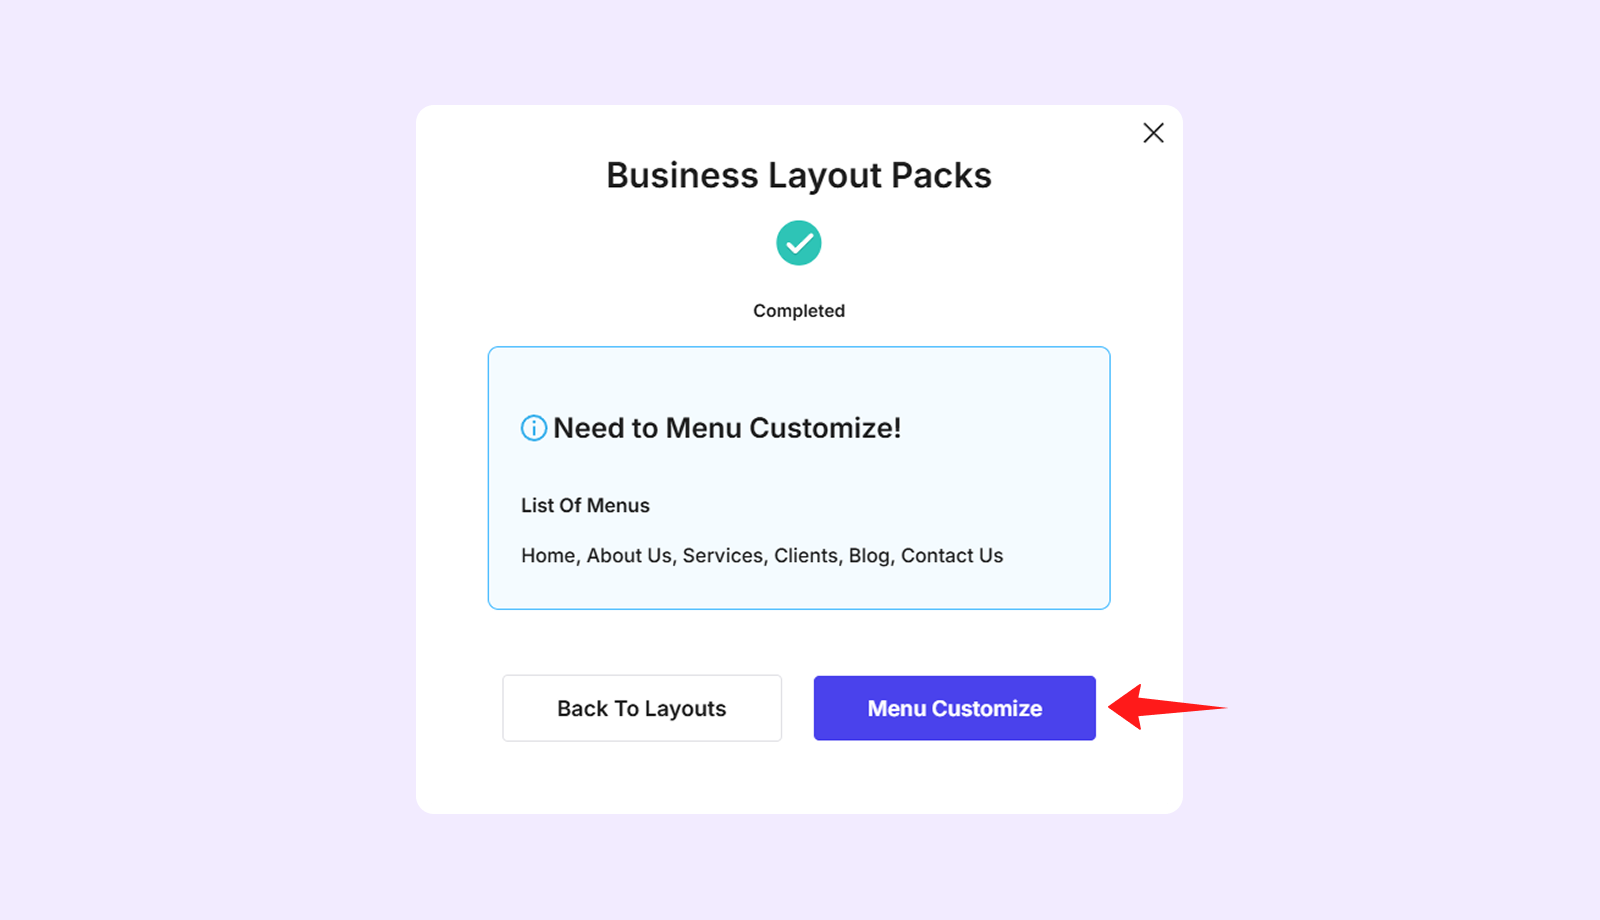
- Once the import is complete, click on "Menu Customize" to customize the menu for the imported layout. You can follow the Divi Layout Menu Customization.
Step 5: Set your homepage and blog page.
- Go to WordPress Dashboard > Settings > Reading.
- Below “Your homepage displays,” select “A static page.”
- Choose “Home” from the homepage dropdown menu.
- Choose “Blog” from the post page dropdown menu.
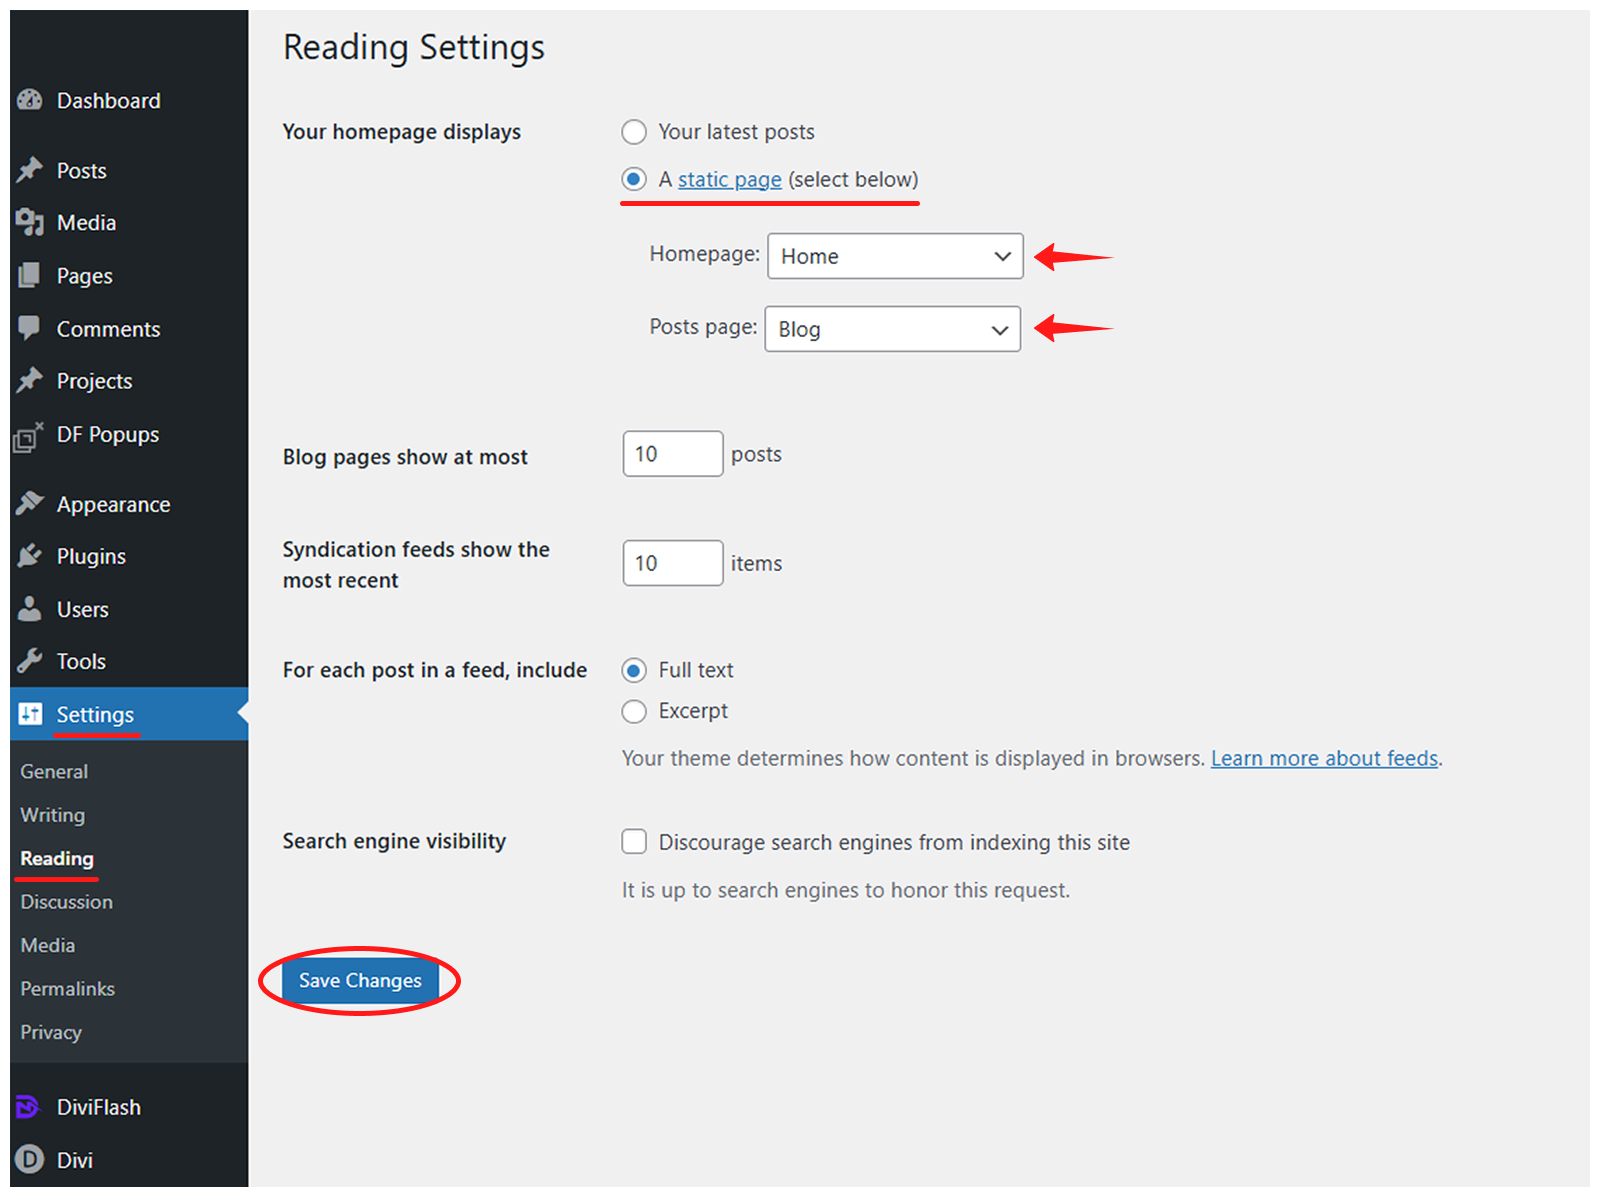
- Click on “Save Changes” to save it.
The Business layout has been successfully imported and is now live on your website.
Method 2: Manually Import the Layout
In addition to using DiviFlash’s layout importer, you can also import the “Business” layout manually.
Here is how to do it:
Step 1: Install and activate the Divi theme.
Step 2: Install and activate the DiviFlash plugin.
Step 3: Download the Business Layout file from the DiviFlash website and unzip it.
Step 4: Import the “Divi Theme Options” file into the Divi Theme Options panel:
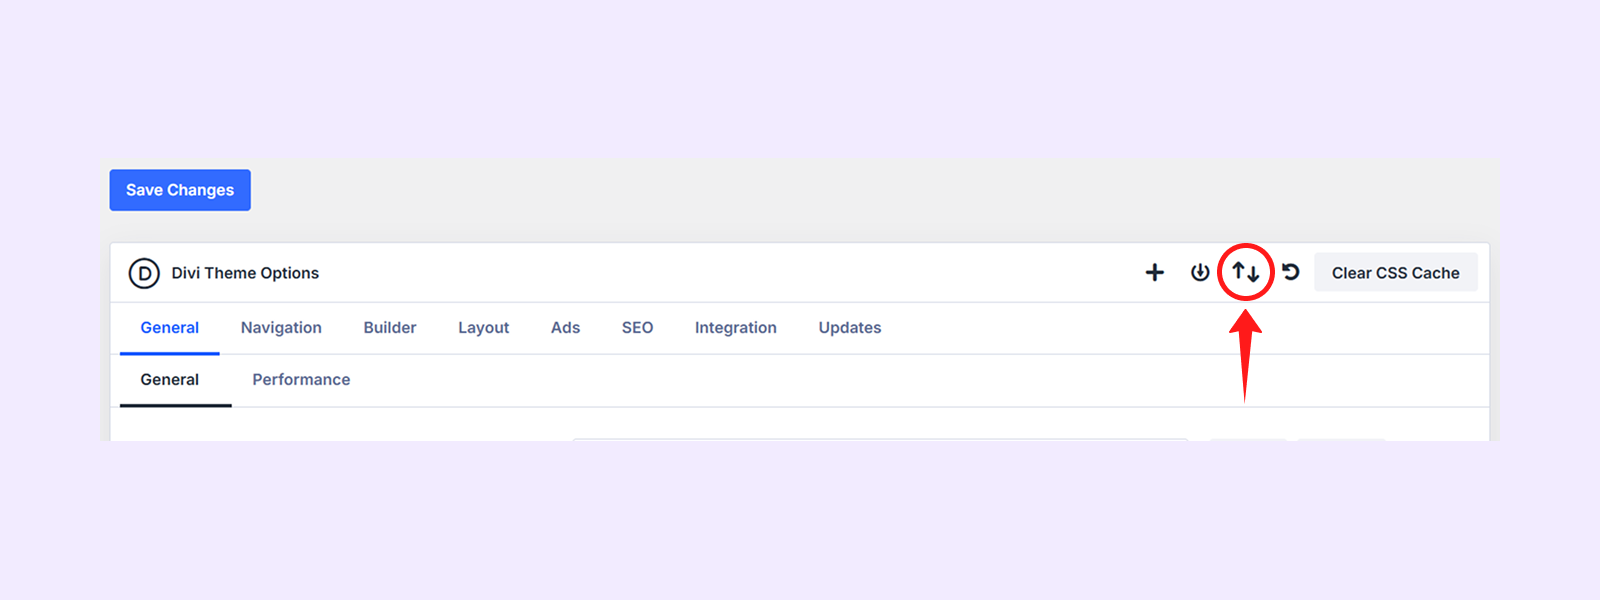
- Navigate to WordPress dashboard > Divi > Theme Options
- Click on the “Import & Export” icon in the top-right corner
- Select the Import tab and click “Choose Files” to upload the JSON file named “Divi Theme Options - Business Layout - Diviflash.json”
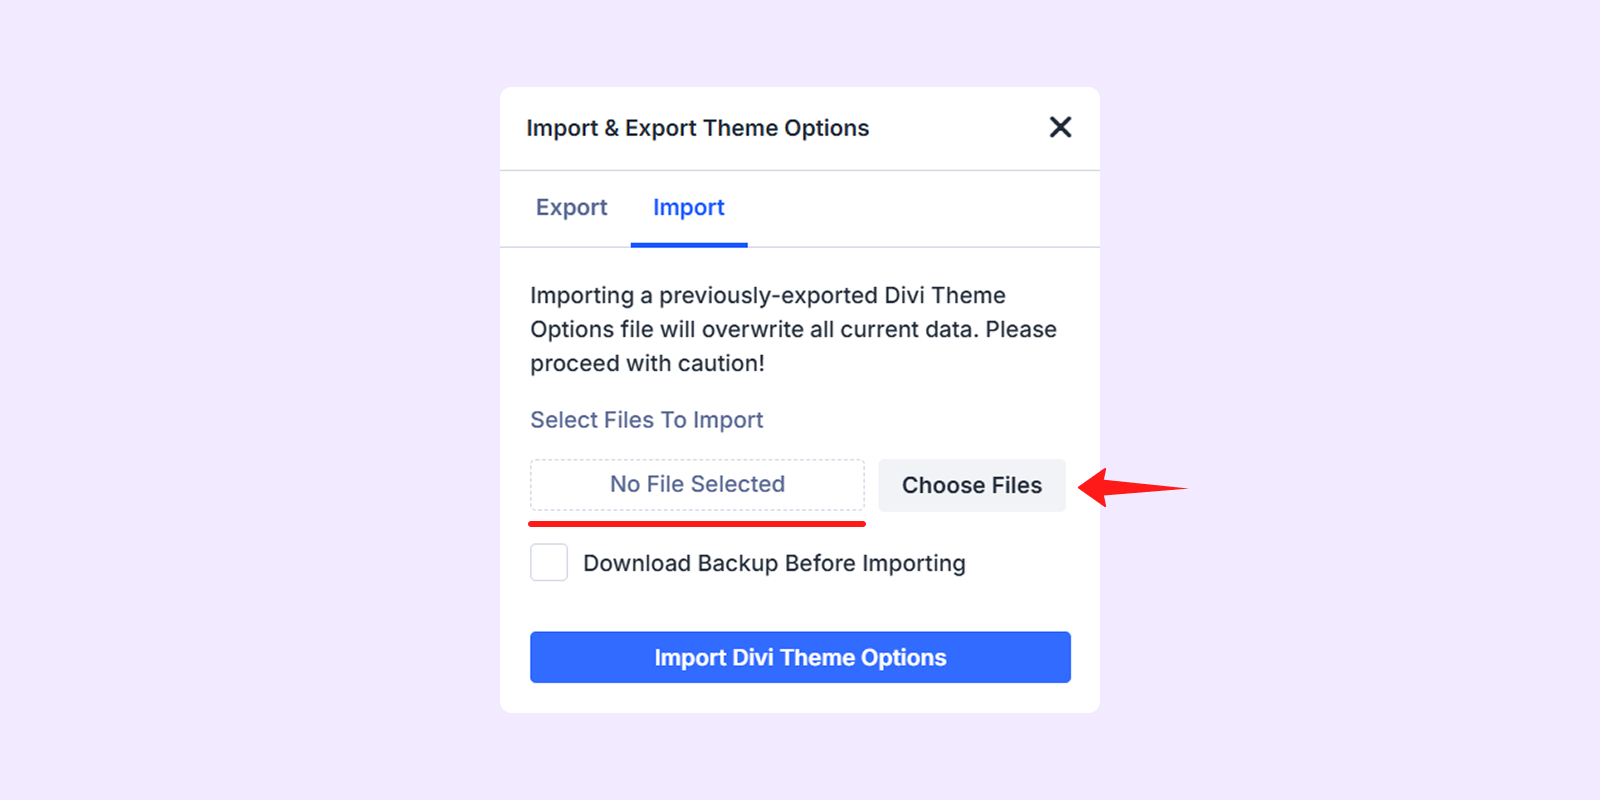
- Finally, click on “Import Divi Theme Options”
Step 5: Import the “Theme Builder” file into the Divi Theme Builder panel:
- Navigate to WordPress dashboard > Divi > Theme Builder
- Click on the “Import & Export” icon in the top side corner
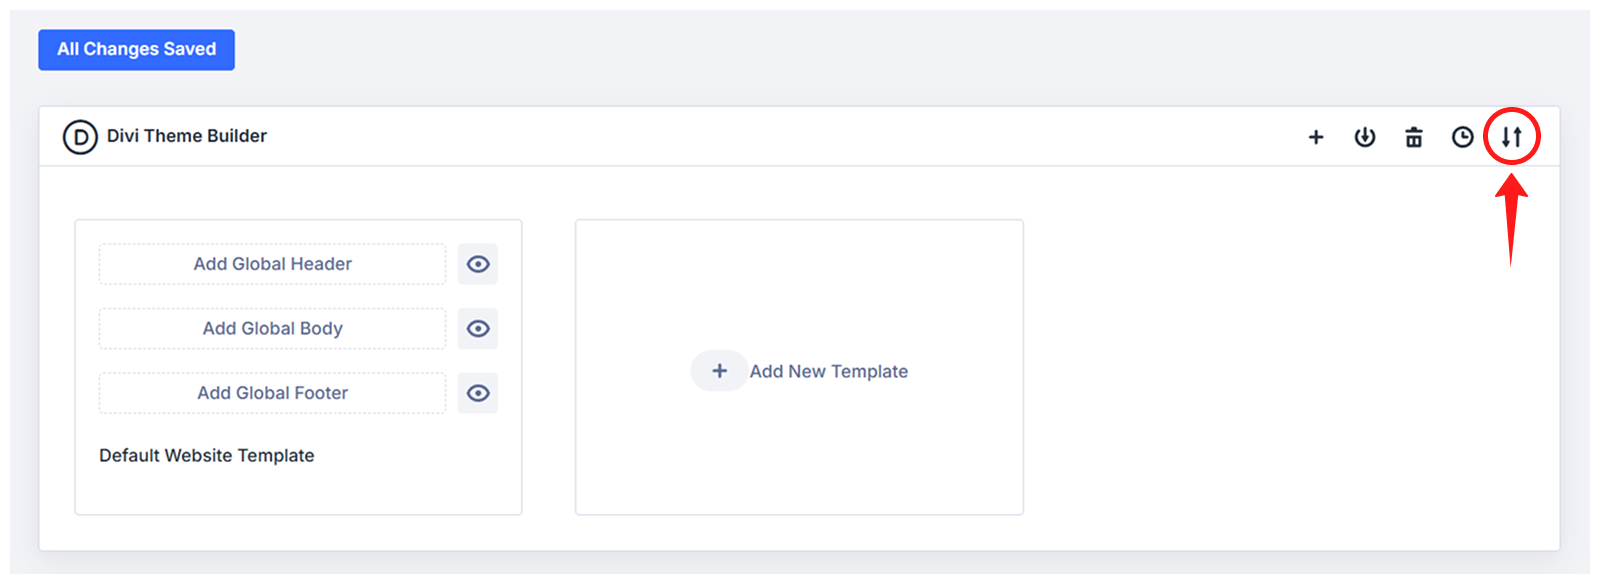
- Select the Import tab and click “Choose Files” to upload the JSON file named “Divi ThemeBuilderTemplate-BusinessLayout-Diviflash.json”
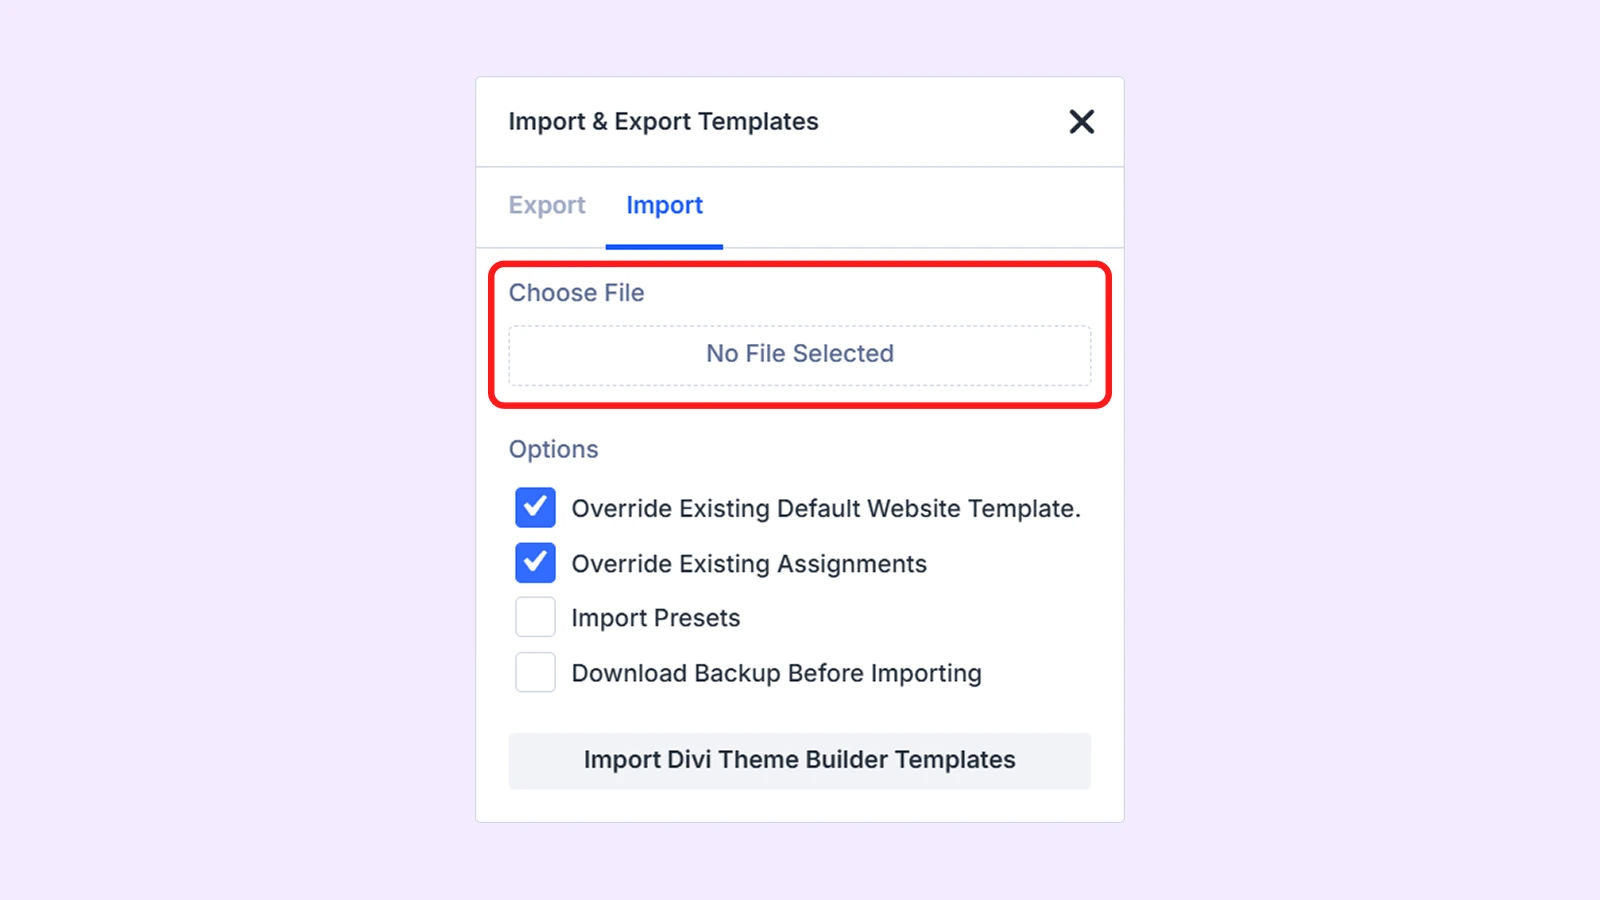
- Click on “Import Divi Theme Builder Templates”
Step 6: Import the “Divi Library” file into the Divi Library panel:
- Navigate to WordPress dashboard > Divi > Divi Library
- Click on the “Import & Export” button on the top left

- Select the Import tab and click “Choose Files” to upload the JSON file named “All in One - Business Layout - Diviflash.json” (You can also import individual layout pages one by one by using their respective JSON files.)
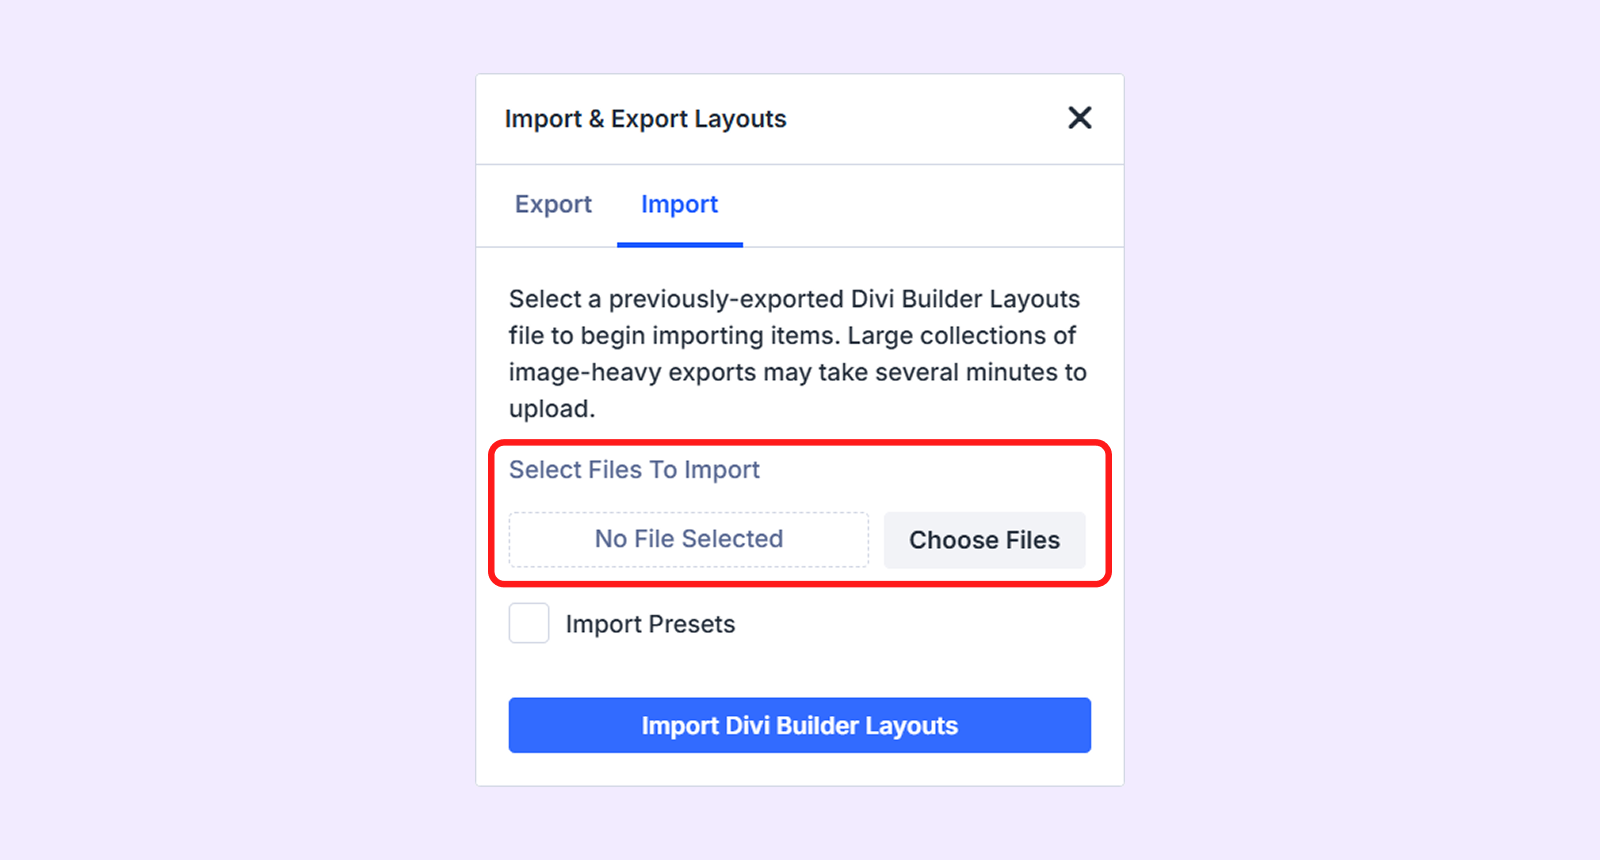
- Click on the “Import Divi Builder Layouts” button. When the import is complete, all the pages of the layout will be available in your Divi Library.
Now, create all new pages corresponding to the imported Divi Library items. You can follow our step-by-step guide on how to create pages with Divi Layouts from the Library.
Step 7: Import the “Theme Customizer Settings” file into the Theme Customizer
- Navigate to WordPress dashboard > Divi > Theme Customizer
Click on the “Import & Export” icon in the top left corner.

- Select the Import tab and click “Choose Files” to upload the JSON file named “Divi Customizer Settings - Business Layout - Diviflash.json”
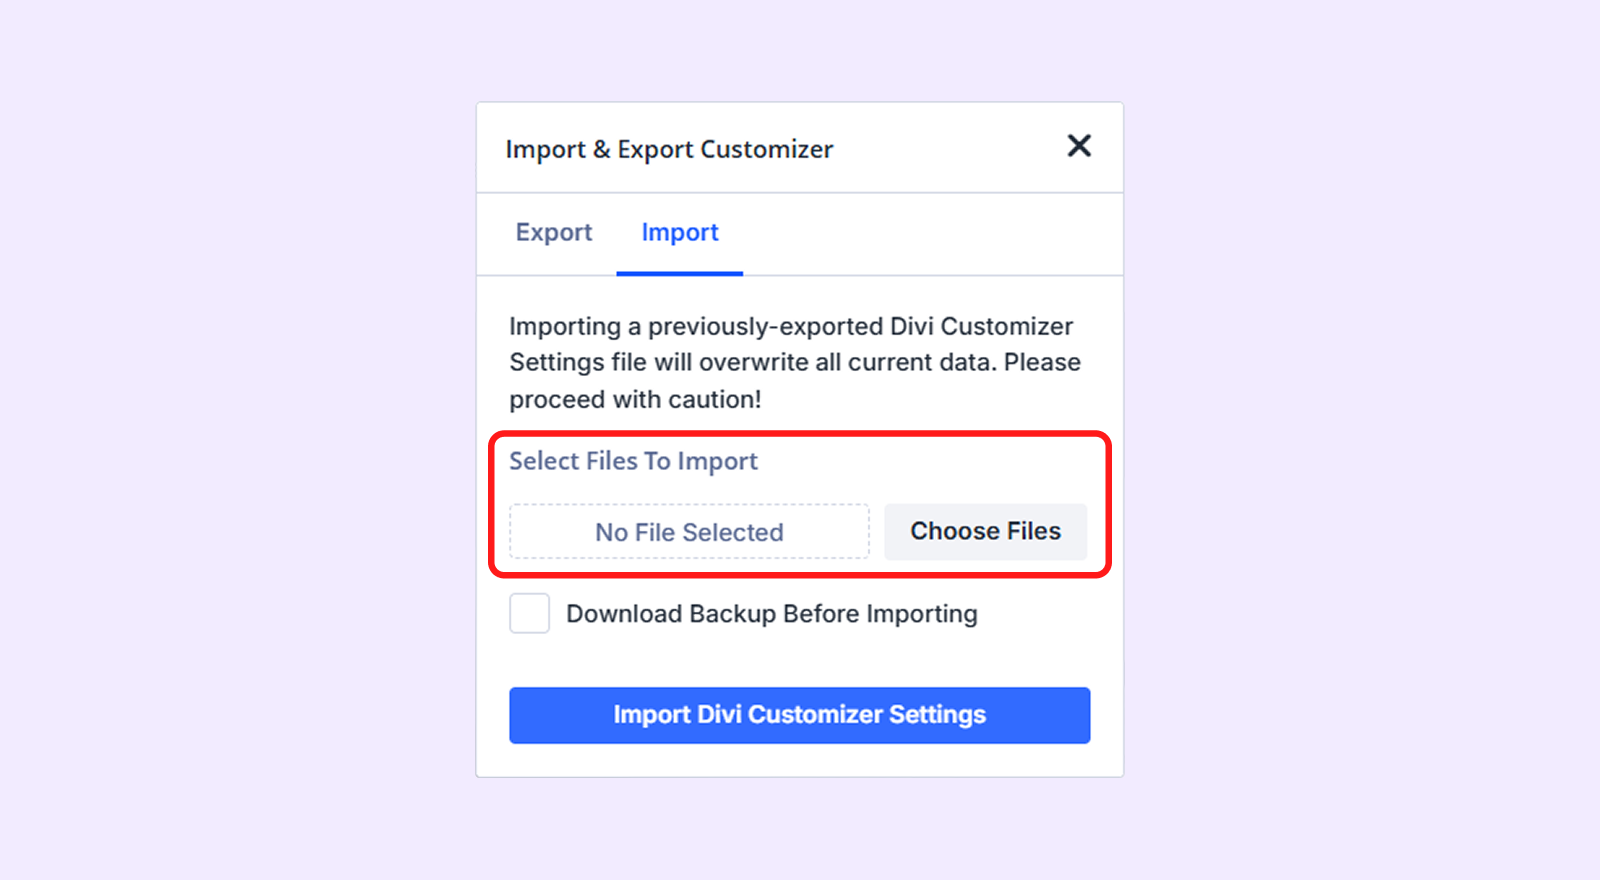
- Click on “Import Divi Customizer Settings”.
Step 8: Set your homepage and blog page.
- Go to WordPress Dashboard > Settings > Reading.
- Below “Your homepage displays,” select “A static page.”
- Choose “Home” from the homepage dropdown menu.
Choose “Blog” from the post page dropdown menu.
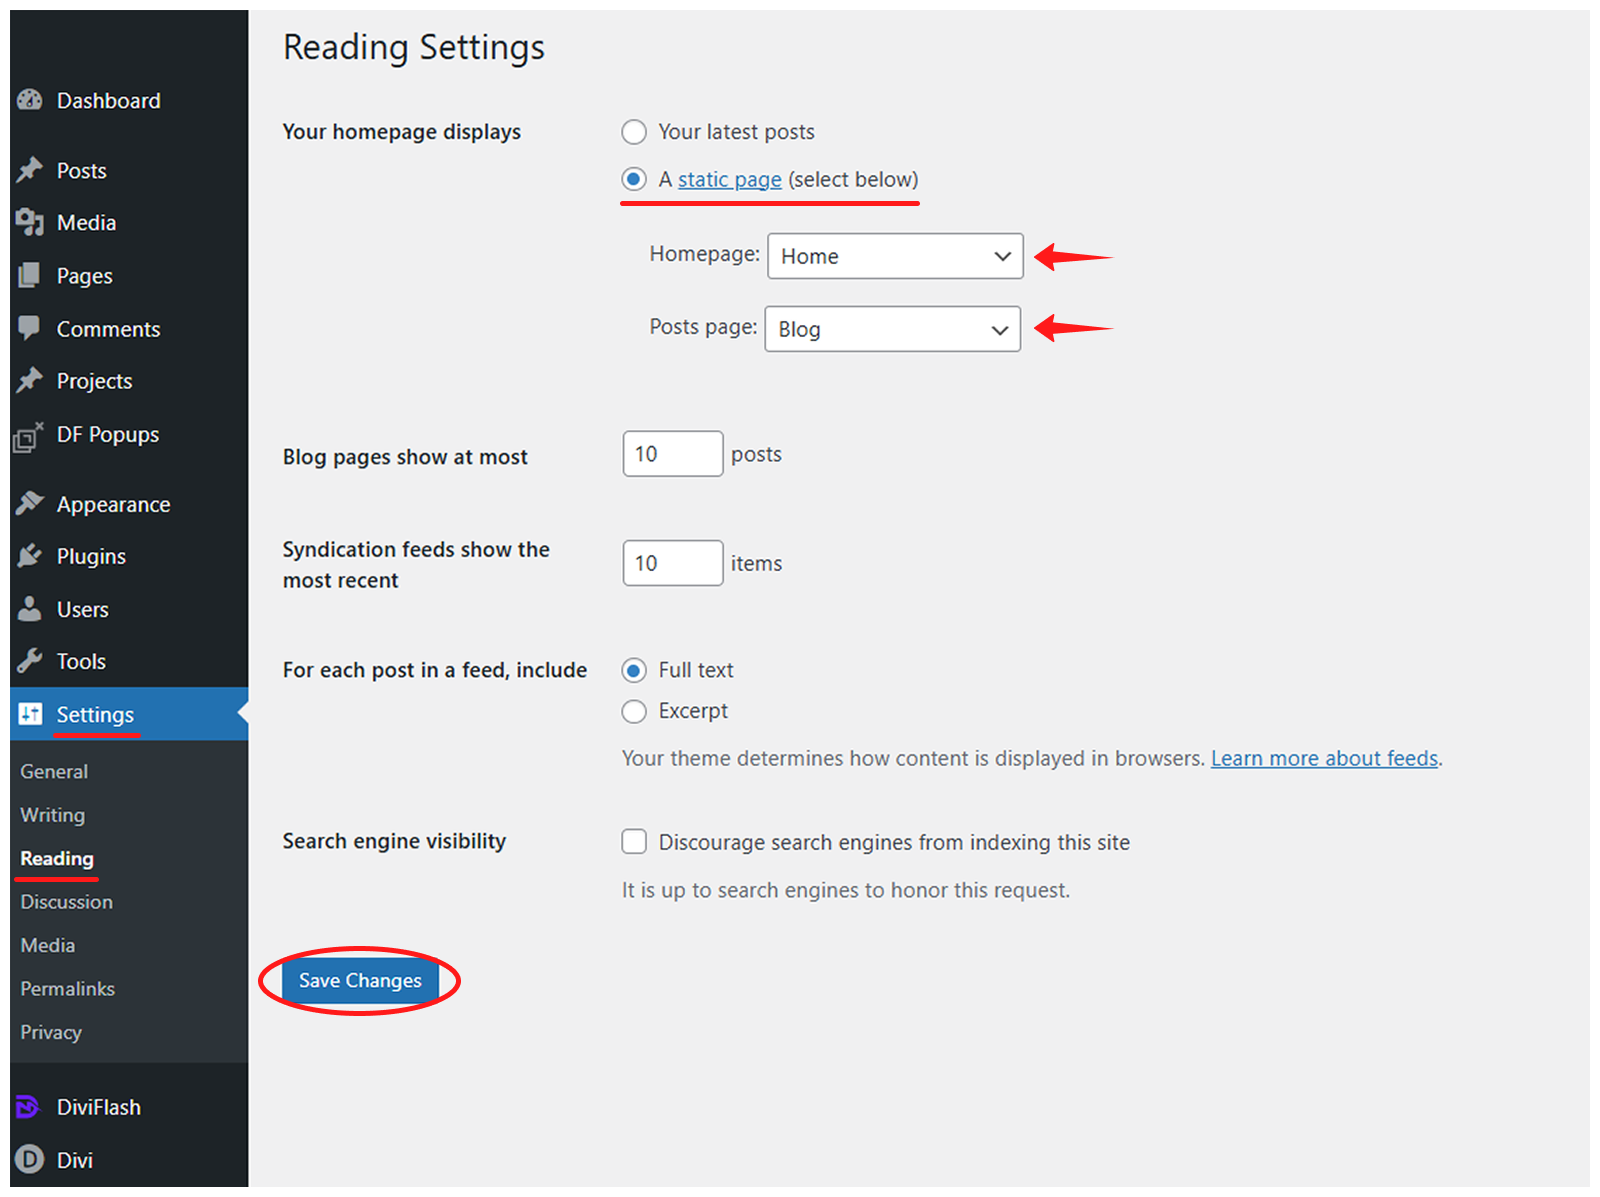
- Click on “Save Changes” to save it.
Step 9: Go to WordPress Dashboard > Appearance > Menus to create a menu for the imported layout. You can follow Divi Layout Menu Customization guide for guidance.
Now your website should look exactly the same as the Business layout!
Any Questions?
If you have any questions, please feel free to contact our support team at [email protected]