The DiviFlash Advanced Video module (introduced in DiviFlash 5.1.0) allows you to embed and fully customize videos with control over playback, captions, and more.
Important Note: Advanced Video module is built for Divi 5 only. Also, it will be disabled by default and to use it, you must enable it manually. Refer to our guide for step-by-step instructions.
Let’s see the settings in brief and how to make better use of it —
Content Tab
This tab includes all the essential settings to add and configure your video.
Video
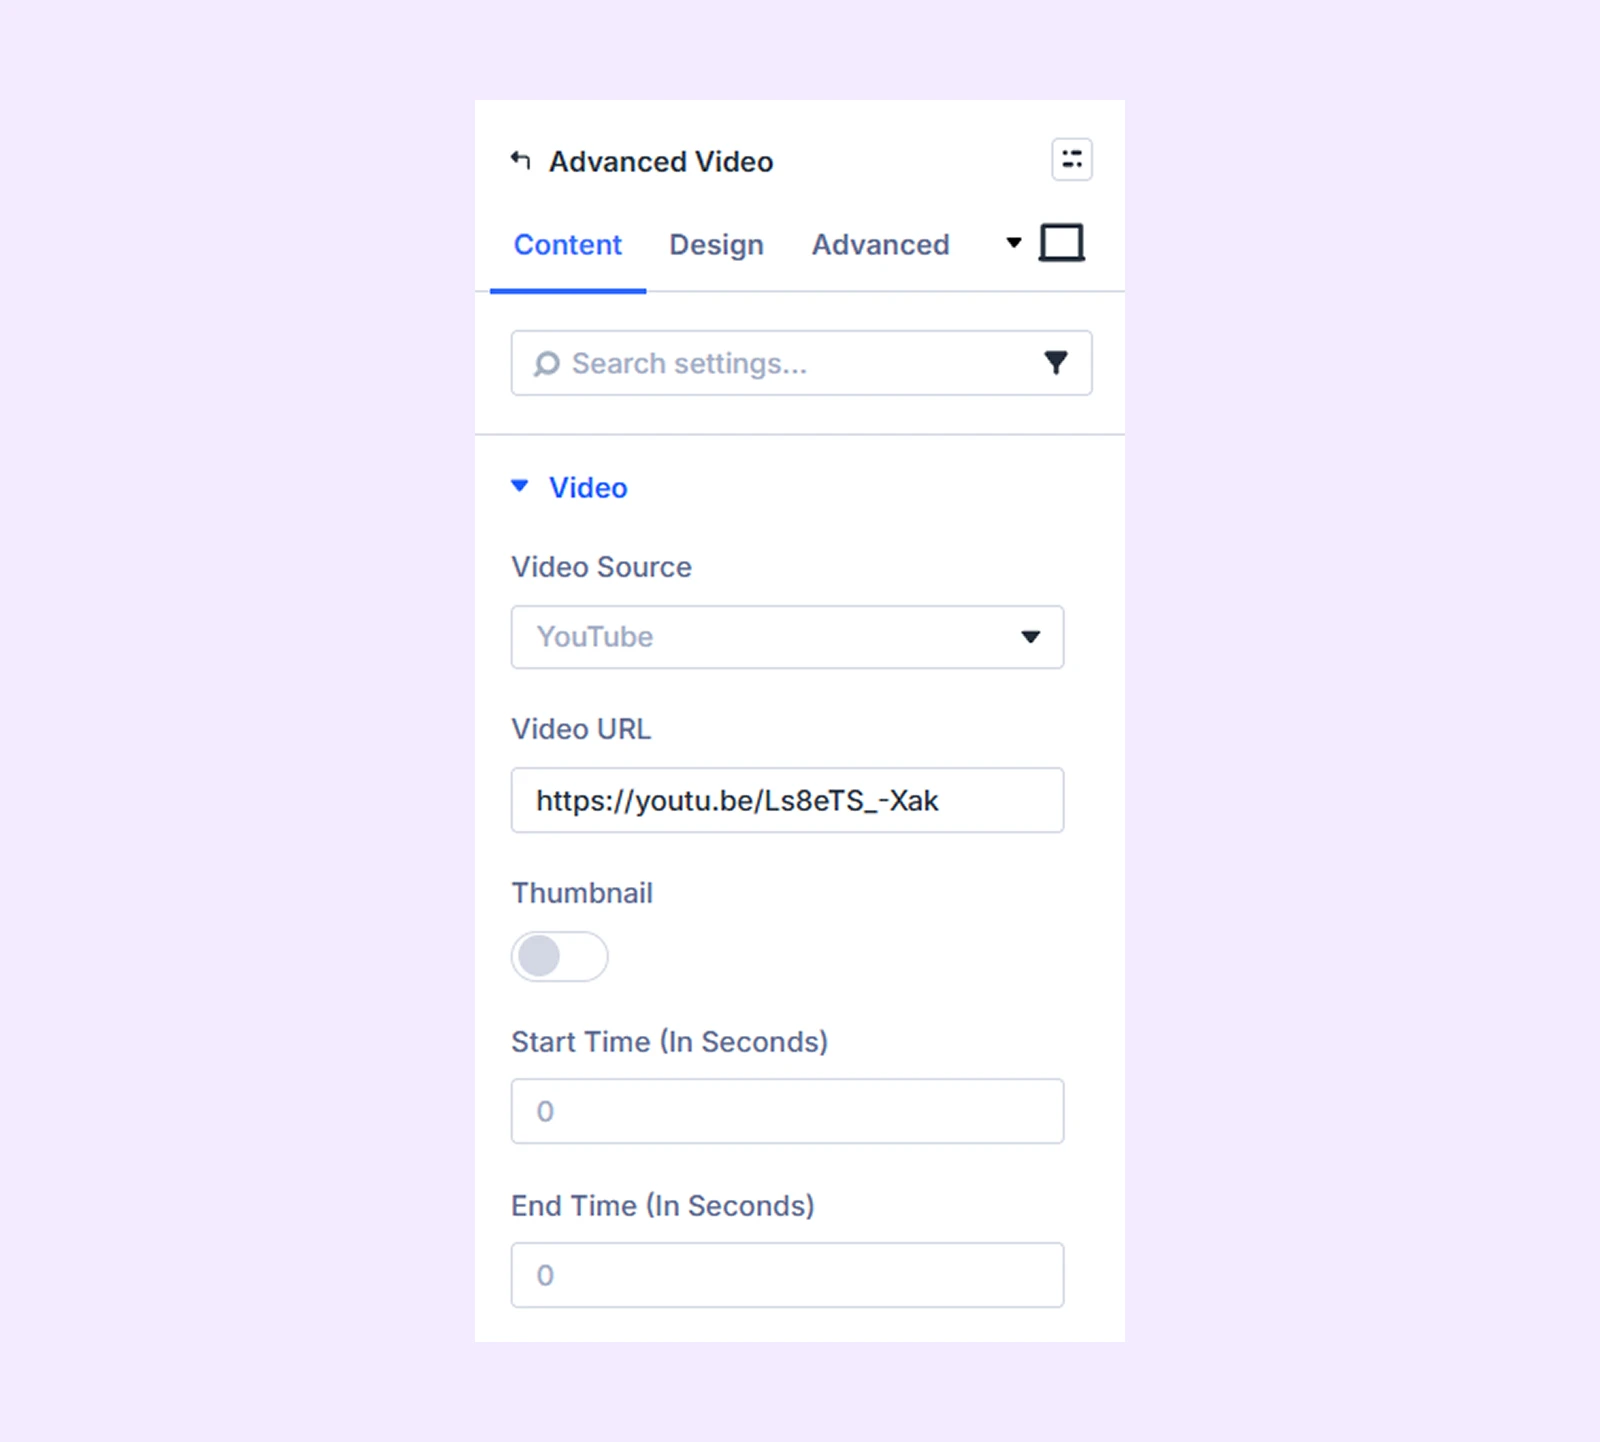
- Video Source: Choose from where your video comes from. Available options are YouTube, Vimeo, DailyMotion, and Self Hosted.
- Video URL: Paste the video link based on your selected source.
- Thumbnail: Automatically pulls a thumbnail from the source (if available).
- Custom Thumbnail: Upload your own thumbnail to override the default.
- Starting Time (In Seconds): Set when the video should begin playing.
- End Time (In Seconds): Define when the video should stop.
If you choose “Self Hosted” as a video source type, you will get the following options:
- Load From External URL: Enable this to use a video with mp4 or webm format hosted on an external server.
- External Video URL: Add the external video file link.
- MP4 Source: Upload or select the MP4 version of your video. (Available when Load From External URL is disabled.)
- WebM Source (Optional): Add a WebM version instead of MP4. (Available when Load From External URL is disabled.)
- Preload: Control how the video loads: Auto (loads full video), Metadata (loads basic info), None (no preload).
Video Settings
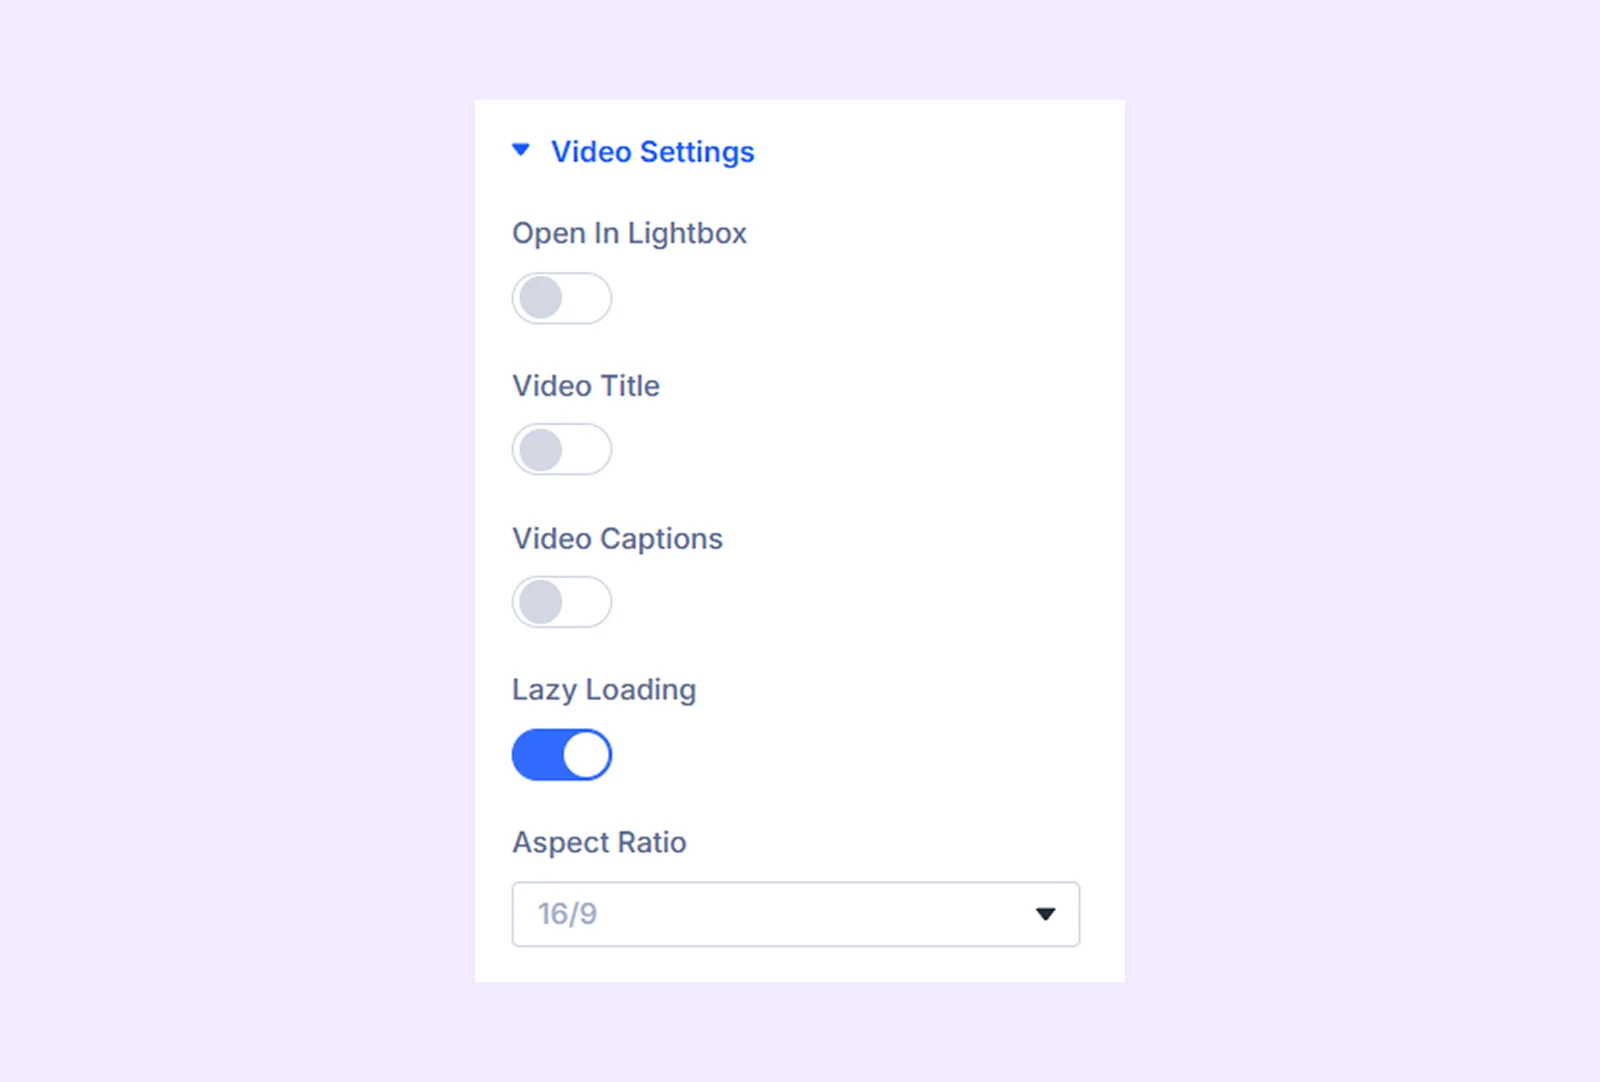
- Open In Lightbox: Play the video in a popup overlay instead of inline.
- Lightbox Open Animation: Choose how the lightbox appears.
- Lightbox Close Animation: Choose how the lightbox disappears.
- Video Title: Show or hide the video title.
- Title Position: Choose title placement from top or bottom.
- Video Captions: Show or hide the video caption.
- Preferred Caption Language: Set the default language for captions.
- Lazy Loading: Load the video only when it enters the viewport for better performance.
- Aspect Ratio: Define the video’s width-to-height ratio. (Only available when the lightbox option is disabled.)
- Custom Play/Pause Button: Enable a custom control button (Available when you choose self hosted as a video source)
- Allow Download: Allow users to download the video (Available when you choose self hosted as a video source)
Playback Options
This whole setting will not be available if you enable “Lightbox” from video settings.
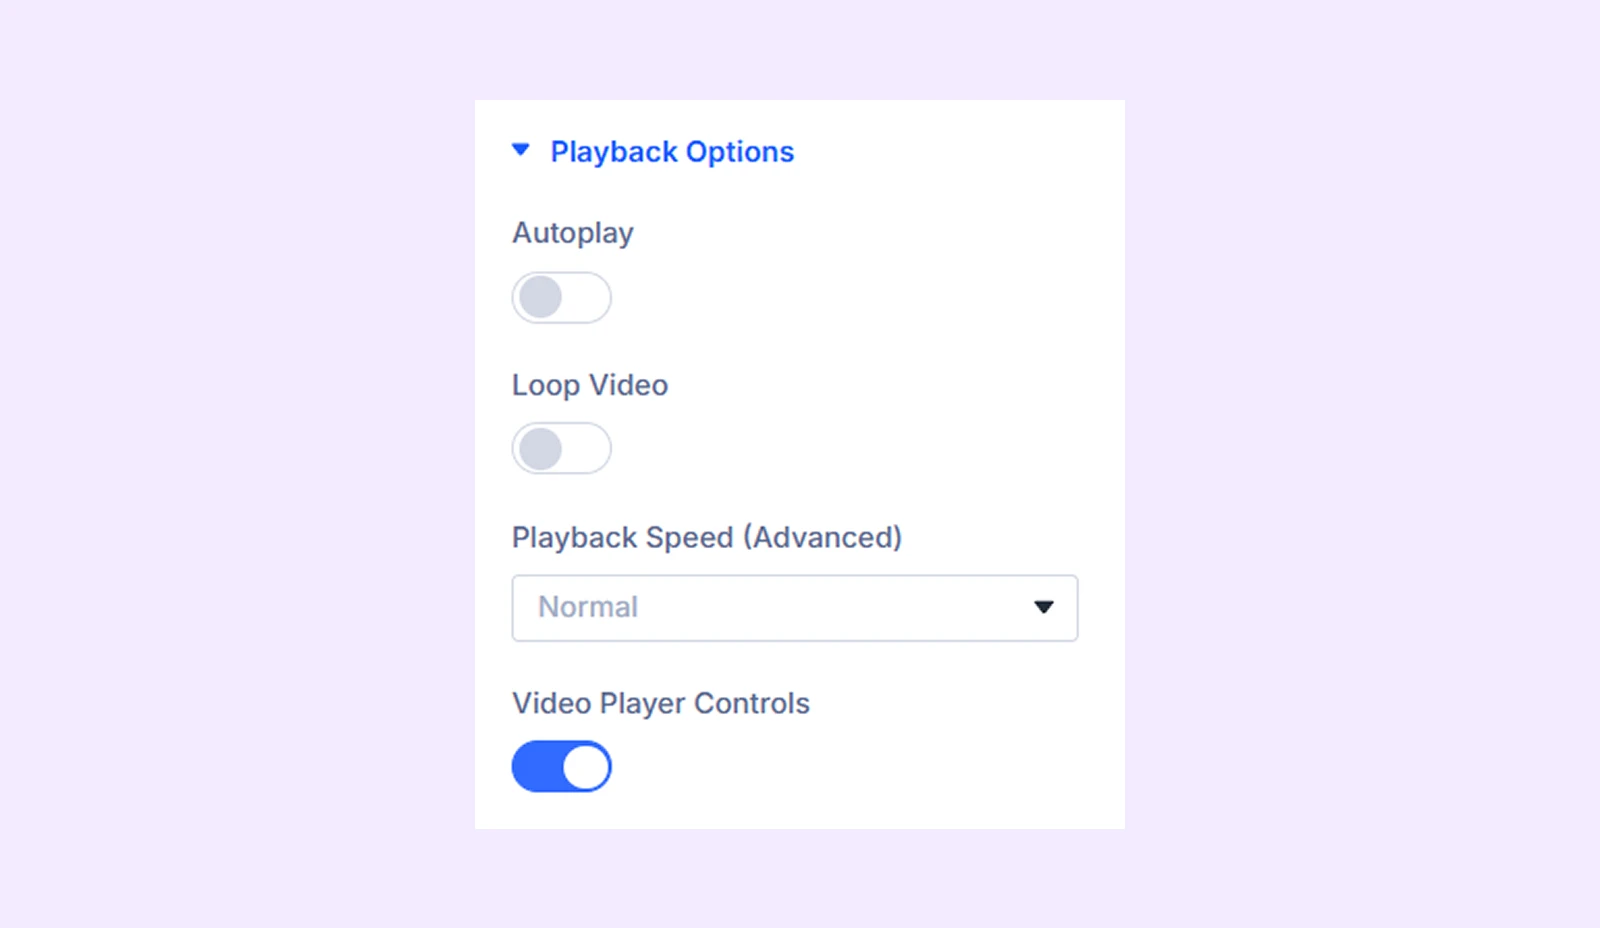
- Autoplay: Start playing automatically on page load.
- Play on Viewport: Play when the video enters the screen.
- Offset From Top: Adjust when playback starts from the top of the viewport.
- Offset From Bottom: Adjust when playback starts from the bottom of the viewport.
- Play on Viewport: Play when the video enters the screen.
- Loop Video: Replay the video continuously.
- Playback Speed (Advanced): Control video speed options.
- Mute Video: Start playback without sound. (Will not available for self hosted videos)
- Video Player Controls: Show or hide default player controls. (Will not available for self hosted videos)
- Sticky Video: Keeps the video fixed in a top or bottom corner while scrolling.
Element
Add Divi elements that will appear directly below the Advanced Video module. Each element can be individually customized for content, styling, and layout.

Sticky Video Settings
This whole setting will be available if you enable “Sticky Video” from the playback options.

- Sticky Position: Set where the video sticks.
- Sticky Width: Adjust the size of the sticky video.
- Horizontal Offset: Move the video left or right from its default position.
- Vertical Offset: Move the video up or down from its default position.
- Z-Index: Control layering to keep the video above other elements.
- Drop Shadow: Add a shadow for better visual separation.
- Close Button: Show a close button on the sticky video.
- Show Sticky On Mobile: Control whether the sticky video is visible on mobile devices.
Custom Play/Pause Settings
This whole setting will be available if you enable “Custom Play/Pause Button” from video settings.
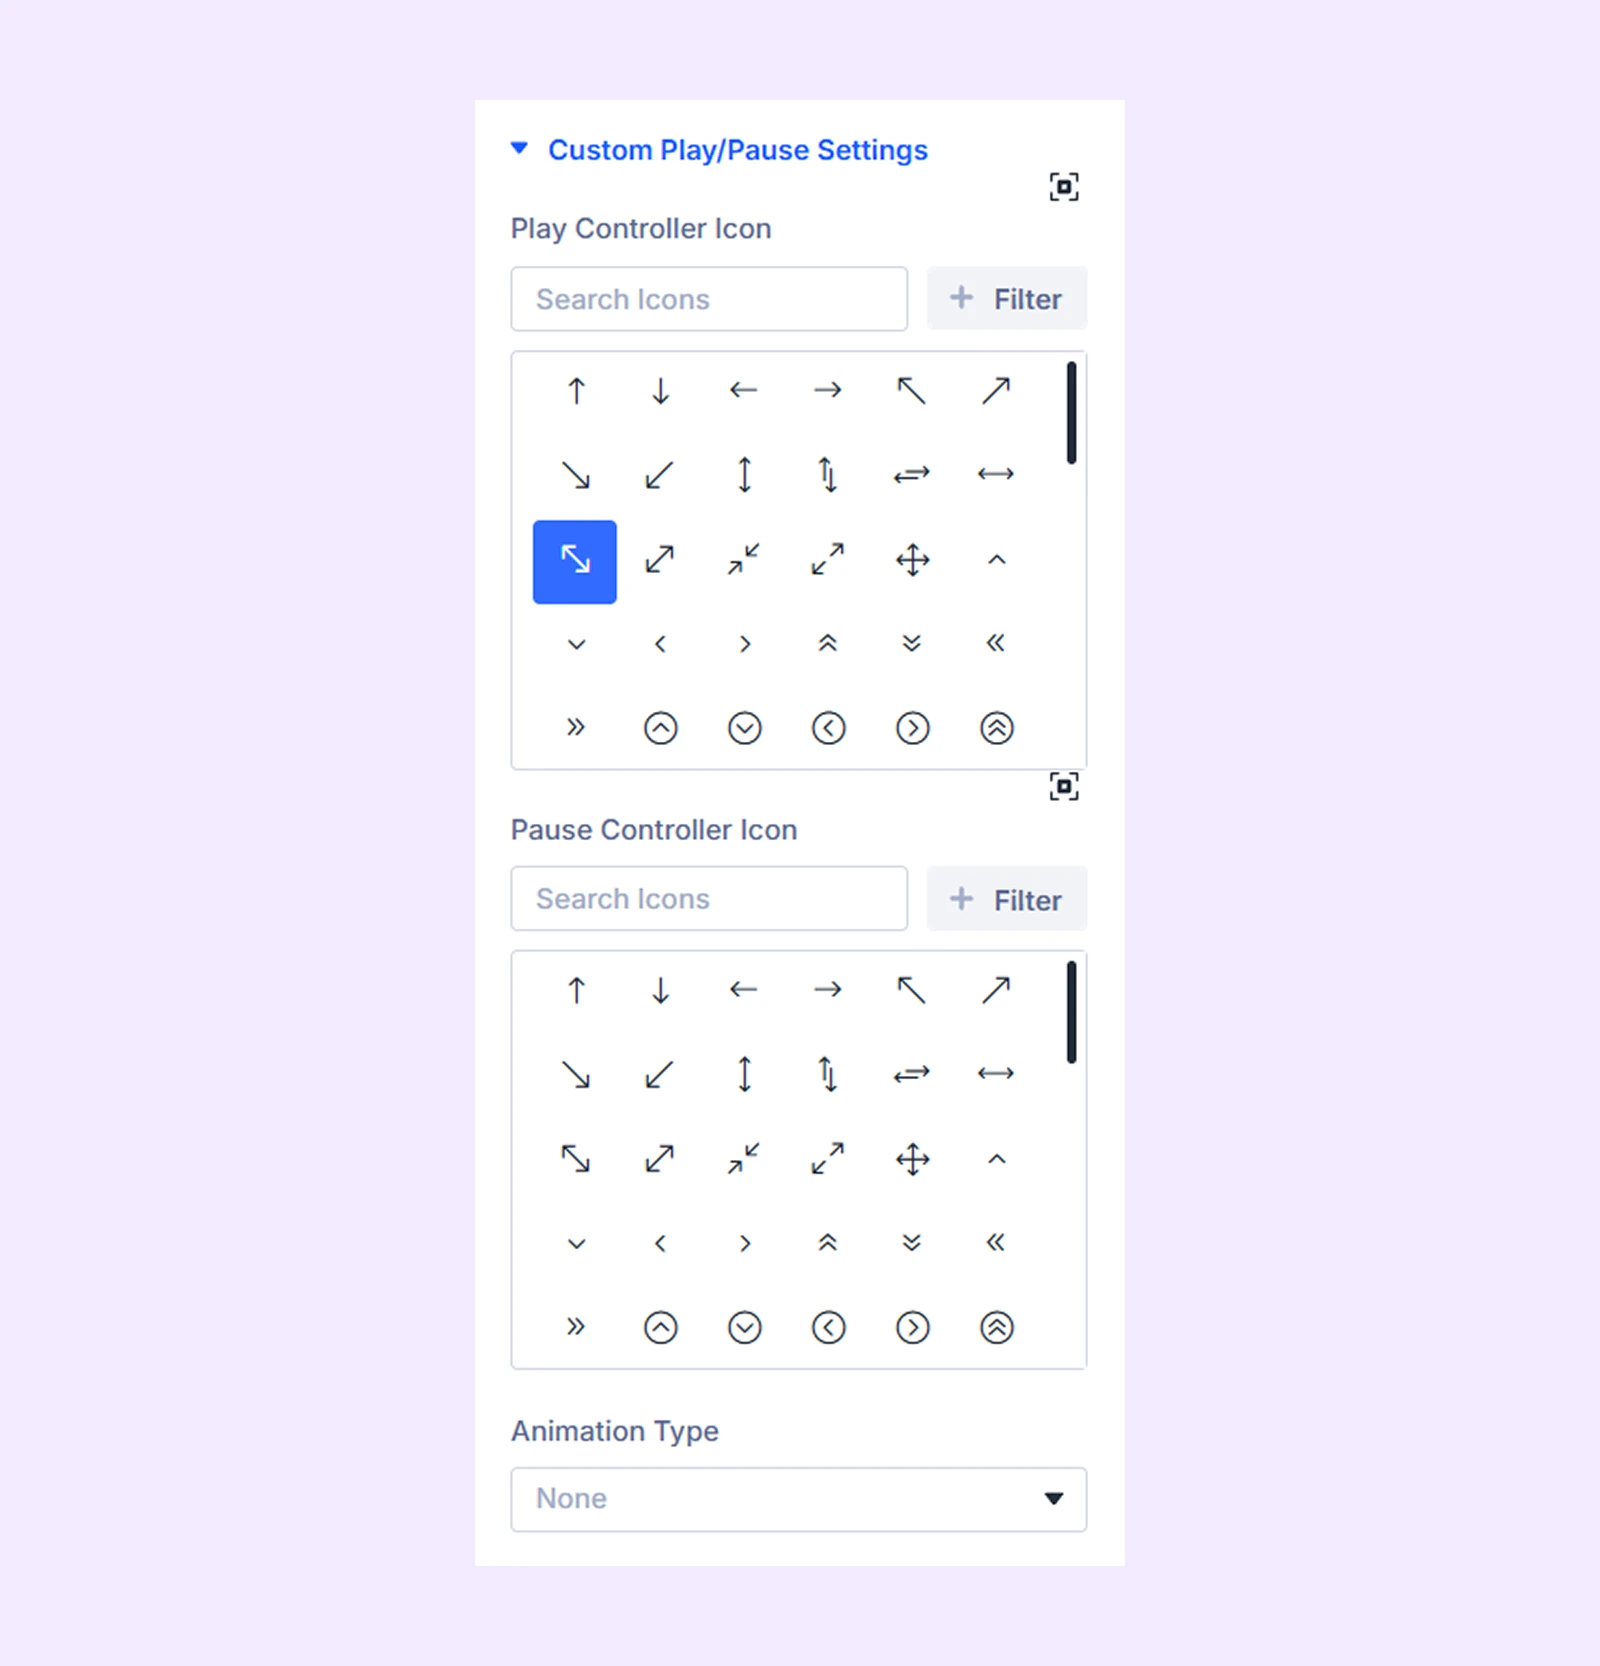
- Play Controller Icon: Choose the icon for play.
- Pause Controller Icon: Choose the icon for pause.
- Animation Type: Select animation style for the button.
- Ripple Color: Set the ripple effect color.
- Ripple Background: Customize the ripple background.
Icon Settings
This whole setting will be available if you enable “lightbox” from video settings.
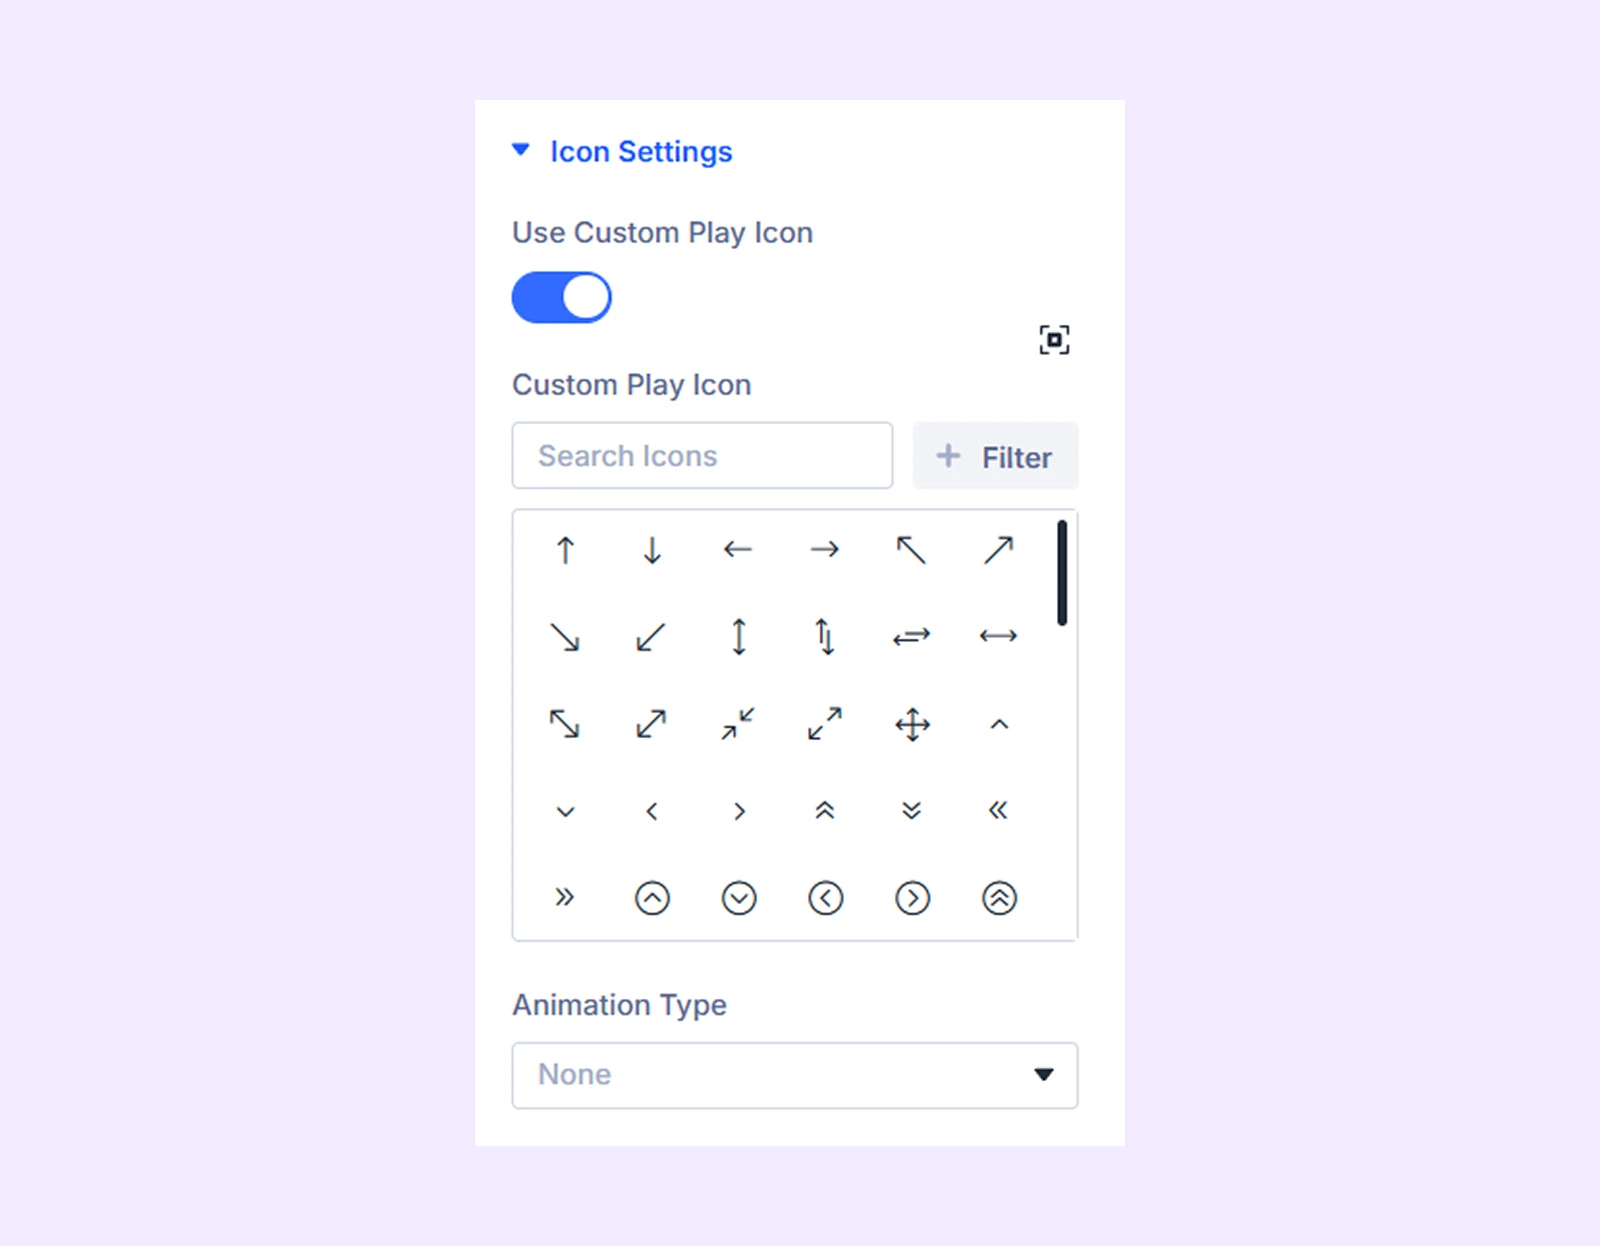
- Use Custom Play Icon: Enable a custom icon for lightbox trigger.
- Custom Play Icon: Select your preferred icon.
- Animation Type: Choose animation style.
- Ripple Color: Set ripple effect color.
- Ripple Background: Customize ripple background.
Background: Add a background color, gradient, image, video, pattern, or mask to the module.
Element Label: Rename the module to organize it more easily in the Divi Builder. (Only you can see this label.)
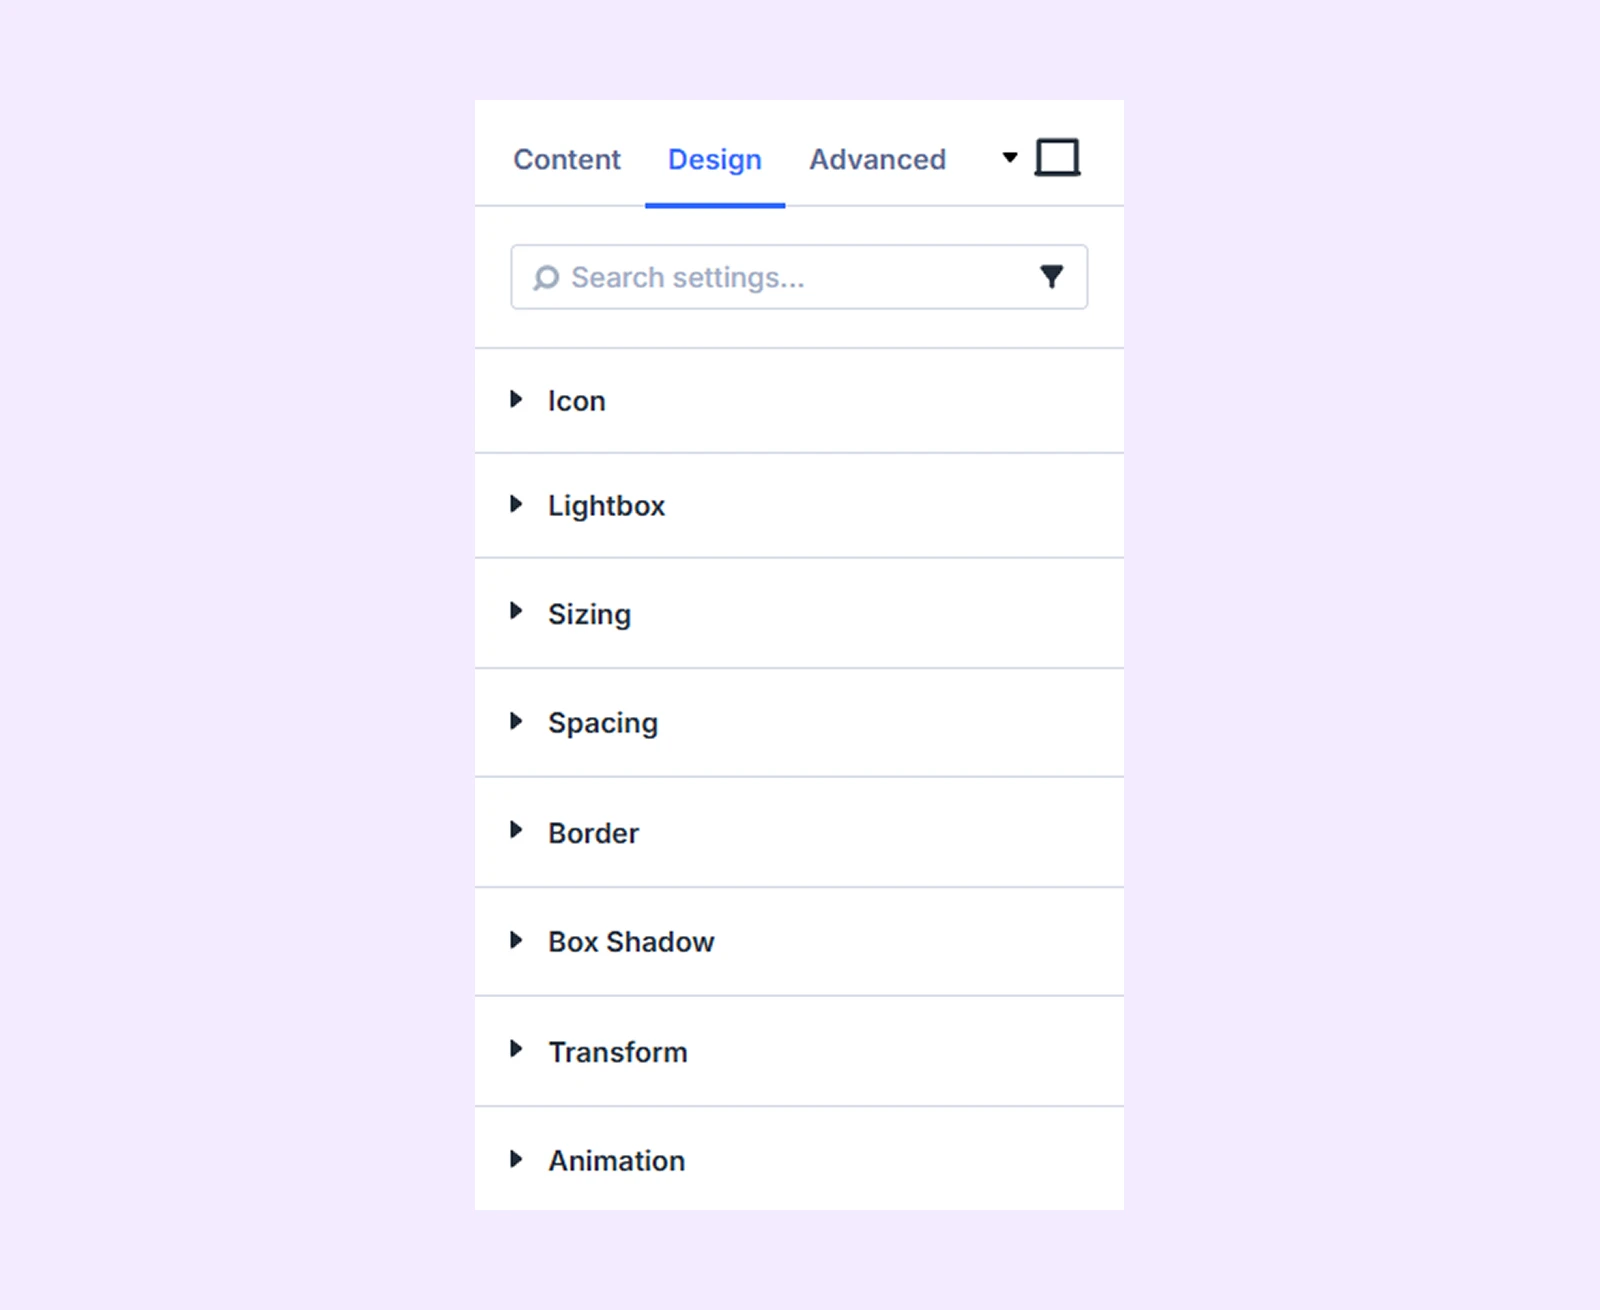
Design Tab
Use this tab to customize the visual appearance of the advanced video module.
Title: Customize title typography, spacing, and background.
Icon
You will see this Icon related settings on the Design tab when Lightbox is enabled.
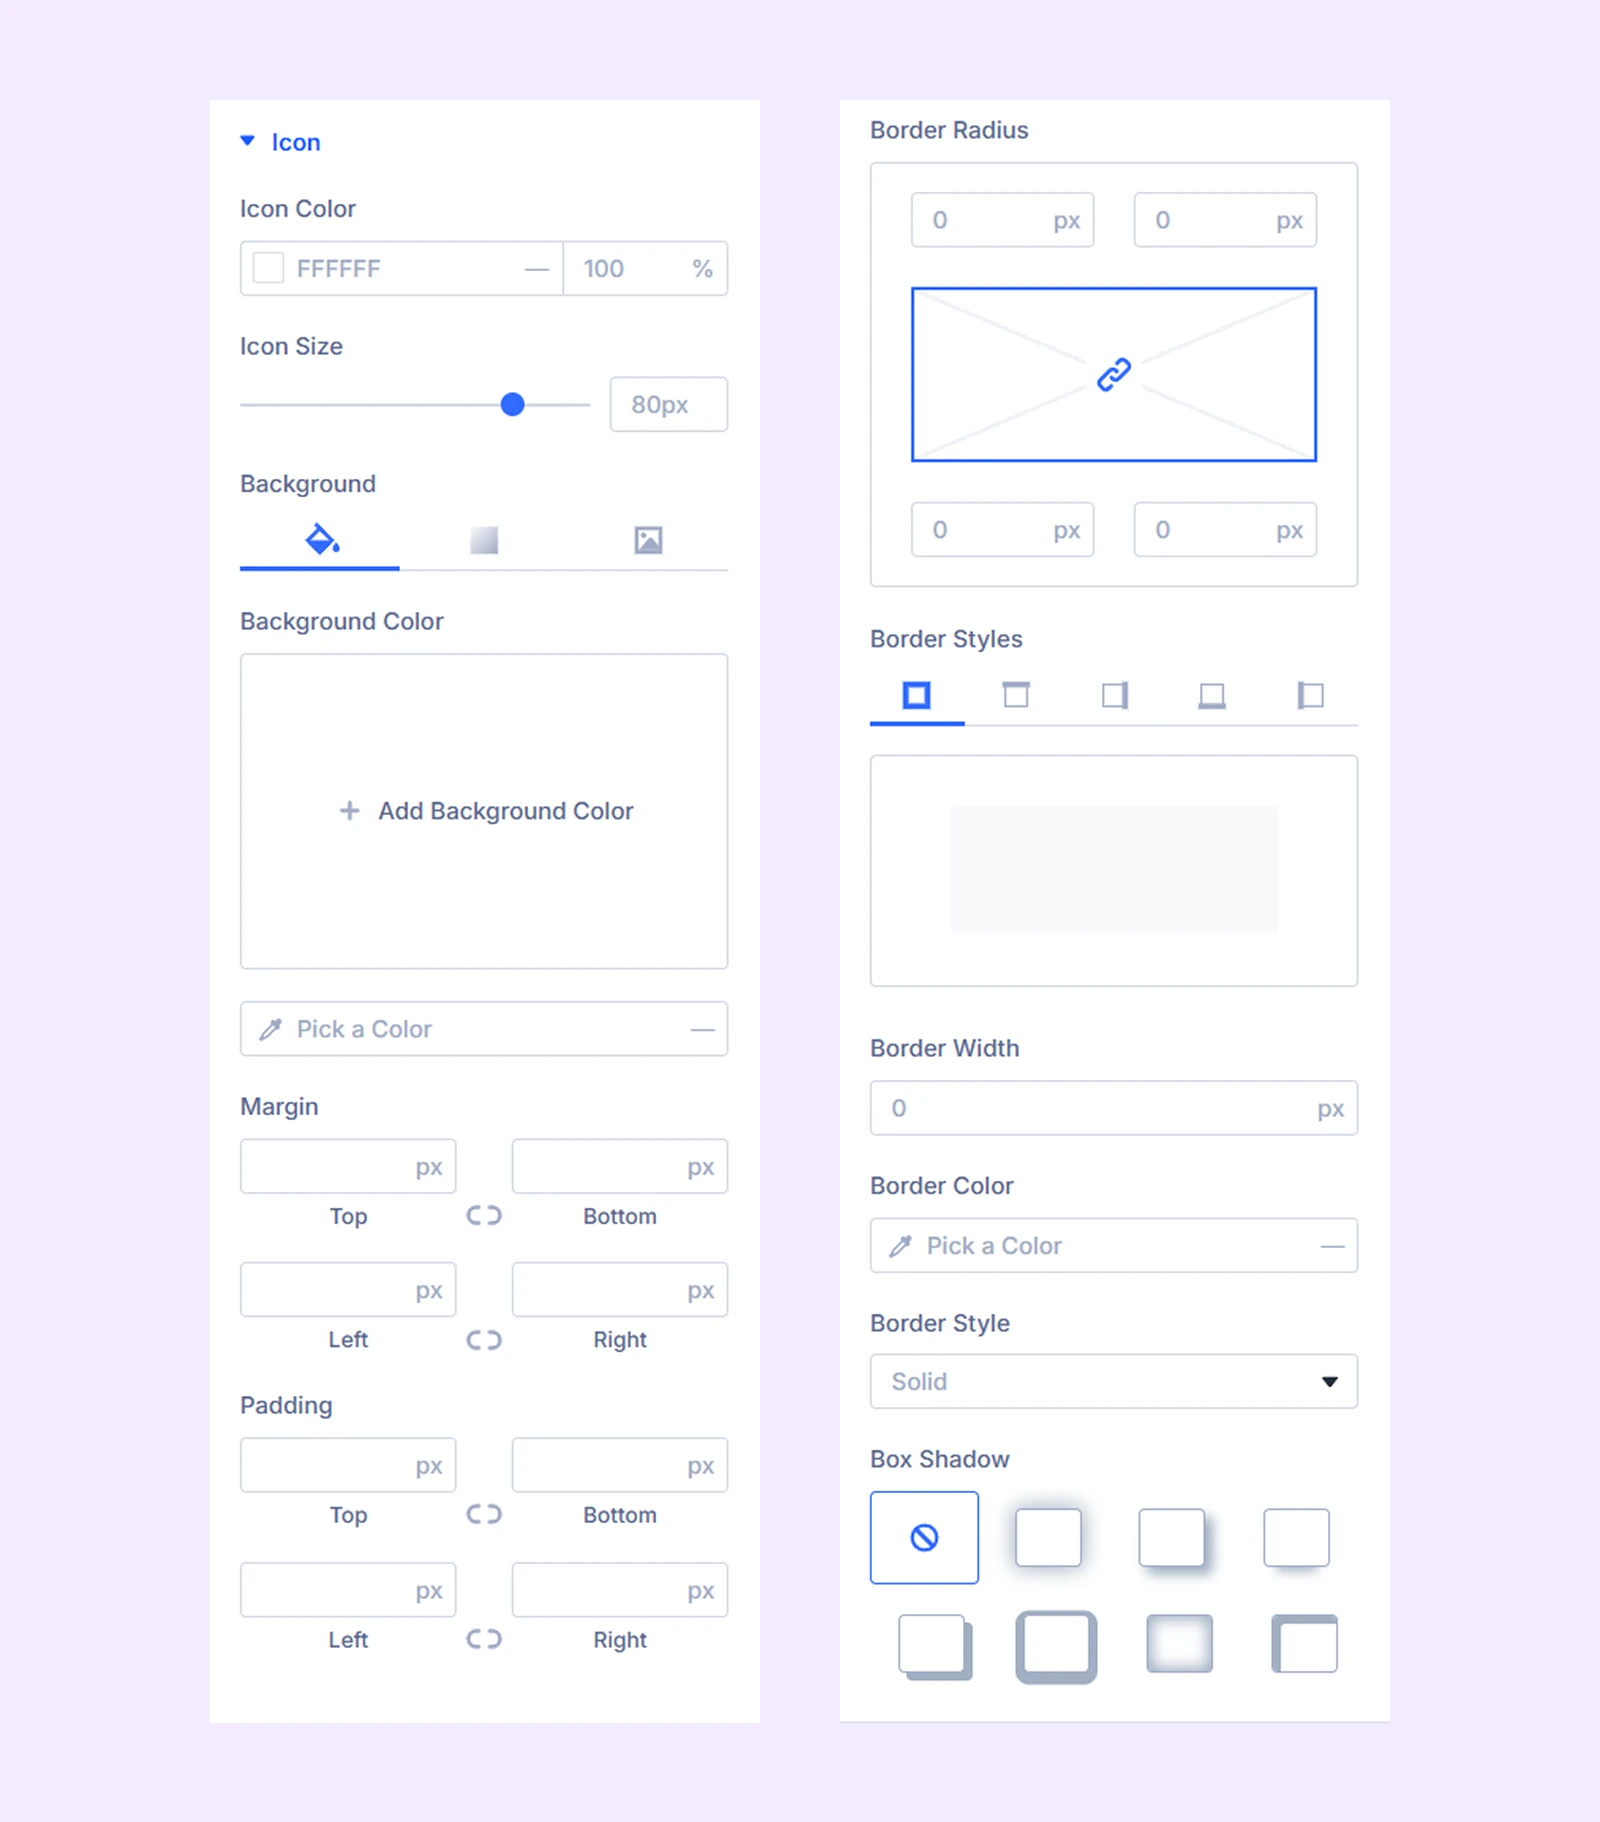
- Icon Color: Set the icon color.
- Icon Size: Adjust icon size.
- Ripple Size: Control the ripple effect size.
There you will also find icon background and border related setting options.
Lightbox
You will see this lightbox related settings on the Design tab when Lightbox is enabled.
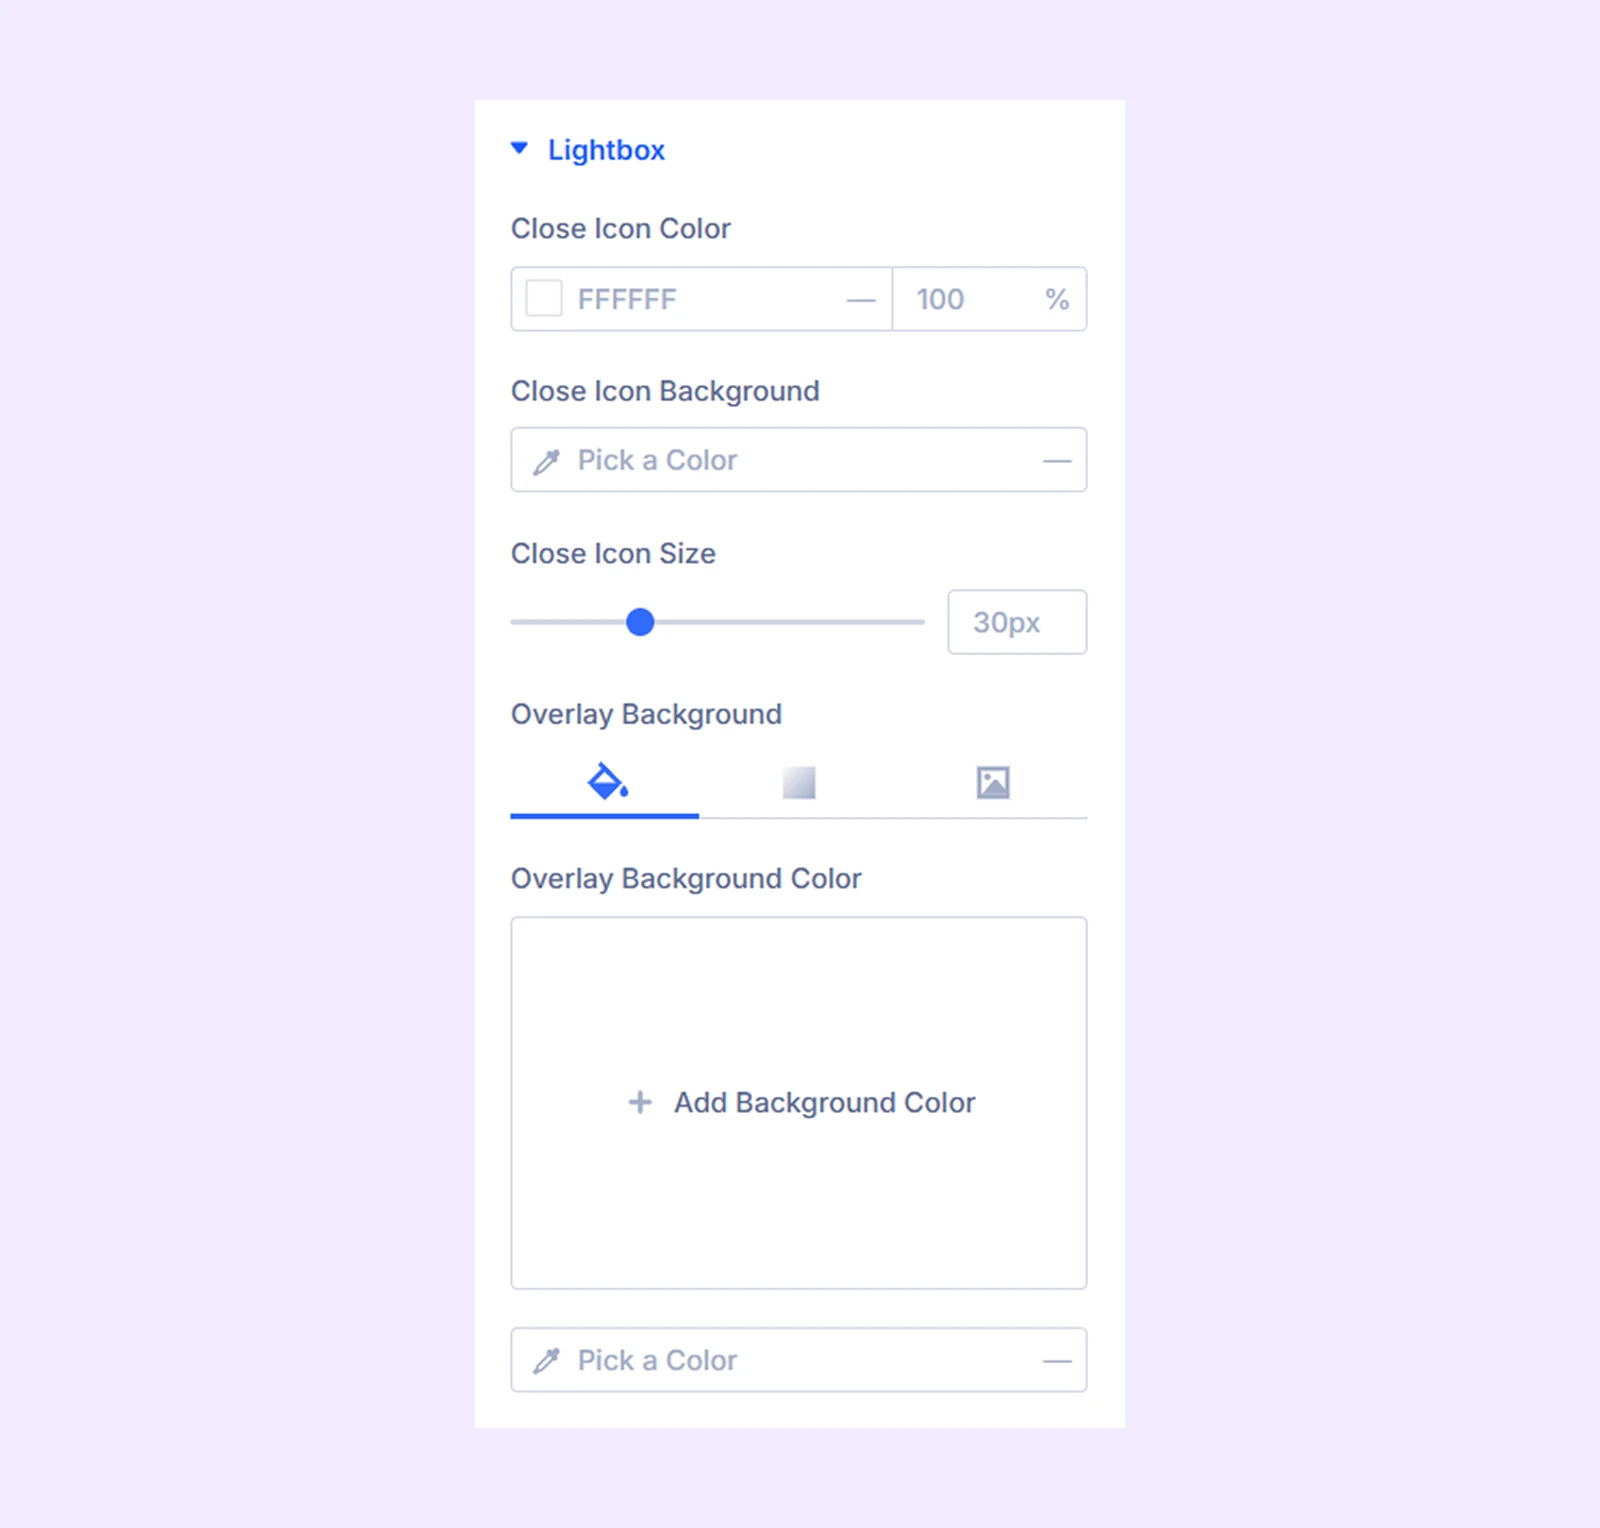
- Choose Icon Color/Background/Size: Customize the lightbox trigger icon.
- Overlay Background: Style the overlay behind the video.
- Overlay Background Color: Set overlay color.
Play Pause Icon
You will see this play pause icon related settings on the Design tab when the custom play/pause icon is enabled.
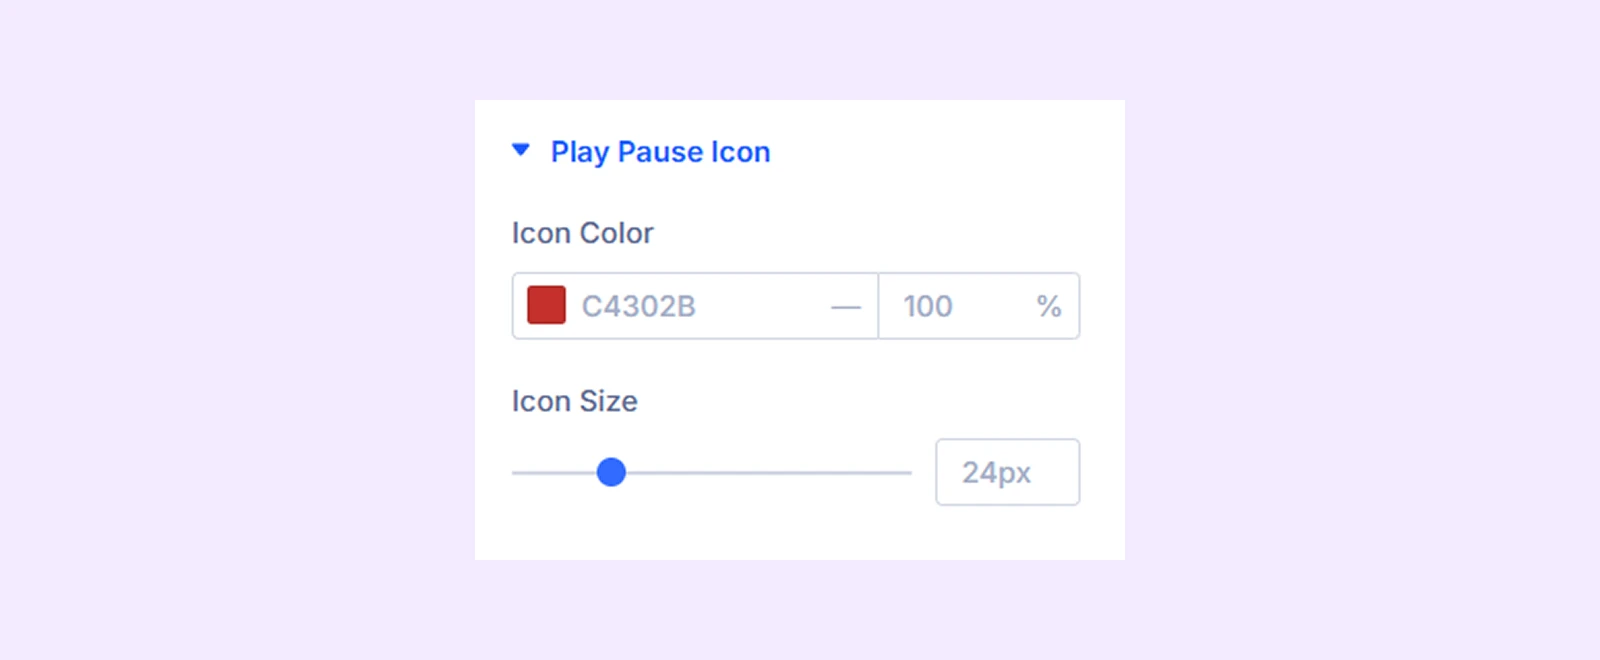
- Icon Color: Change the icon color
- Icon Size: Adjust the icon size
There you will also find settings options to change the play pause icon’s background, spacing, position, border and more.
Sticky Video
You will see this sticky video related settings on the Design tab when the Sticky video setting is enabled.
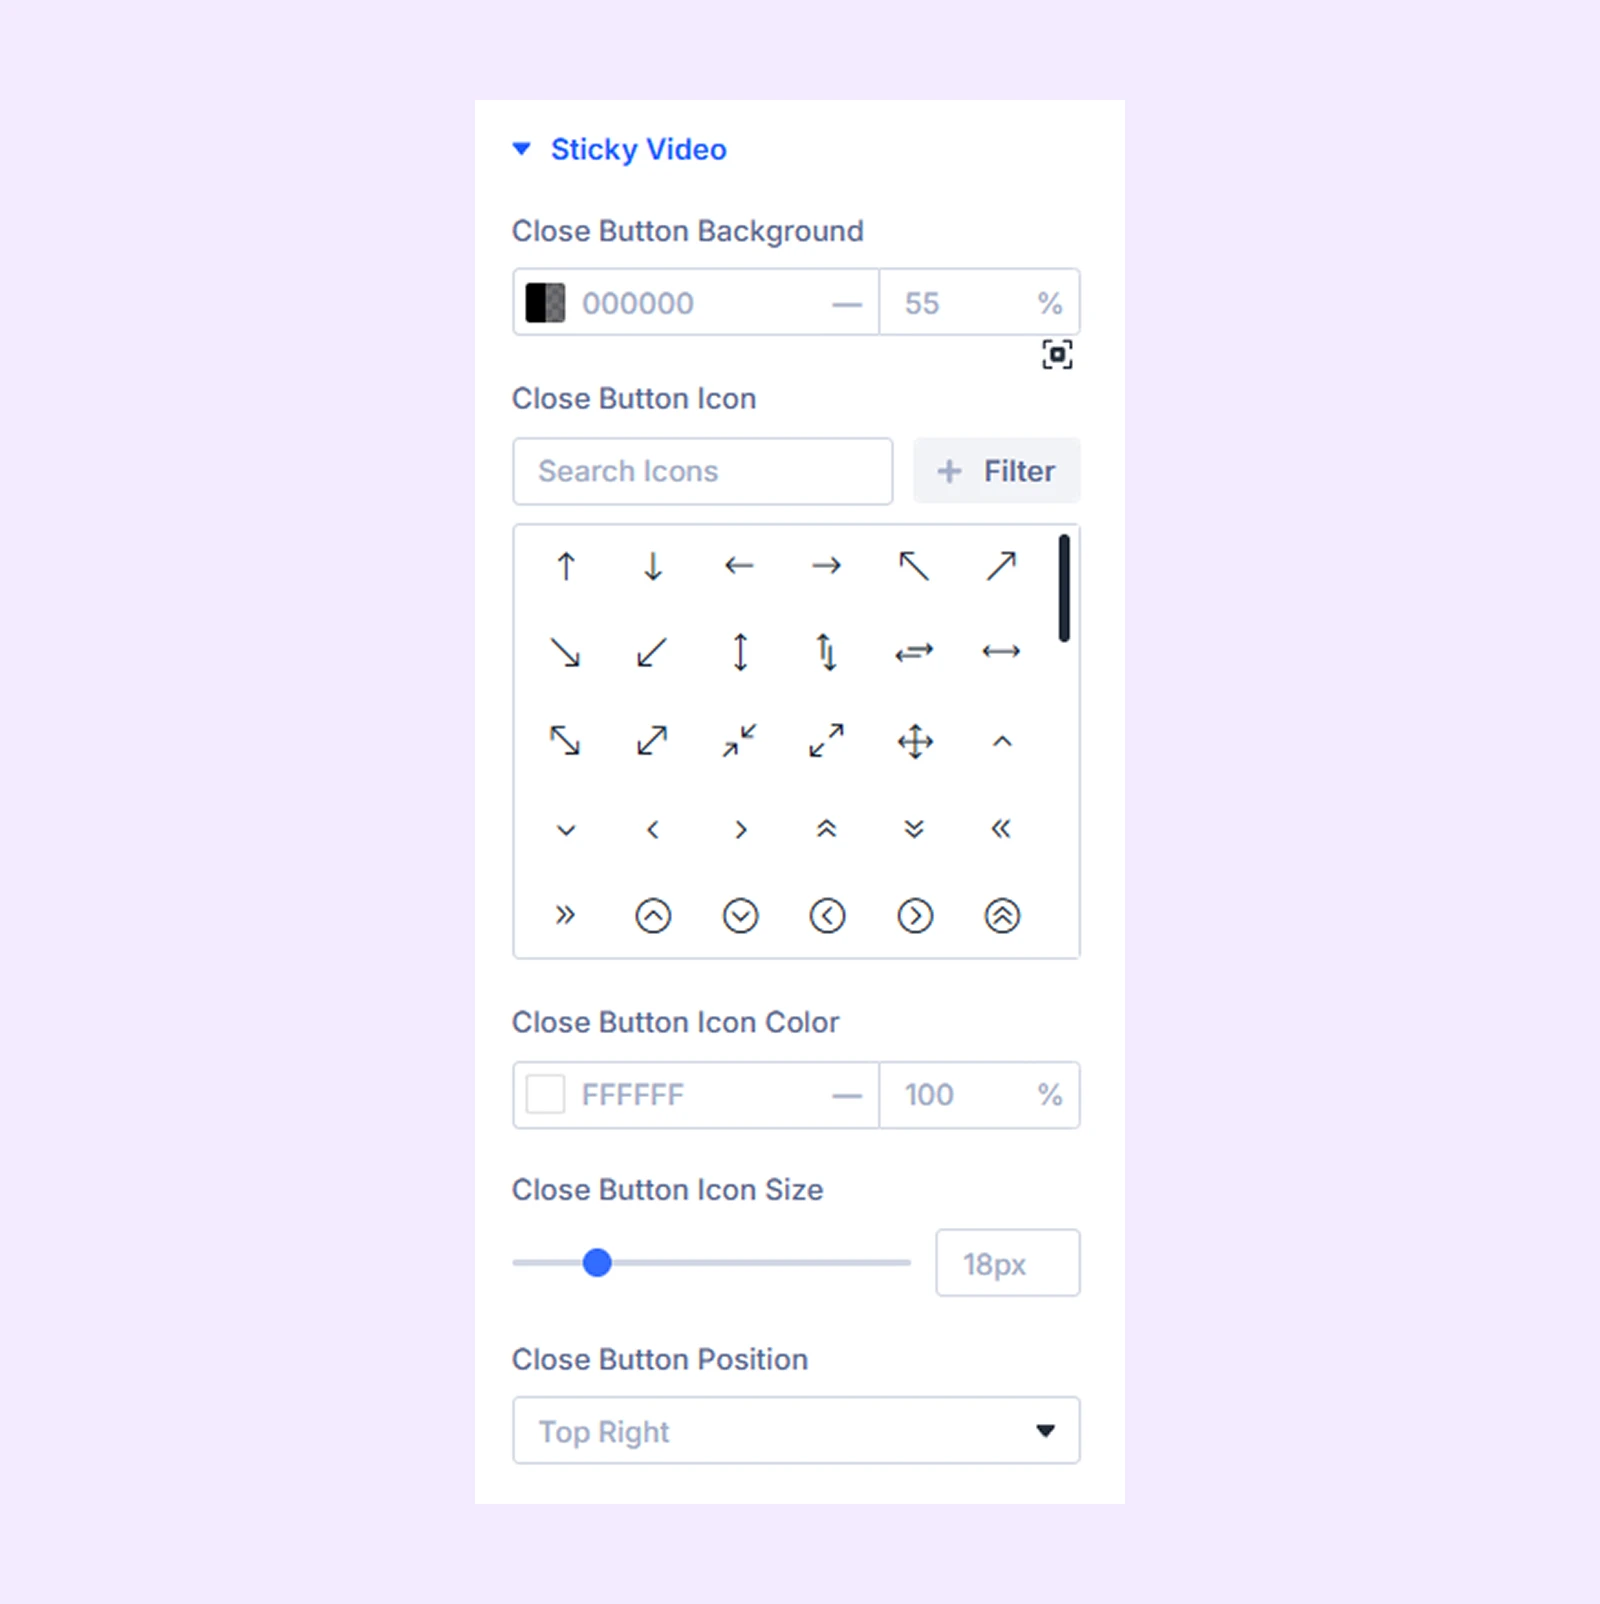
- Close Button Background: Set the background color of the close button.
- Close Button Icon: Choose the icon you want to use for closing the sticky video.
- Close Button Icon Color: Define the color of the close icon.
- Close Button Icon Size: Adjust the size of the close icon.
- Close Button Position: Control where the close button appears on the sticky video.
Sizing: Adjust the width, height, and alignment of the module.
Spacing: Add custom margin and padding to the module’s container.
Border: Customize the border style, width, and color. And style each border separately or apply the same style to all sides.
Box Shadow: Add shadow effects to the module.
Transform: Scale, rotate, move, or skew the module.
Animation: Apply reveal animation effects and customize delay, duration, repeat settings, and animation type.
Advanced Tab
This tab provides additional settings for advanced users who want greater control over the module with custom code, conditions, and more.
Need Help?
If you have any questions or need assistance, contact our support team: [email protected]